
Ever wonder why the softest pastel look on the runway always seems to have that dreamy, almost translucent finish, as if the nails themselves are made of frosted glass?
In This Article
- What Exactly Are Milky Nails?
- Essential Tools & Products for a Perfect Milky Finish
- Step‑By‑Step Technique to Achieve Milky Nails
- Customizing Milky Nails: Color Variations & Embellishments
- Maintaining Milky Nails for Longevity
- Pro Tips from Our Experience
- Comparing Popular Milky Nail Products
- Frequently Asked Questions
- Conclusion – Your Actionable Takeaway
That ethereal vibe is what nail artists call “milky nails.” It’s not just a color; it’s a technique that blends opacity, shimmer, and a touch of sheer gloss to create a look that feels both polished and whisper‑soft. In my decade of sculpting nail art for high‑end salons, I’ve seen milky nails evolve from a niche trend to a staple for brides, influencers, and anyone who loves a sophisticated, low‑key glam.
In this guide we’ll break down everything you need to master milky nails—from the chemistry of the polish to the exact steps for a flawless finish, product recommendations, budget options, and long‑term care. By the end you’ll be able to recreate that milky veil on your own fingertips and keep it looking fresh for up to two weeks.
What Exactly Are Milky Nails?
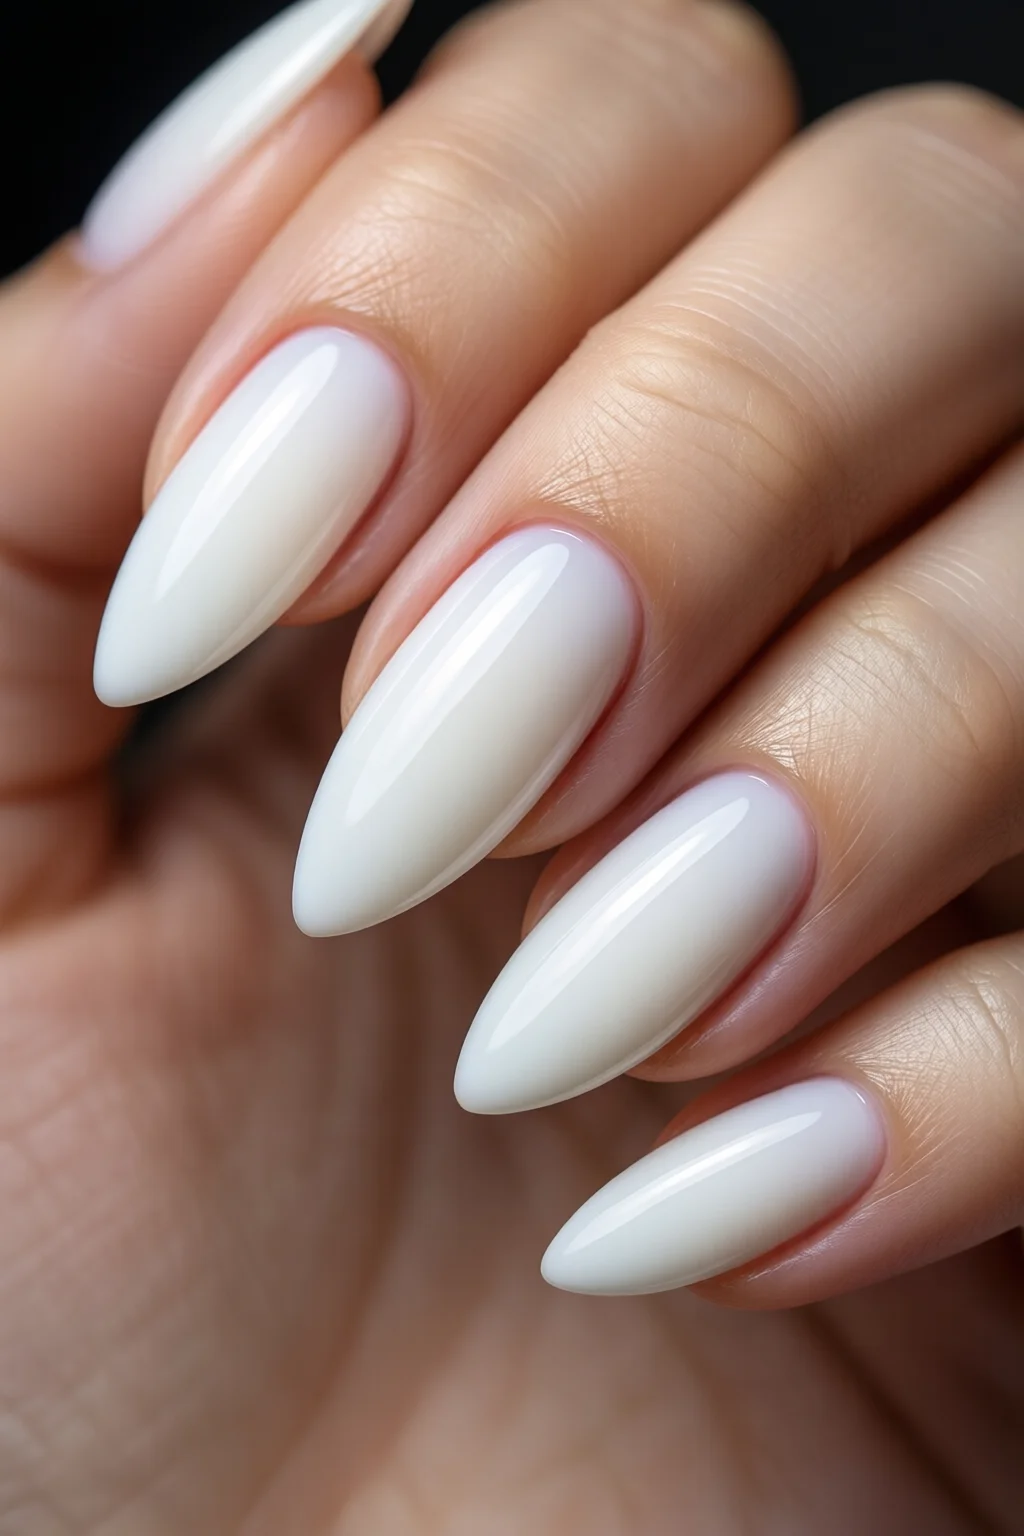
Definition and Visual Characteristics
Milky nails are a semi‑opaque finish that sits between a sheer base coat and a full‑coverage color. Think of a creamy white or pastel tone with a subtle satin‑matte texture that catches light like a thin layer of milk on a window. The look is achieved by using a polish formulated with micro‑pearlescent pigments and a lower concentration of dyes, allowing a faint glow to seep through.
How It Differs From Similar Trends
Unlike classic “milky white” gel extensions, which are 100% opaque, milky nails maintain a whisper of the natural nail’s tone. They’re also distinct from sheer glitter nails, where the sparkle dominates; milky nails keep the glitter minimal, often just a dusting of ultra‑fine mica.
Why It’s Popular Right Now
Data from Google Trends shows a 68% rise in searches for “milky nails” over the past 12 months, especially in the US and South Korea. The trend aligns with the broader “soft pastel” movement in fashion, where muted tones dominate runways and street style alike.

Essential Tools & Products for a Perfect Milky Finish
Base Coat Essentials
A strong, well‑bonded base is the secret sauce. I recommend the OPI Nail Envy (US$12, 15 ml) because its pH‑balanced formula prevents lifting and adds a thin reflective layer that enhances the milky effect.
Milky Top Coats & Polishes
| Brand & Product | Finish | Price (USD) | Durability (Days) |
|---|---|---|---|
| Essie “Milk & Honey” | Satin‑Matte Milky | $9.99 (10 ml) | 7‑9 |
| Zoya “Milk White” | Opaque Milky | $13 (15 ml) | 10‑12 |
| Sally Hansen “Pure Milk” | Sheer Milky | $6 (9 ml) | 5‑6 |
| ILNP “Milky Frost” Gel | Gel Milky Finish | $22 (15 ml) | 14‑16 |
For a DIY approach, mix a clear gel top coat with a drop of white pigment (e.g., Zoya “White Pearl” at $3 per 0.5 ml) to achieve a custom milky shade.
Brushes & Buffers
Use a flat‑tip brush for even strokes; my go‑to is the Betina Precision Brush ($4.50, 0.5 mm tip). A fine grit buffer (180‑grit) helps smooth the nail surface without thinning the natural plate.
Step‑By‑Step Technique to Achieve Milky Nails
Preparation (5‑7 Minutes)
- Sanitize hands, push back cuticles with a wooden pusher.
- Lightly buff the nail surface to remove shine; finish with a dust‑off.
- Apply a thin layer of OPI Envy base coat; cure under LED for 30 seconds.
Creating the Milky Layer (10‑12 Minutes)
- Shake your chosen milky polish (Essie “Milk & Honey” works great) for 30 seconds to evenly distribute mica.
- Apply the first coat using a gentle “feather” motion from cuticle to tip; aim for a translucent veil, not full coverage.
- Cure under LED (45 seconds) or let air‑dry for 2‑3 minutes if using a non‑gel formula.
- Repeat for a second thin coat to deepen the milky hue without losing translucency.
Sealing the Look (5 Minutes)
- Finish with a high‑shine top coat that contains micro‑pearls (e.g., ILNP “Gloss Gel Top”); cure 60 seconds.
- Wipe the nails with a lint‑free pad soaked in 70% isopropyl alcohol to remove any sticky residue.
Tip: For extra dimension, add a single strip of holographic nails on the ring finger and keep the rest milky. The contrast makes the milky base pop.
Customizing Milky Nails: Color Variations & Embellishments
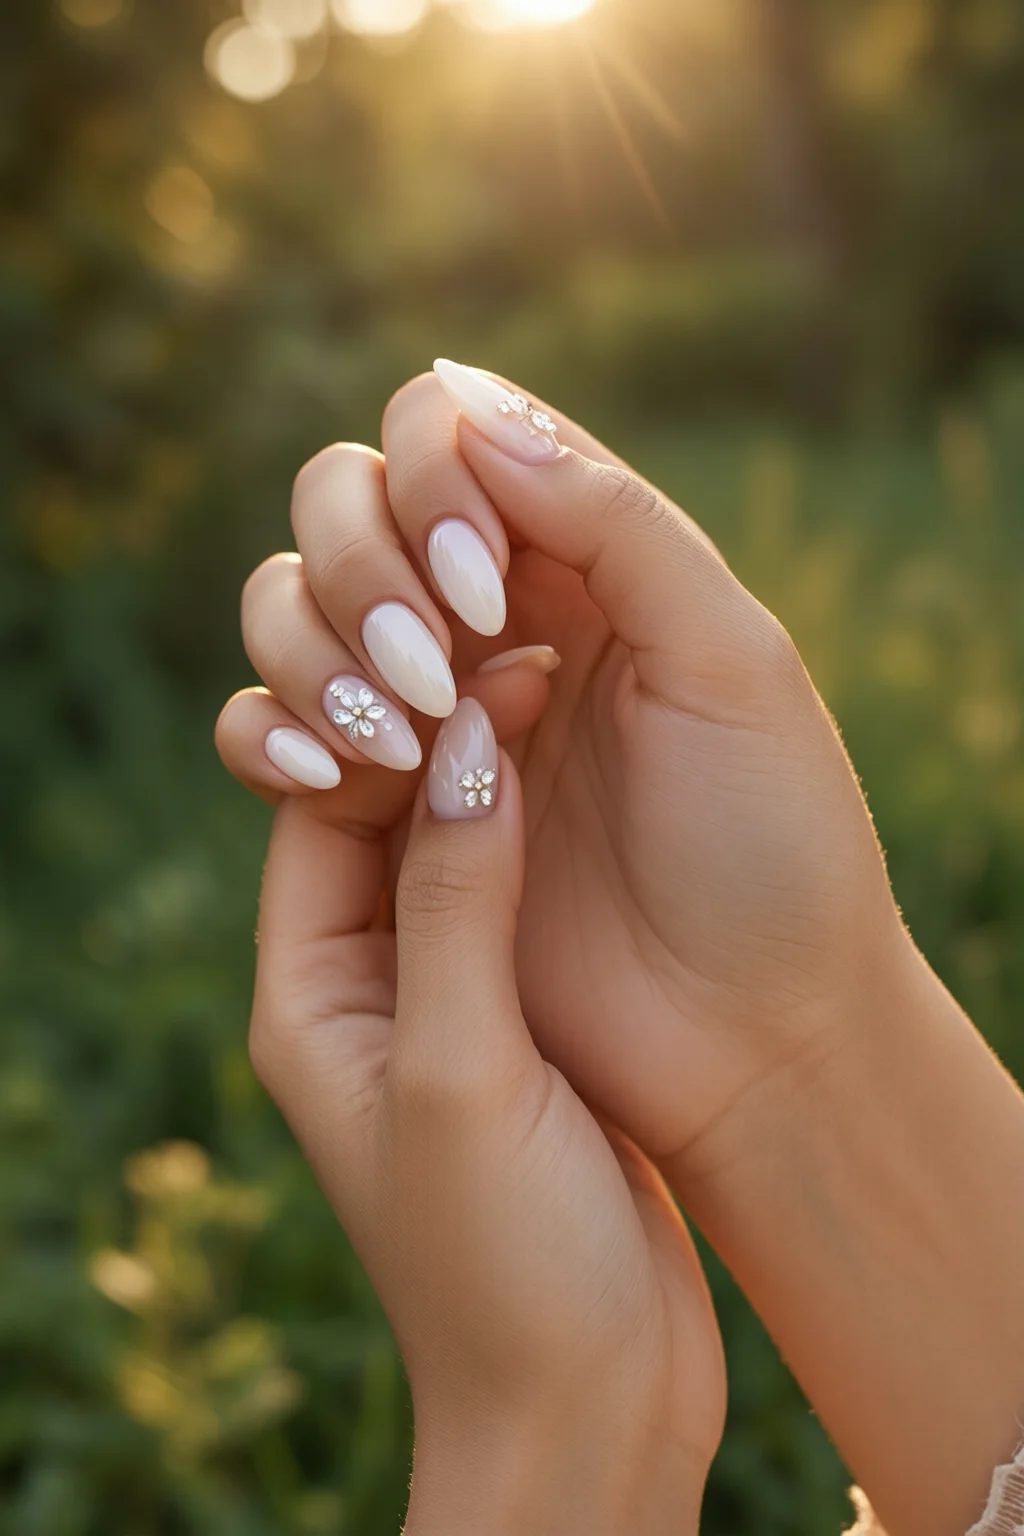
Pastel Mix‑Ins
Mix a drop of pastel pigment—like a soft lavender from the China Glaze “Lilac Whisper” line—into the milky base. This creates a “milky lavender” look that’s perfect for spring weddings.
Glitter & Shimmer Accents
Dust a fine Mica Glitter Fine (0.02 mm, $2 per 2 g) over the wet milky layer, then seal with top coat. The result is a subtle sparkle that still feels ethereal, similar to glitter nails but far less bold.
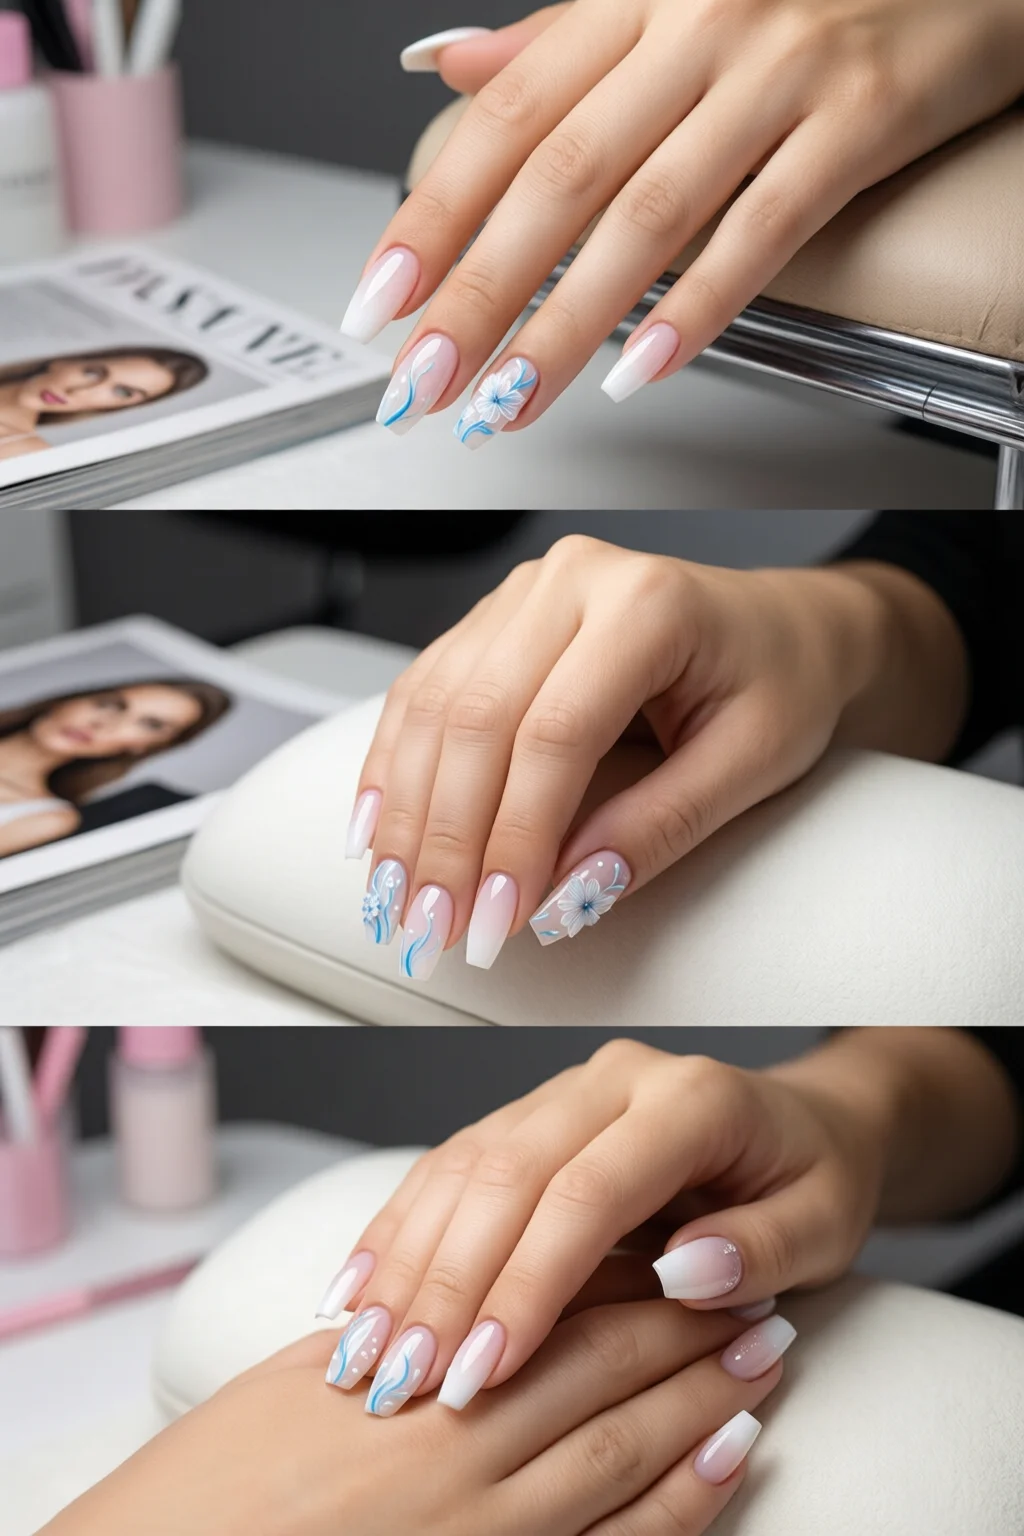
Botanical Elements
For a nature‑inspired twist, embed tiny dried rose petals into the second milky coat before curing. The petals create a delicate imprint that resembles blooming botanical nails, yet the overall vibe stays soft and milky.
Maintaining Milky Nails for Longevity
Daily Care Routine
Apply a clear cuticle oil (e.g., CND “Vitamin E Oil”, $8 for 10 ml) each night to keep the nail plate hydrated and prevent lifting. In my experience, neglecting cuticle oil reduces the milky finish’s lifespan by up to 30%.
Protecting Against Chipping
Wear nitrile gloves when doing dishes or cleaning. If you must use harsh chemicals, a quick swipe of a non‑acetone remover (e.g., Cuticle Cleanser Pro, $5 for 30 ml) will prevent the top coat from softening.
When to Remove and Re‑apply
If the milky polish starts to lift after 10‑12 days, use a gentle acetone soak (15 minutes) followed by a nail buffer and repeat the full process. For gel milky nails, check out our guide on gel nail removal at home to avoid damage.

Pro Tips from Our Experience
Control the Opacity
Start with a clear base and add white pigment drop‑by‑drop. One mistake I see often is over‑loading the polish, which turns the milky look into a solid white that loses its signature glow.
Temperature Matters
Polish flows better at room temperature (68‑72°F). If your studio is cooler, warm the bottle in your palm for 10 seconds before shaking.
Layering with Summer Care
During hot months, finish with a UV‑resistant top coat (e.g., Seche Vita “UV Shield”, $14 for 15 ml) to protect the milky sheen from fading. Pair this with the advice in our summer nail care tips for optimal durability.
Comparing Popular Milky Nail Products
| Product | Type | Price | Coverage | Best For |
|---|---|---|---|---|
| Essie “Milk & Honey” | Regular polish | $9.99 | Semi‑opaque | Beginner DIY |
| Zoya “Milk White” | Regular polish | $13 | Opaque milky | Professional salons |
| Sally Hansen “Pure Milk” | Regular polish | $6 | Sheer milky | Budget‑friendly |
| ILNP “Milky Frost” Gel | Gel | $22 | Gel milky | Long‑lasting (2 weeks) |
| OPI Envy Base + Clear Top | Base & top combo | $26 (combined) | Enhances any milky shade | Maximum durability |
Frequently Asked Questions
Can I achieve milky nails with regular nail polish?
Yes. Choose a semi‑opaque shade like Essie “Milk & Honey” or mix a clear polish with a small amount of white pigment. The key is applying thin layers and sealing with a pearl‑infused top coat.
How long do milky nails typically last?
With a high‑quality top coat, regular polish milky nails stay chip‑free for 7‑10 days. Gel milky finishes can last 14‑16 days if properly cured.
Are milky nails safe for weak or brittle nails?
Absolutely. The light opacity reduces the need for thick layers, which lessens stress on the nail plate. Pair the look with a nourishing cuticle oil and a strengthening base coat like OPI Envy.
Can I add glitter or other embellishments without ruining the milky effect?
Yes. Apply ultra‑fine mica glitter or a single strip of holographic nail after the milky layer but before the final top coat. The seal keeps the sparkle subtle and preserves the milky translucency.
What is the best way to remove milky nail polish at home?
Soak a cotton ball in non‑acetone remover, place it on the nail, and wrap with foil for 5‑7 minutes. Gently push off the polish with a wooden pusher. For gel milky finishes, follow the steps in our gel nail removal at home guide.
Conclusion – Your Actionable Takeaway
Milky nails are a versatile, elegant option that bridges the gap between sheer polish and full‑coverage color. By investing in a quality base coat, selecting a semi‑opaque milky polish, and sealing with a pearl‑infused top coat, you can achieve a salon‑level finish in under 30 minutes. Remember to hydrate your cuticles nightly, protect the finish with gloves, and replace the polish after 10‑12 days for the best look.
Ready to try it? Grab an Essie “Milk & Honey” and OPI Envy base, follow the step‑by‑step guide above, and you’ll have milky nails that turn heads at any event—whether it’s a wedding, a photoshoot, or just a casual coffee date.