
Ever wondered why some nail looks like a sunrise caught in a bottle while others just fade blandly?
In This Article
- Understanding Ombre Gel Nails
- Essential Tools & Products
- Step‑by‑Step Application Guide
- Common Mistakes & How to Fix Them
- Maintenance and Removal
- Pro Tips from Our Experience
- Gel Polish Kits vs. Salon Pricing: A Quick Comparison
- Frequently Asked Questions
- Conclusion: Your Next Ombre Gel Nail Is Just a Few Steps Away
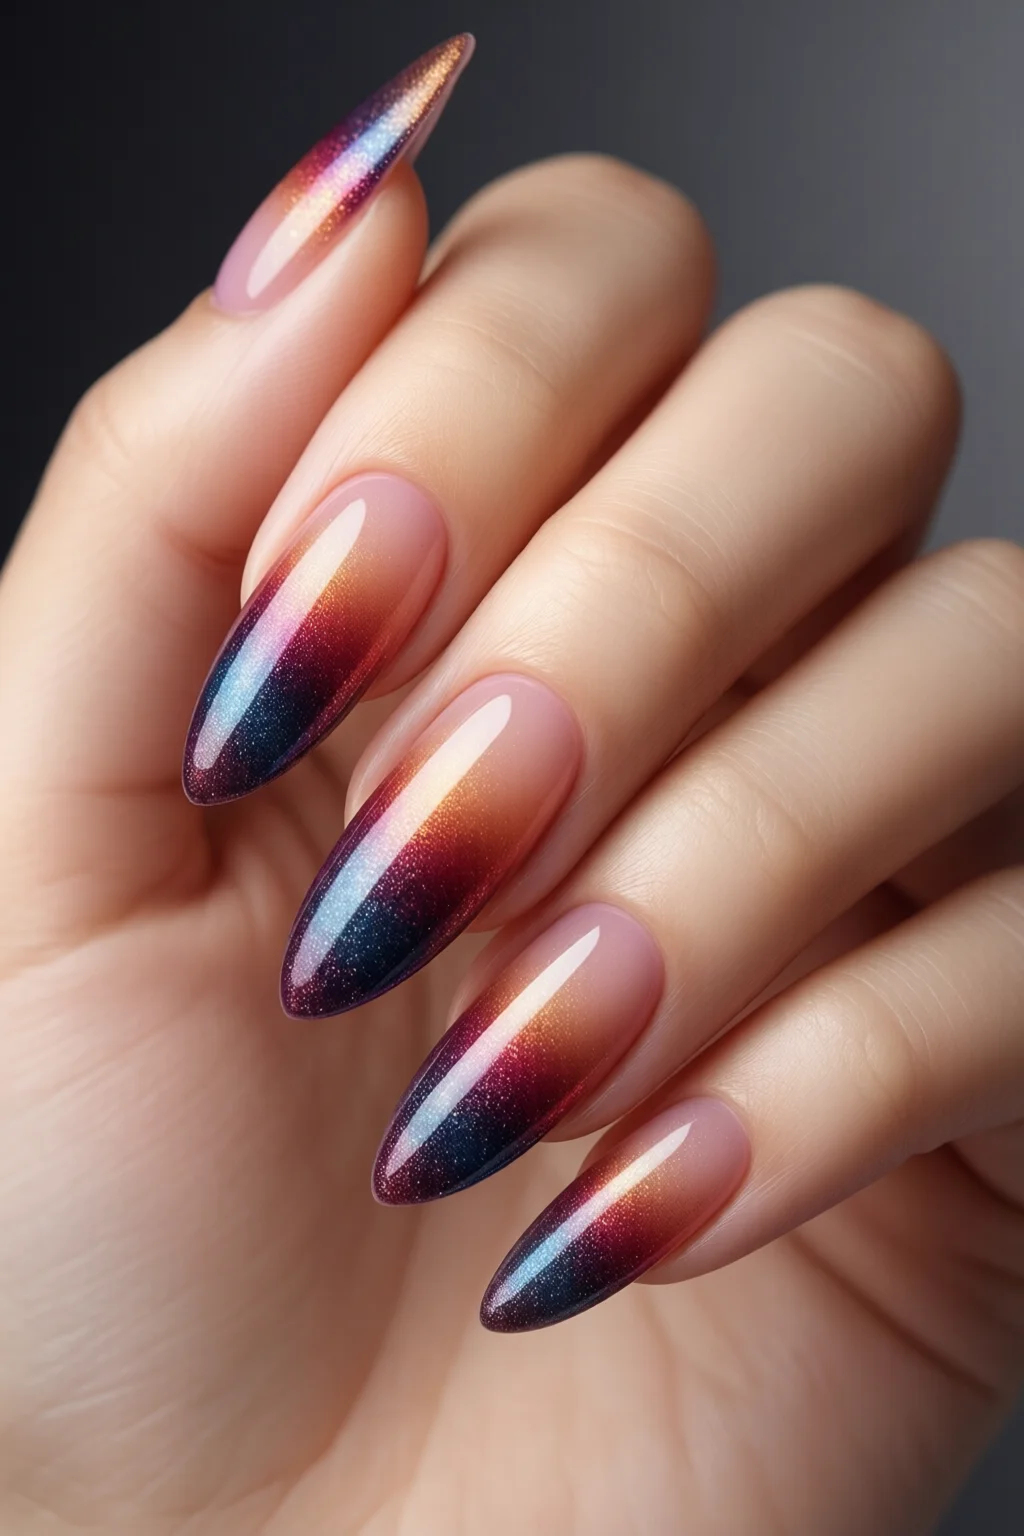
That magical transition is the hallmark of ombre gel nails, a technique that blends two or more shades seamlessly on a durable gel base. In my ten‑year run as a freelance nail artist, I’ve seen clients light up when their ombre finishes stay glossy for three weeks without a single chip. Whether you’re a DIY enthusiast or a salon pro, mastering this gradient can elevate your nail game and keep clients coming back.
Understanding Ombre Gel Nails
What makes an ombre different from a simple gradient?
An ombre is a deliberate, smooth transition where one color fades into another, often from light to dark, creating depth. A gradient can be abrupt or uneven, while an ombre demands a seamless blend. The key is controlling the pigment density on the brush or sponge and using a high‑quality gel that cures evenly under UV/LED light.
Popular color combos and trends
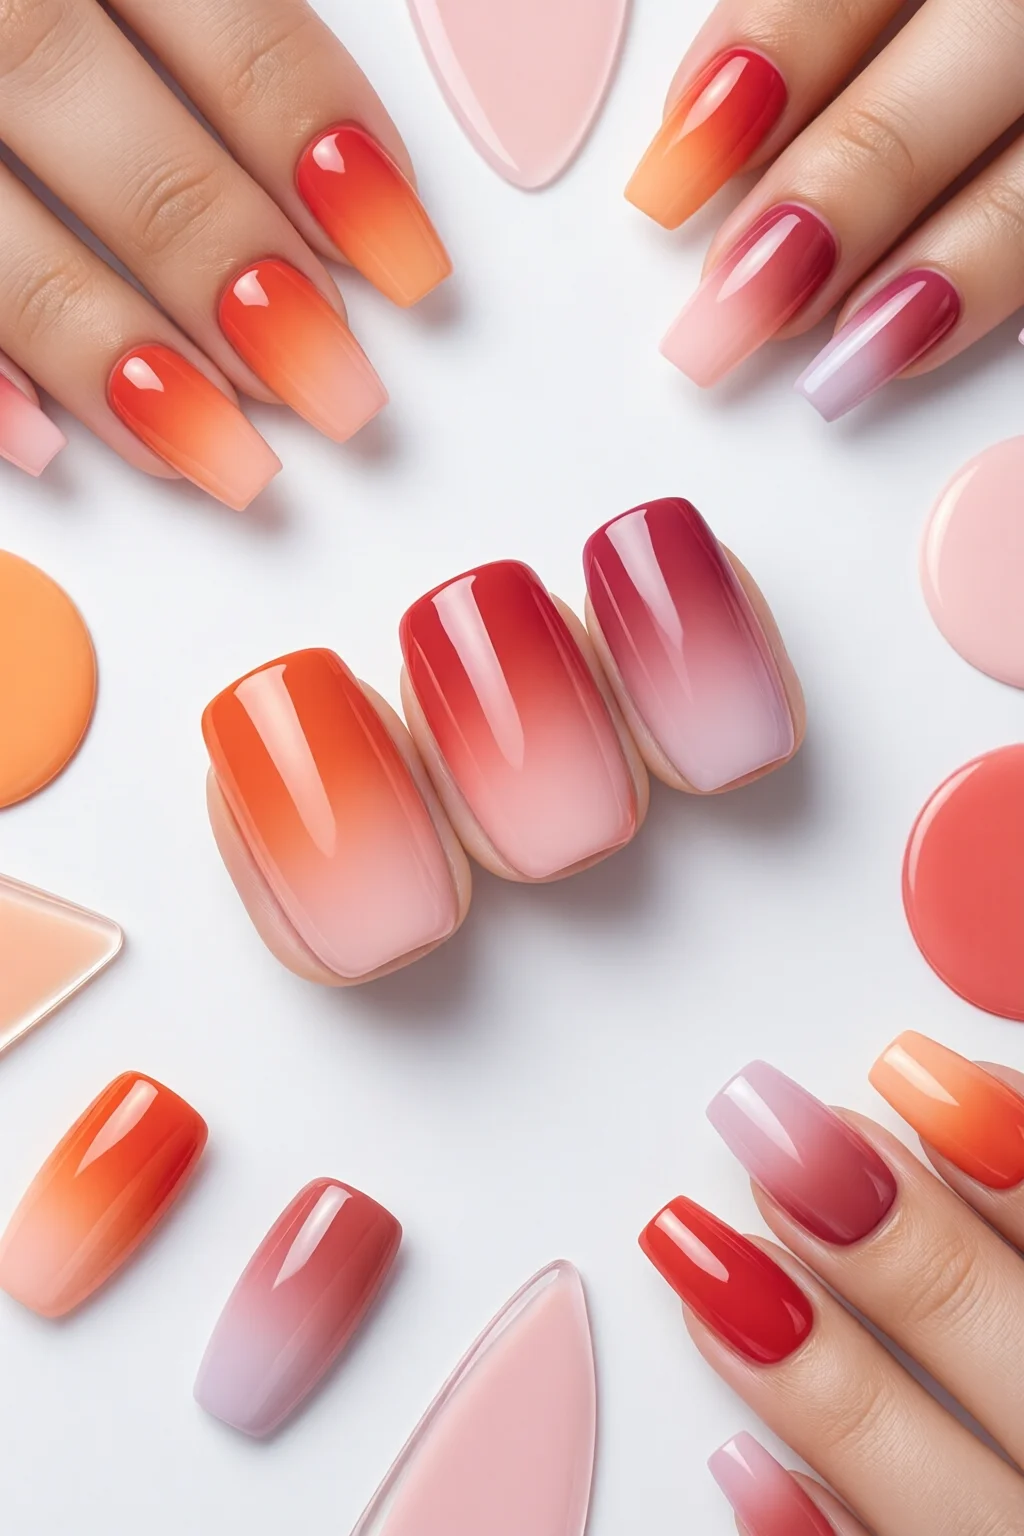
Current salon floors are buzzing with pastel‑to‑neon pairings—think lilac melting into electric pink, or soft peach into coral orange. Classic French ombre, where the tip fades from sheer pink to crisp white, remains a bestseller. For fall, I love a deep plum fading into metallic gold; the metallic adds sparkle without the need for glitter.
Pros and cons vs. other techniques
Pros: Long‑lasting (up to 21 days), high shine, and no drying time after curing. Cons: Requires practice to avoid banding, and the initial setup cost (lamp, gel kits) can be $80‑$150.
Essential Tools & Products
Gel polish brands you can trust
My go‑to brands are:
- Gelish – $12.99 per 15 ml bottle, UV‑cure, excellent opacity.
- OPI GelColor – $13.50, LED‑cure, wide color range.
- CND Shellac – $14.20, known for durability, slightly thicker consistency.
All three have low odor and a finish that stays glossy without a top coat, though I still seal with a top coat for extra protection.
UV/LED lamps: 48W vs. 36W
A 48‑watt UV lamp (e.g., SUNUV 48W UV Lamp, $45) cures in 30 seconds per layer, saving time for busy salons. A 36‑watt LED lamp (e.g., MelodySusie 36W LED, $39) is gentler on the skin and works well with newer LED‑only gels. If you’re switching between brands, a dual‑mode lamp is worth the $70 investment.
Brushes, sponges, and accessories
For a perfect ombre, I use a synthetic gradient brush ($8.99) for precise lines and a natural sea‑sponge ($5.49) for soft fades. Add a nail file (180‑grit), a buffer block, and a set of cuticle pusher ($12 total). Don’t forget lint‑free wipes and isopropyl alcohol (70%) for cleaning.
Step‑by‑Step Application Guide
Prep and base coat
1. Clean the nail with a 70% alcohol pad.
2. Push back cuticles and file to desired shape (I recommend a slight almond for better gradient flow).
3. Apply a thin base coat (Gelish Base Coat, $13) and cure 30 seconds under a 48W UV lamp.
Creating the gradient
1. Dispense two gel colors onto a palette. Using a brush, load the darker shade on the tip and the lighter shade near the cuticle.
2. With a damp sea‑sponge, gently dab the colors together, moving from tip to base. The sponge’s pores retain a small amount of gel, allowing a smooth transition without streaks.
3. If you prefer a sharper line, use a brush to paint the darker shade first, then “feather” the lighter shade into it with a clean brush.
4. Cure for 30 seconds. Repeat the dabbing for a second layer if the colors are too sheer; each extra layer adds about $0.50 in product cost.
Sealing with top coat and curing
Apply a thin layer of OPI GelColor Top Coat ($14) and cure for 60 seconds. Wipe the tacky layer with an alcohol pad. Your ombre gel nails are now ready for a glossy finish that can survive a week’s worth of typing, cooking, and even a light workout.

Common Mistakes & How to Fix Them
Banding and uneven fade
One mistake I see often is over‑loading the sponge, which creates dark bands. The fix? Lightly dampen the sponge with a few drops of gel remover and press gently. This thins the gel on the sponge, smoothing the transition.
Premature chipping
If the gel lifts after 5‑7 days, you likely missed a proper cure or used a low‑quality top coat. Re‑cure the top coat for an extra 10 seconds, and ensure the lamp’s bulb is still at 90% output (replace every 6 months).
Over‑curing or under‑curing
Over‑curing can make the gel brittle, leading to cracks. Under‑curing leaves a sticky surface. Use a timer and follow the manufacturer’s recommended times. For a 48W lamp, 30 seconds for base/top coats and 30 seconds for color layers is ideal.
Maintenance and Removal
Extending wear time
Apply a thin layer of cuticle oil daily; it prevents the gel from dehydrating and reduces lifting. Avoid harsh chemicals like acetone‑based cleaners—switch to a gentle, non‑acidic hand soap.
Safe removal methods
When it’s time to say goodbye, soak a cotton pad in 100% acetone, place it on the nail, and wrap with foil for 10‑12 minutes. Gently push the gel off with a wooden stick. For a detailed guide, see our article on remove dip powder nails, which shares the same safe soaking technique.
Nail health considerations
Clients over 50 often worry about nail thinning. I recommend a fortified base coat like IBD 5‑Star Base ($18) that contains calcium. Pair it with weekly nail-strengthening serums to keep the nail plate resilient.
Pro Tips from Our Experience
- Temperature matters: Warm your gel bottles in a 30°C (86°F) water bath for 2 minutes before use. Warm gel flows better, reducing streaks.
- Layer timing: If you’re doing a complex three‑color ombre, cure each color layer separately before blending. This prevents muddy hues.
- Finish with a matte top coat: For a modern twist, swap the glossy top coat for a matte one (Gelish Matte Top, $13). It adds a velvety texture while still protecting the gradient.
- Use a nail drill sparingly: Lightly buff the surface after the final cure to eliminate any air bubbles. Over‑buffing thins the gel and can cause cracks.
- Client education: Provide a one‑page aftercare sheet linking to water marble nails DIY and nail glue guide for those who love experimenting at home.
Gel Polish Kits vs. Salon Pricing: A Quick Comparison
| Option | Initial Cost | Per‑Nail Cost | Longevity | Best For |
|---|---|---|---|---|
| DIY Gel Kit (48W lamp + 3 gels) | $85 | $2.50 | 21 days | Home users, hobbyists |
| Professional Salon Service | $0 (pay per visit) | $35‑$45 | 21‑28 days | Clients seeking flawless finish |
| Hybrid (Buy gels, use salon lamp) | $45 (lamps) + $13 per gel | $3.80 | 21 days | Semi‑pro technicians |
Frequently Asked Questions
How long does it take to do ombre gel nails at home?
A full set, including prep, two‑layer gradient, and top coat, typically takes 45‑60 minutes for a seasoned DIYer. Beginners may need 75‑90 minutes.
Can I use regular nail polish for an ombre effect?
Regular polish can create a gradient, but it won’t have the same durability or high‑gloss finish as gel. Expect chips within 3‑5 days.
Is it safe to wear ombre gel nails every week?
Yes, as long as you give your natural nails a break every 2‑3 weeks, moisturize cuticles, and remove the gel properly using acetone soak.
What’s the best way to fix a lifted edge?
Lightly buff the lifted area, clean with alcohol, apply a thin layer of gel, and cure for an additional 20 seconds. This “re‑seal” often extends wear by another week.
Can I combine ombre gel with nail art like studs or decals?
Absolutely. Apply the ombre first, cure, then add studs, decals, or even a duck nail shape. Seal with a final top coat to lock everything in.
Conclusion: Your Next Ombre Gel Nail Is Just a Few Steps Away
Now that you have the tools, the technique, and the pro tips, creating salon‑quality ombre gel nails is within reach. Set aside an hour, follow the step‑by‑step guide, and you’ll walk away with a gradient that lasts three weeks and looks as if a professional did it. Remember to keep your lamp’s bulb fresh, invest in quality gel brands, and always finish with a top coat. Your nails will thank you, and your friends will be asking, “Where did you get those?”—the perfect compliment for any nail artist.
1 thought on “Ombre Gel Nails: Complete Guide for 2026”