Imagine you’re getting ready for a weekend brunch, and you want your nails to look like a sunrise melting into a pastel sky—effortlessly chic, eye‑catching, and totally doable at home. With the sponge gradient nails technique, you can achieve that seamless blend of colors in under an hour, using tools you probably already have in your nail kit.
In This Article
What You Will Need (Before You Start)
- Base coat: OPI Nail Envy (30 ml, $12) or any quick‑dry base you trust.
- Top coat: Seche Vita Ultra (15 ml, $14) for a glossy finish that lasts.
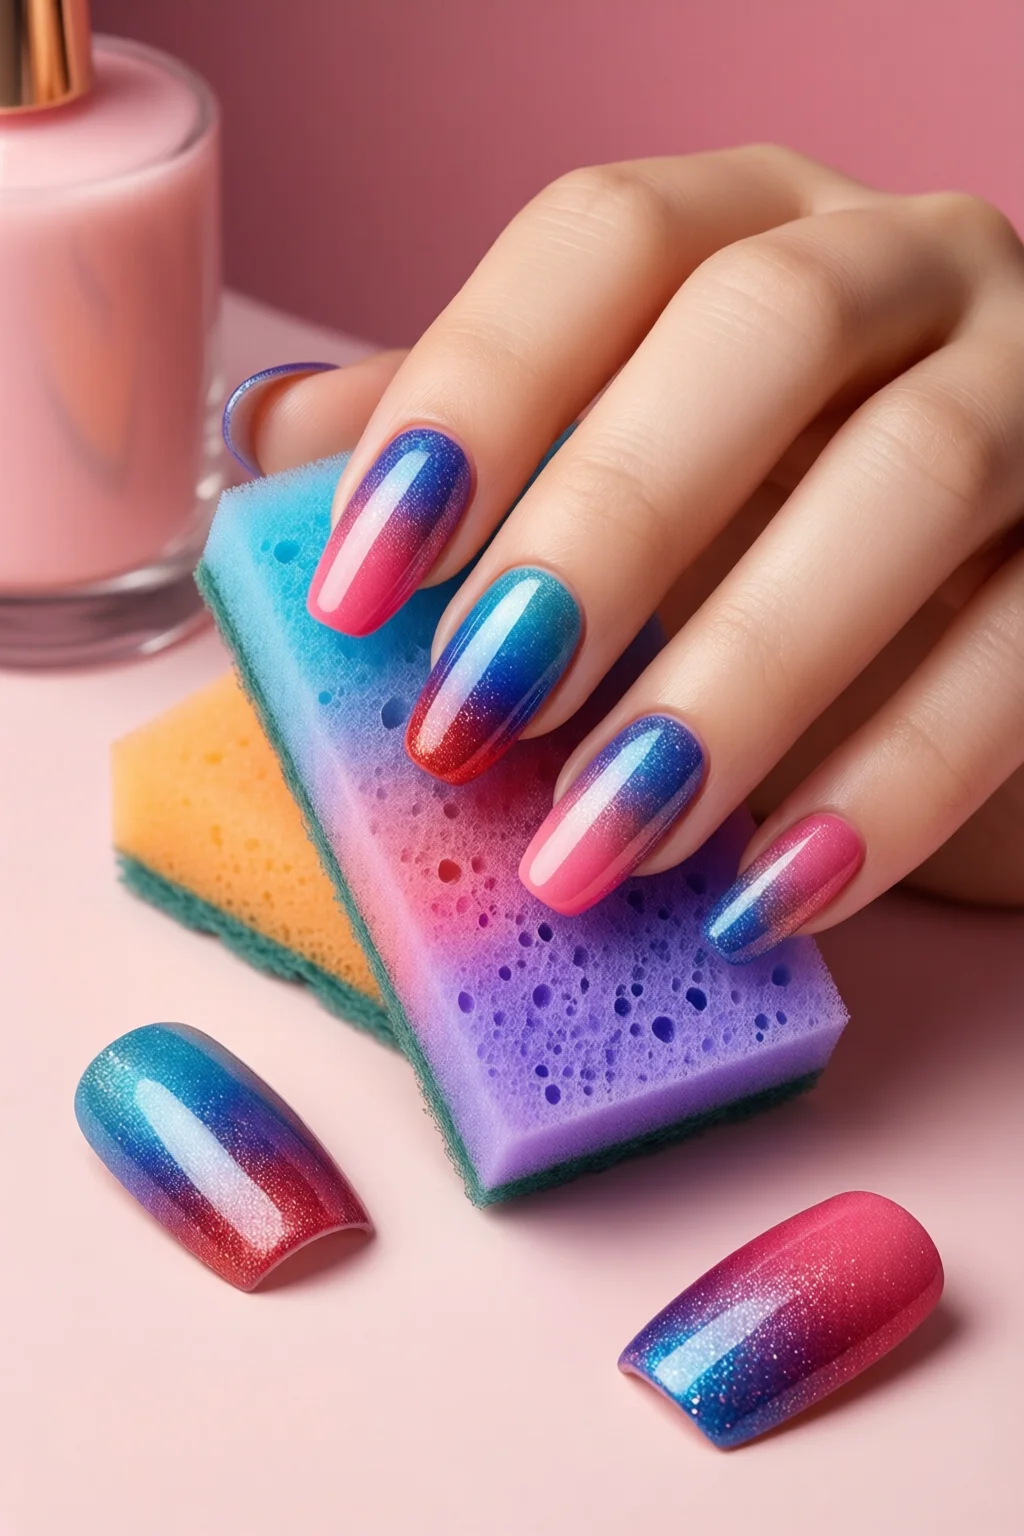
- Sponge: Natural sea‑foam kitchen sponge (cut into a 2‑inch square) – about $2 at Target.
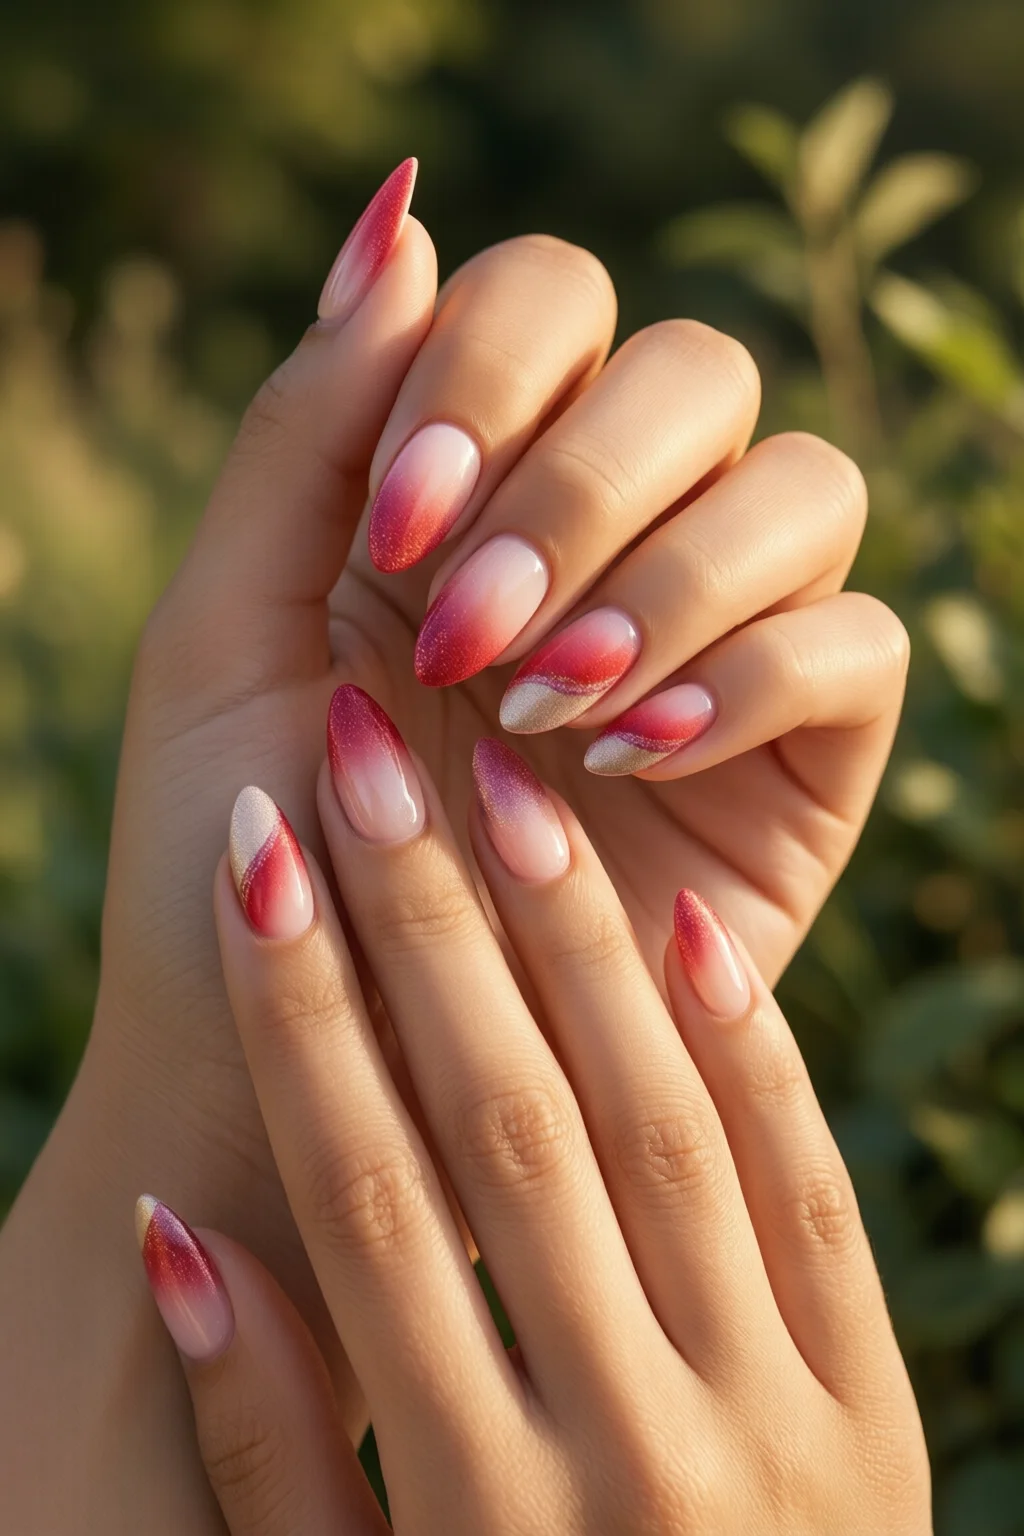
- Polish colors: Choose three shades that transition well. My go‑to combo for a soft pink‑orange sunrise is:
- Kiss Color Pop “First Kiss” (peach) – $8
- Kiss Color Pop “Blush Rush” (coral) – $8
- Kiss Color Pop “Petal” (light pink) – $8
- Clear nail polish: For sealing the gradient; Sally Hansen “Hard as Nails” (15 ml, $9).
- Cuticle oil: OPI Nail Oil (15 ml, $10) – keeps nails healthy.
- Optional tools: Nail file (180‑grit), buffer, cotton pads, and a quick‑dry fan (e.g., Bliss Air Mini, $30) to speed up curing.
Having everything laid out before you start cuts down the overall time to about 45 minutes, including drying.
Step 1 – Prep Your Nails
Start with clean, filed nails. I always shape them to a soft square; it gives the gradient a larger canvas. Gently push back cuticles with a wooden stick, then buff the surface lightly to remove shine. Wash away any dust with a cotton pad soaked in acetone‑free remover.
Apply a thin layer of your chosen base coat. Let it dry for 2 minutes—if you have a quick‑dry fan, point it at your nails to shave off the waiting time. A good base ensures the colors won’t chip during the sponge process.
Step 2 – Choose and Arrange Your Colors
Pour a small amount of each polish onto a clean, flat surface (a disposable palette works great). The order matters: place the lightest shade at the top of the stack, the darkest at the bottom. For the sunrise look, it’s pink on top, coral in the middle, and peach at the bottom.
Using a disposable brush, dab a thin line of each color onto the sponge, making sure the lines are even and about 2 mm apart. Too much polish will cause blotches; too little will result in a weak gradient.
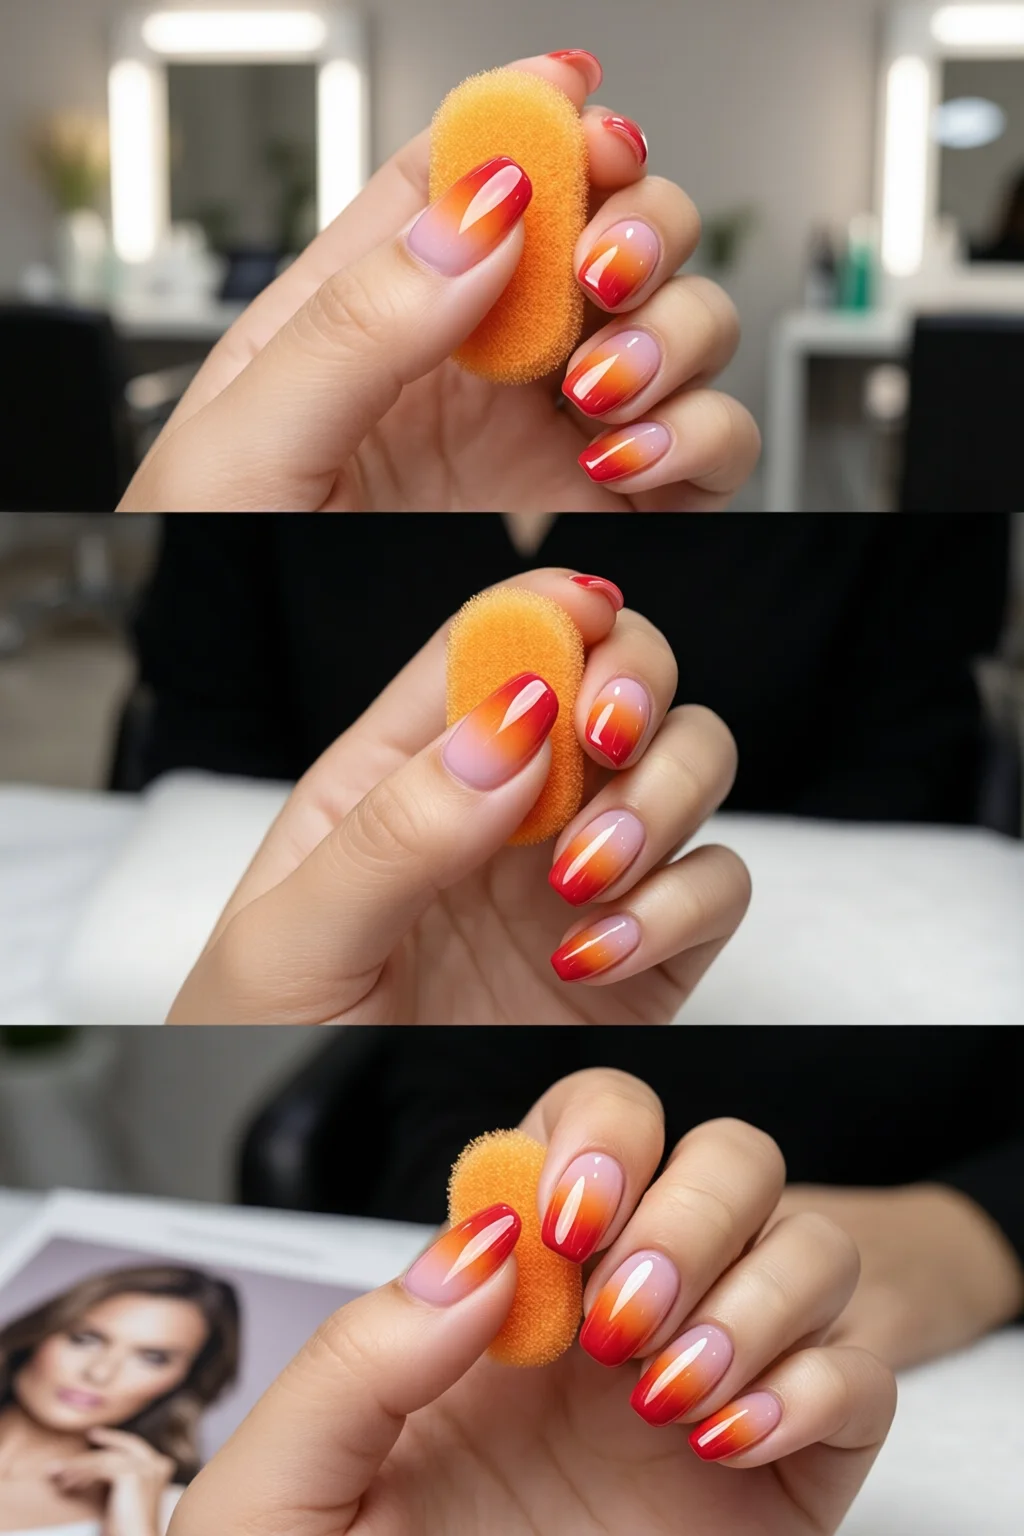
Step 3 – Sponge the Gradient Onto Your Nails
Press the sponge gently onto the tip of one nail. Don’t press too hard—you want the polish to soak into the sponge, not spread across the entire nail instantly. Lift the sponge and repeat on the next nail, rotating the sponge slightly each time to avoid a repeat pattern.
After covering all ten nails, gently dab the sponge back onto the palette to pick up any excess polish, then go back and lightly press each nail again. This second press blends the colors and eliminates harsh lines.
Allow the polish to set for 30 seconds. If you’re in a hurry, a quick‑dry fan can reduce this to 10 seconds.
Step 4 – Seal the Gradient
Apply a thin layer of clear polish over the gradient to lock in the colors. This step is essential; without it, the sponge marks can lift after a few days. Let the clear coat dry for 2 minutes, then apply a second thin layer for extra shine and durability.
Finish with a top coat of Seche Vita Ultra. This top coat adds a high‑gloss finish and extends wear time to up to two weeks, according to the manufacturer’s claim.
Step 5 – Clean Up and Finish
Use a small brush dipped in acetone‑free remover to clean any polish that got onto the skin around the nail bed. Finish with a few drops of cuticle oil, massaging it into the cuticles and surrounding skin. This not only looks polished but also prevents dryness.
Let your nails rest for at least 5 minutes before using them heavily. If you plan to wear your nails for a special event, give them an extra hour of drying time to ensure the gradient is fully set.
Common Mistakes to Avoid
- Over‑loading the sponge: Too much polish makes the gradient look muddy. Use a brush to spread excess.
- Pressing too hard: A firm press can cause the colors to bleed irregularly, creating a “smeared” effect.
- Skipping the top coat: Without sealing, the gradient will chip within a day.
- Using old polish: Thick, clumped polish doesn’t absorb well. Thin it with a couple of drops of nail polish thinner if needed.
- Not rotating the sponge: Repeating the same pattern leaves a “stamped” look rather than a true gradient.
Tips for Best Results
Work in a well‑ventilated area. The fumes from multiple polish layers can be strong, especially if you’re using a quick‑dry fan.
Temperature matters. A warm room (around 22 °C/72 °F) helps the polish set evenly. In colder climates, add an extra minute to each drying step.
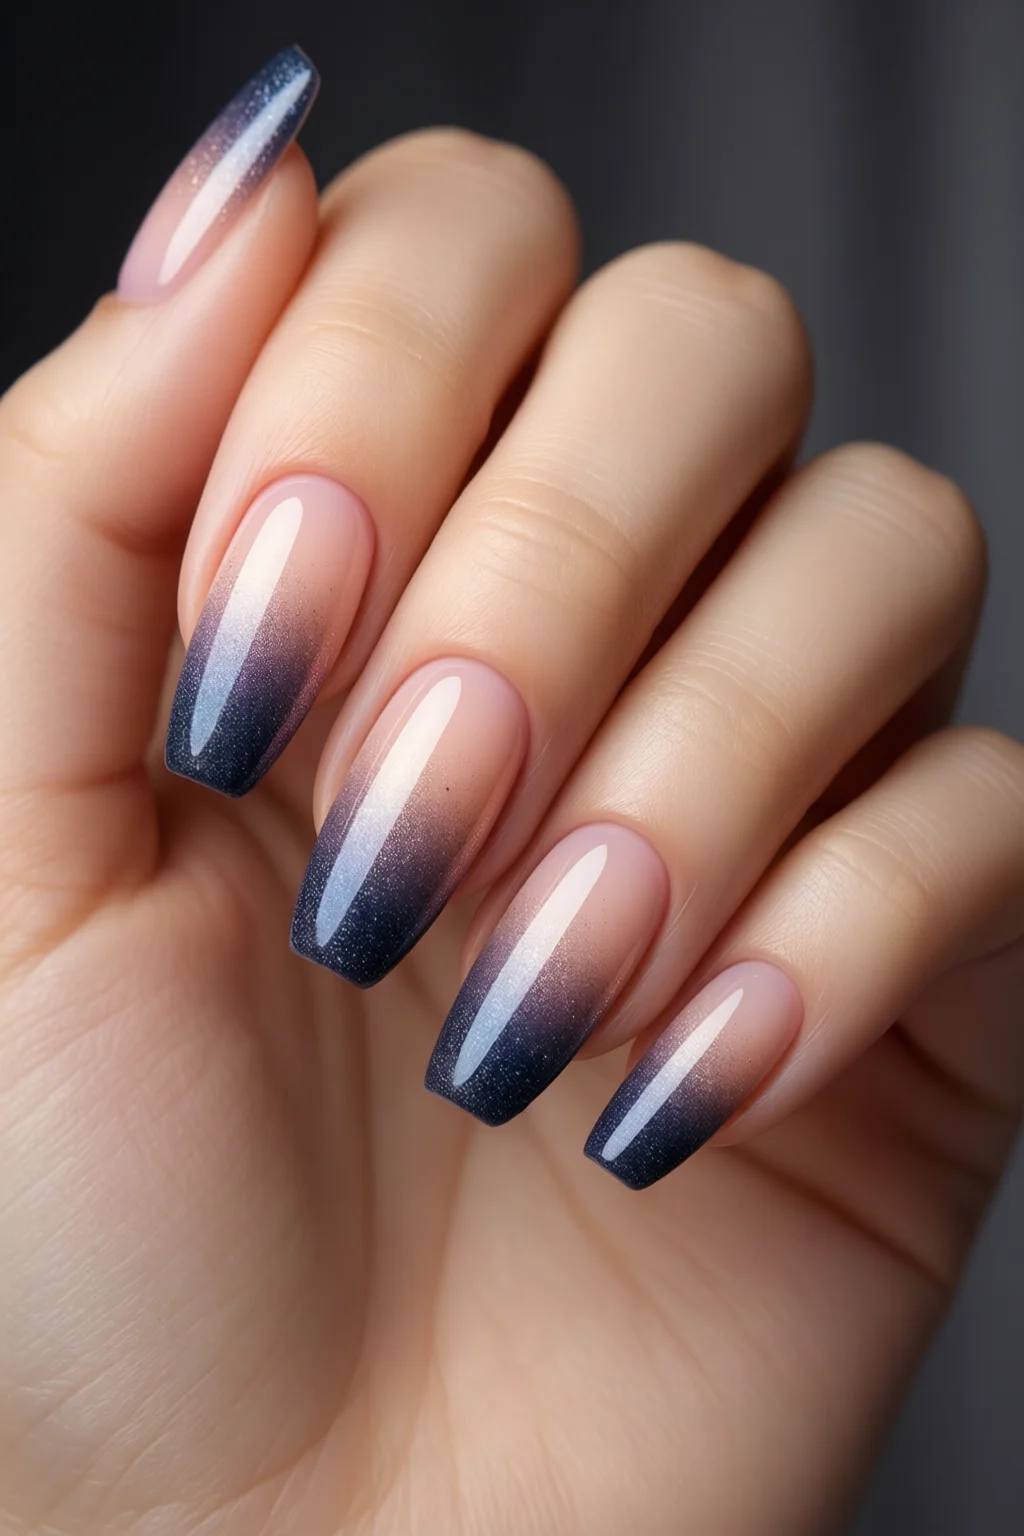
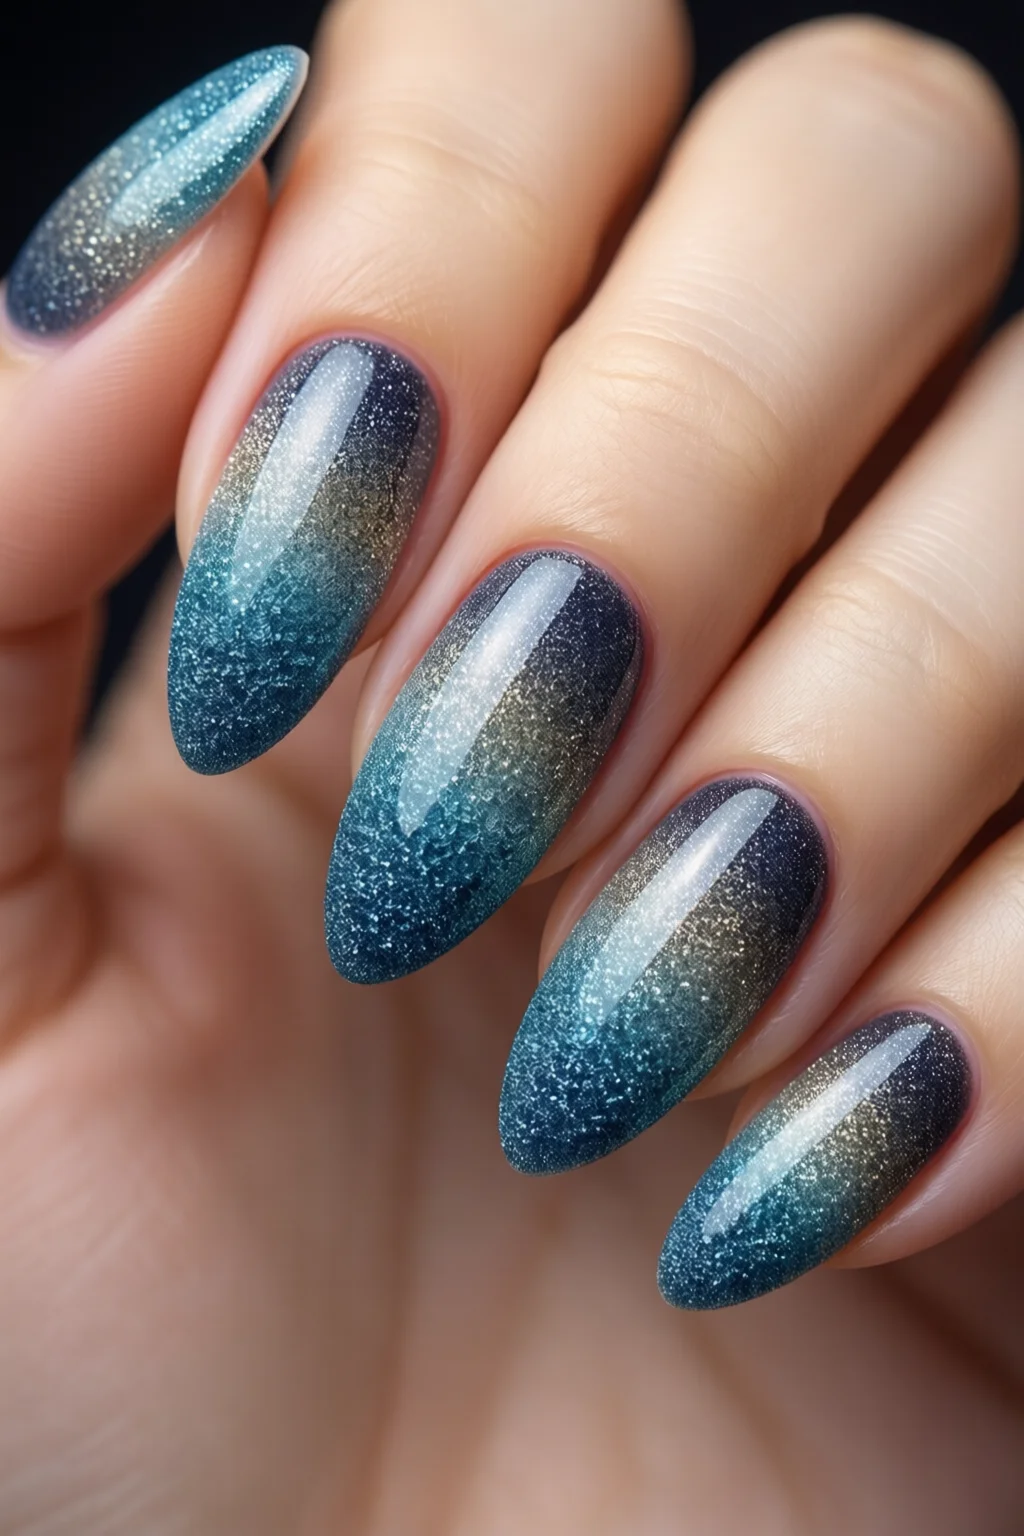
Experiment with color combos. For a bold look, try a neon base (e.g., ILNP “Electric Blue”) fading into a glitter top (e.g., Essie “Glitter Bomb”). For a subtle vibe, stick to analogous shades like mauve‑to‑lavender.
Use a nail file after the gradient. Lightly shape the tip once the polish is fully cured; this removes any rough edges and enhances the gradient’s smoothness.
If you’re curious about combining this technique with other trends, check out our guide on hand painted nail art for ideas on adding tiny details over the gradient.
FAQs
How long do sponge gradient nails typically last?
With a proper base and top coat, you can expect 7‑10 days of chip‑free wear. Adding a second top coat layer can push durability to 14 days, especially if you avoid heavy manual work.
Can I do sponge gradients on gel nails?
Absolutely. Apply a thin layer of gel base, cure it under a UV/LED lamp (30 seconds), then sponge the colors using gel polish. Cure each sponge press for 60 seconds. Finish with a gel top coat and cure again. For a full guide, see how to cure gel nails.
Do I need a special sponge for nail art?
A regular kitchen sea‑foam sponge works fine. Just cut it to a 2‑inch square and wash it with soap before use. Some artists prefer a dedicated nail art sponge (e.g., MiroPro Sponge, $5) because it’s denser and less likely to shed fibers.
Can I combine sponge gradients with glitter or foil?
Yes. After the gradient is fully cured, apply a thin layer of glitter polish or a foil transfer. Seal with a top coat to lock everything in place.
What’s the best way to clean the sponge after use?
Rinse the sponge under warm water, then soak it in a 1:1 mixture of warm water and gentle soap for 5 minutes. Squeeze out excess water and let it air‑dry completely before the next use.
Summary
Mastering sponge gradient nails is less about fancy equipment and more about a few simple steps, good color choices, and patience. By following the prep, sponge, seal, and finish routine outlined above, you’ll create a salon‑quality ombré that lasts. Remember to keep your sponge clean, rotate colors, and always lock the gradient with a clear top coat. With a little practice, you’ll be able to switch from sunrise pastels to bold neon fades in minutes—perfect for any occasion, from brunches to boardrooms.
Ready to try something new? Pair your gradient with a subtle espresso nail accent on the ring finger, or experiment with Korean nail art motifs by adding tiny dots from kbeauty collections. The possibilities are endless, and your nails are the perfect canvas.