
Ready to rock a salon‑quality gel manicure without the irritation that HEMA can cause? This guide shows you exactly how to use HEMA free gel polish, what you’ll need, and how to avoid the common pitfalls that turn a flawless finish into a flake‑fest.
In This Article
- What You Will Need (Before You Start)
- Step 1: Choose the Right HEMA Free Gel Polish for Your Needs
- Step 2: Prep Your Nails Like a Pro
- Step 3: Apply a HEMA Free Base Coat
- Step 4: Layer the Color – The Heart of Your Gel Manicure
- Step 5: Seal with a HEMA Free Top Coat
- Step 6: Post‑Care and Longevity Tips
- Common Mistakes to Avoid
- Troubleshooting & Tips for Best Results
- FAQ
What You Will Need (Before You Start)
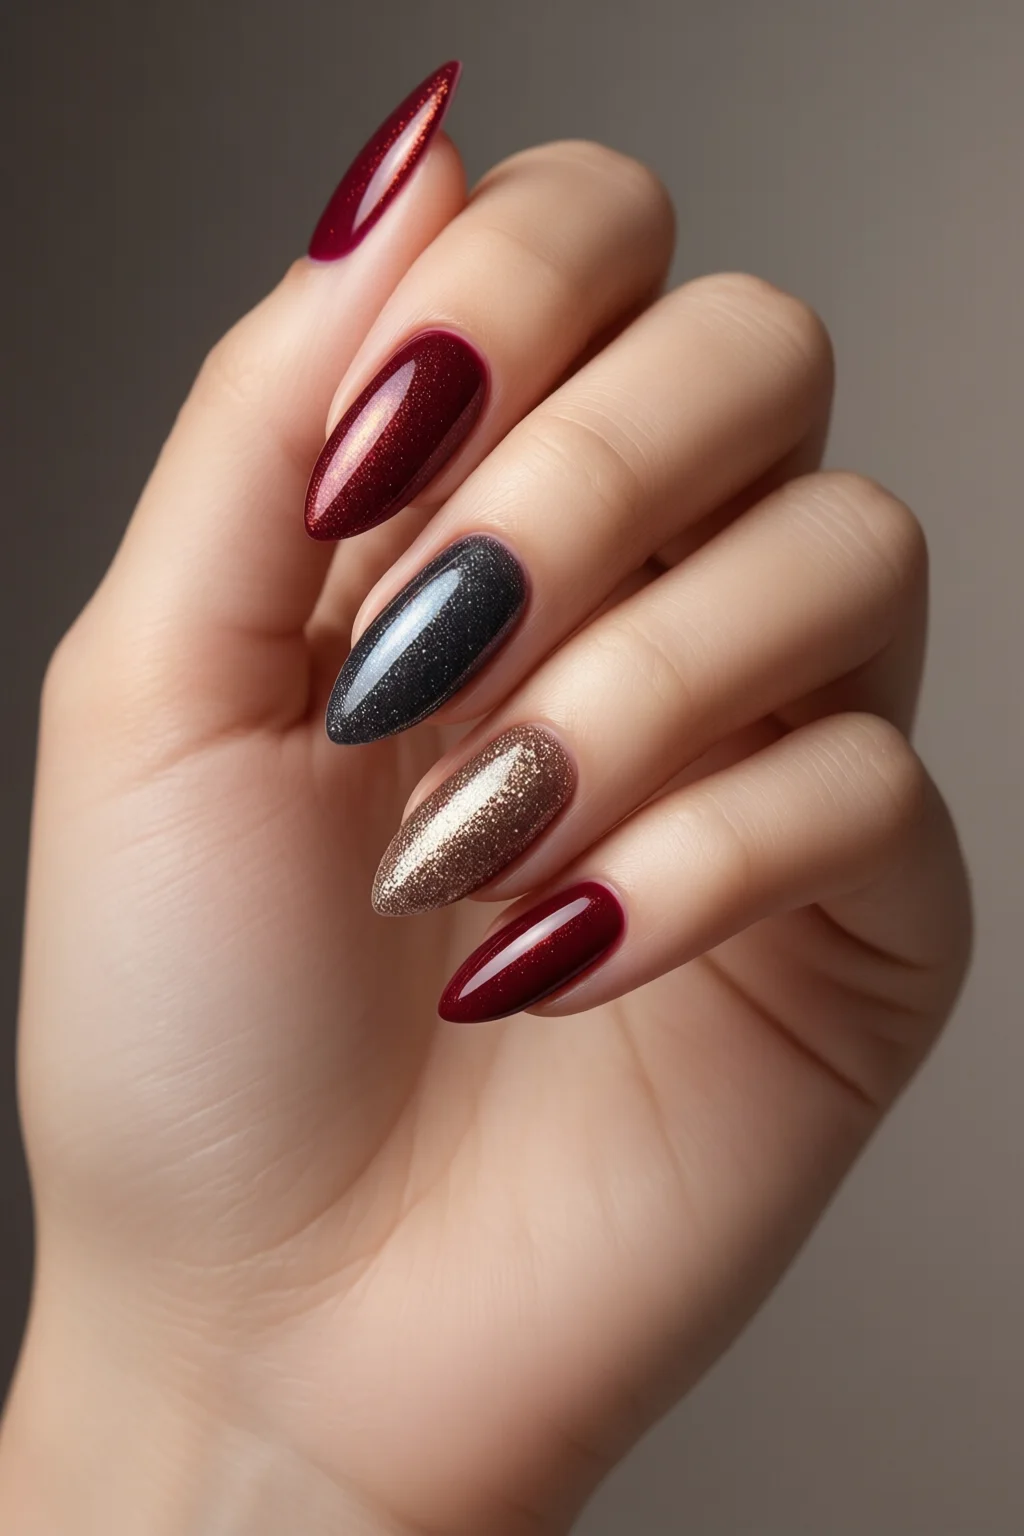
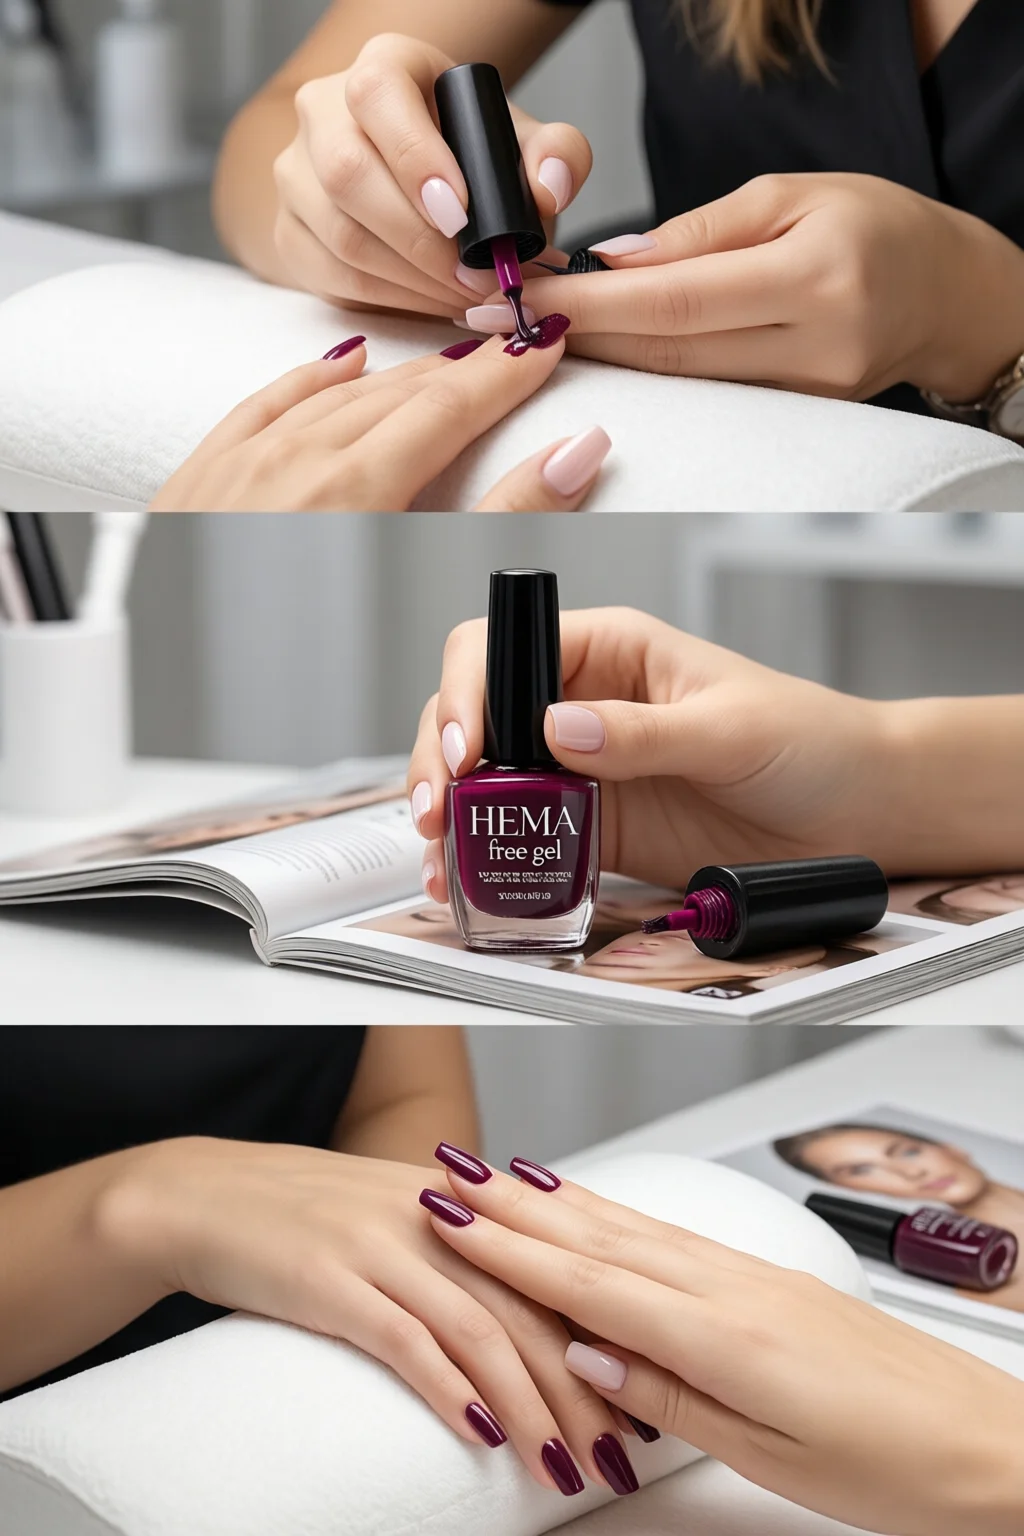
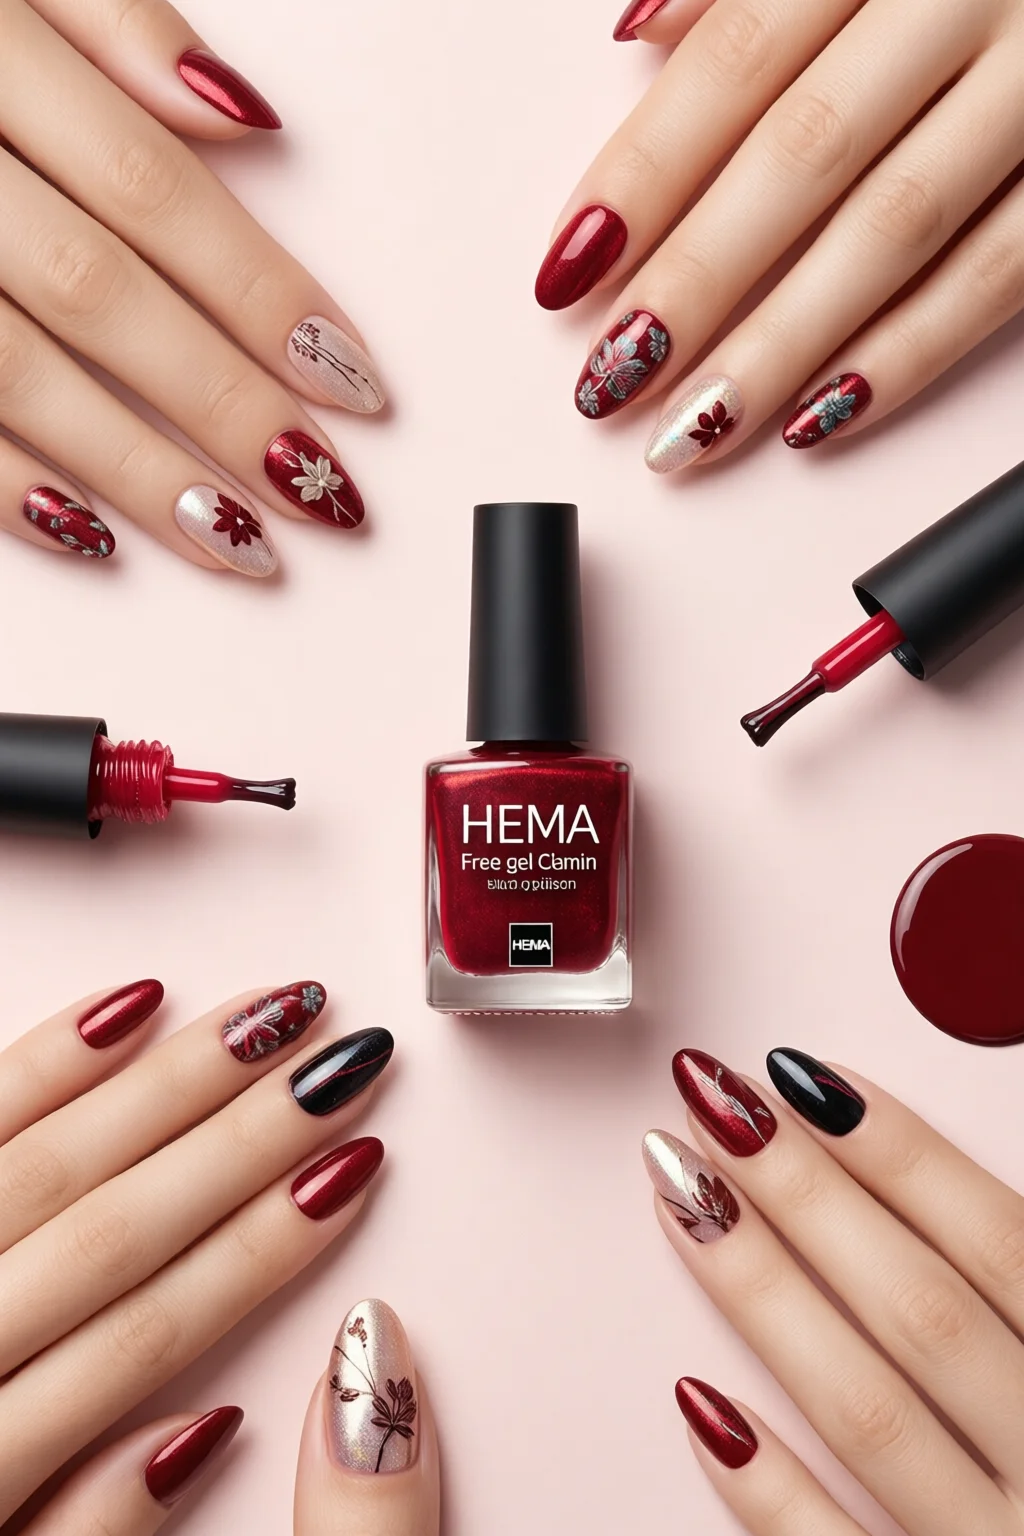
- HEMA free gel polish: I keep three favorites on hand:
- Zoya HEMA Free Gel Polish – 0.5 oz, $12.99 (shade “Baker’s Pink”).
- Modelones HEMA Free Gel Nail Polish – 0.7 oz, $9.95 (shade “Midnight Blue”).
- Ella + Mila HEMA Free Gel – 0.6 oz, $13.50 (shade “Coral Crush”).
- Base coat and top coat that are also HEMA‑free (e.g., Seche Vite HEMA‑Free Base & Top, $11.99 for 15 ml each).
- LED lamp (36 W, 2‑minute cure) – I use the SUNUV 48W LED, $34.99.
- Nail file, buffer, cuticle pusher, and lint‑free wipes.
- Isopropyl alcohol (70 % – 99 %) for cleaning.
- Optional: non toxic nail polish remover for quick clean‑ups.
Pro tip: Store your gel polish in a cool, dark place. I keep a small cooler in my studio; it extends shelf life by about 6 months.
Step 1: Choose the Right HEMA Free Gel Polish for Your Needs
Not all HEMA‑free formulas are created equal. Look for clear labeling and third‑party testing. The brands listed above have passed the EcoSafe certification, meaning they contain less than 0.05 % HEMA and no known carcinogens. If you have sensitive skin or a history of nail allergies, opt for a shade with added soothing ingredients like vitamin E (found in Zoya’s “Baker’s Pink”).
Step 2: Prep Your Nails Like a Pro
- File each nail to your desired shape – I prefer a squoval for strength and style.
- Buff the surface lightly (about 10‑15 seconds) to remove shine; this helps the base coat adhere.
- Push back cuticles gently with a wooden pusher; avoid cutting them to prevent infection.
- Clean the nail plate with a lint‑free wipe soaked in 70 % isopropyl alcohol. Let dry for 30 seconds.
Skipping any of these steps can cause premature lifting, especially with HEMA‑free formulas that rely on a clean surface for chemical bonding.
Step 3: Apply a HEMA Free Base Coat
Dispense a thin line of the base coat, then use the brush to spread it from cuticle to tip. Aim for a film no thicker than a rice grain. Cure under the LED lamp for 30 seconds (my SUNUV lamp’s “Fast” setting). A properly cured base prevents bubbling later on.
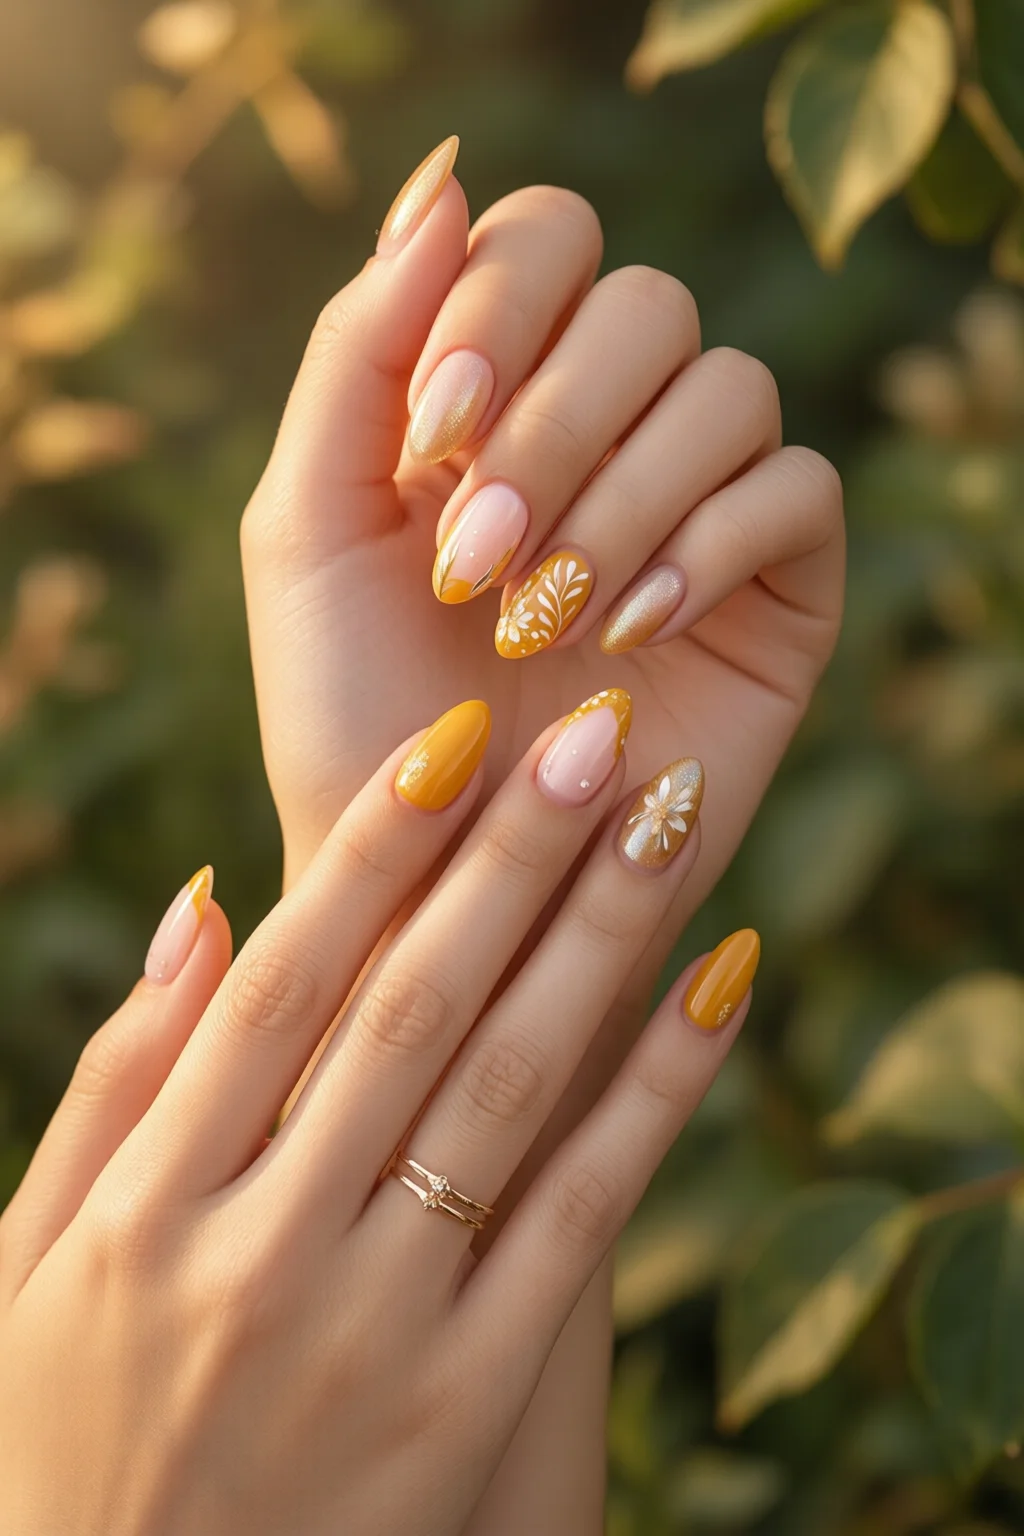
Step 4: Layer the Color – The Heart of Your Gel Manicure
Shake the bottle gently – not vigorously – to avoid air bubbles. Apply the first thin coat, making sure the edges are sealed (the “wall” technique). Cure for 30 seconds. If you need full opacity, a second coat is usually enough; each coat adds roughly 0.12 mm of thickness, so two coats stay under the 0.3 mm safe limit for most natural nails.
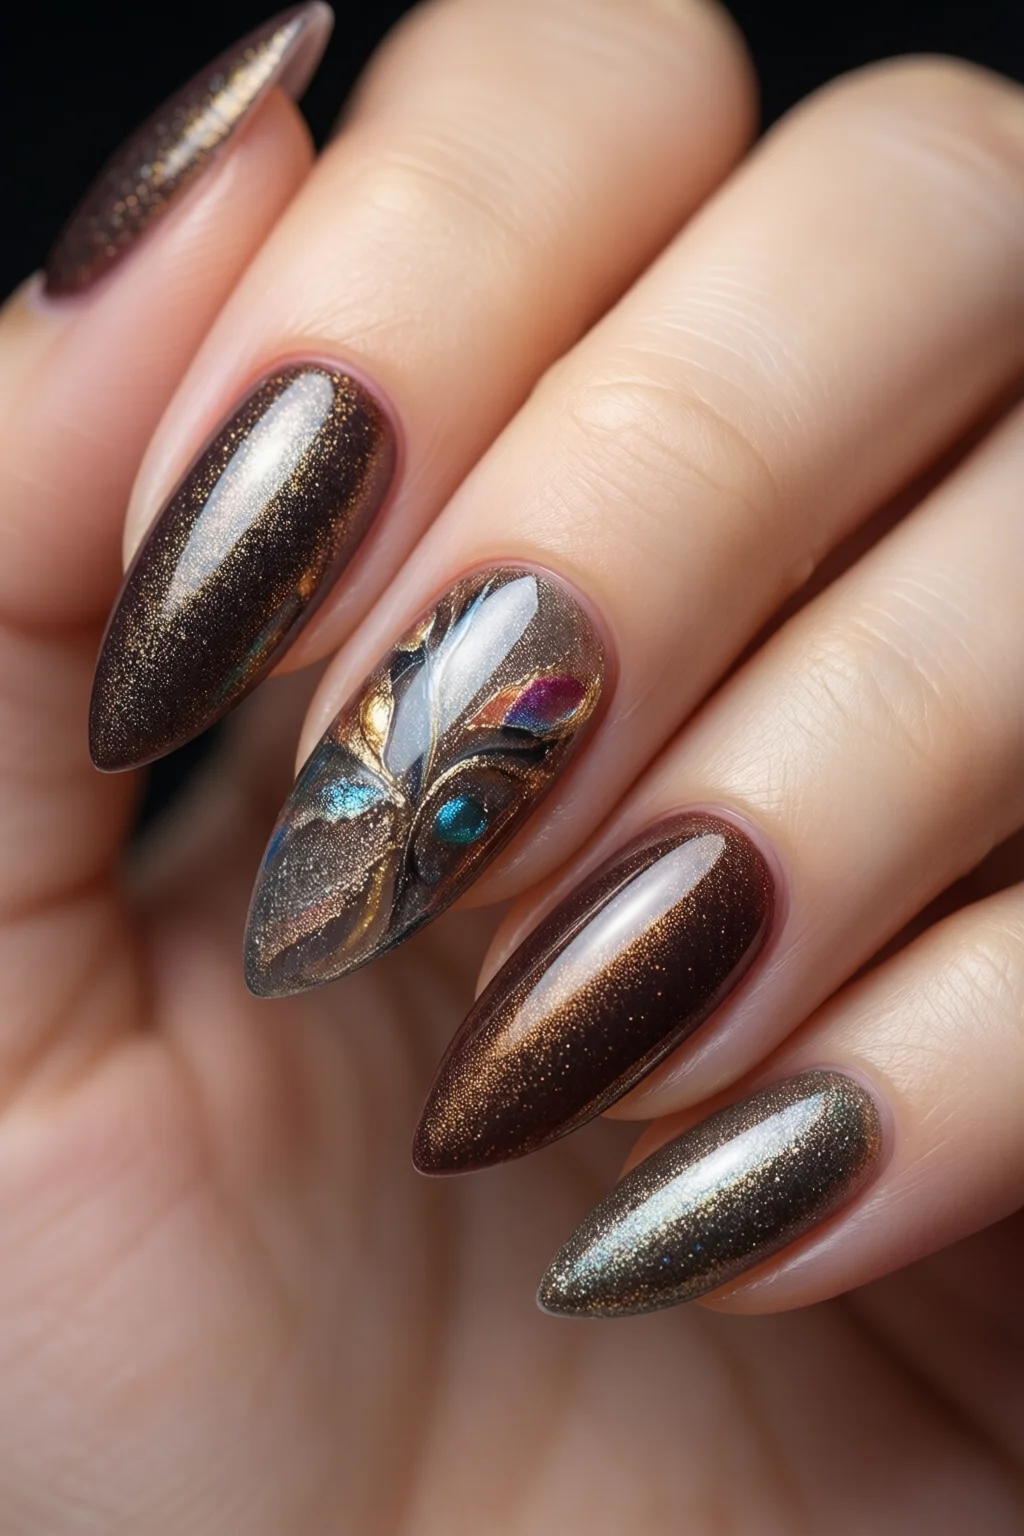
For an iridescent mermaid look, try layering Modelones “Midnight Blue” followed by a sheer Zoya “Baker’s Pink” on top – the HEMA‑free base ensures the colors don’t react with each other.
Step 5: Seal with a HEMA Free Top Coat
Apply the top coat in the same thin, even manner. Cure for 60 seconds (LED) or 2 minutes (UV). After curing, wipe the nails with a 99 % isopropyl pad to remove the sticky residue. I always finish with a quick hand massage using a cuticle oil enriched with jojoba (about 2 drops per hand).
Step 6: Post‑Care and Longevity Tips
- Avoid submerging your hands in hot water for the first 2 hours – the gel needs time to fully harden.
- Reapply a thin layer of cuticle oil daily; this prevents the nail plate from drying out and reduces chipping.
- If you notice a lift near the cuticle, gently file the edge and re‑cure for an extra 10 seconds.
With proper care, a HEMA free gel manicure can last 2‑3 weeks without loss of shine.
Common Mistakes to Avoid
- Using thick coats: Thick layers trap solvent, leading to bubbling and a weak bond.
- Skipping the alcohol wipe: Residual oils prevent the base from adhering, especially crucial for HEMA‑free formulas.
- Over‑curing: Exposing the gel to heat for more than the recommended time can cause yellowing.
- Choosing the wrong lamp wattage: A 9 W UV lamp won’t fully cure a gel that requires 30 seconds at 36 W LED, resulting in soft nails that peel.
- Neglecting cuticle health: Dry cuticles can pull on the gel, causing lifts near the nail bed.
Troubleshooting & Tips for Best Results
Issue: Gel lifts after 5 days.
Solution: Check the cure time – increase LED exposure by 10 seconds and ensure the nail surface was completely oil‑free. Also, consider a thin layer of Seche Vite HEMA‑Free Base to improve adhesion.
Issue: Color looks milky or cloudy.
Solution: Filter out air bubbles by tapping the brush against the bottle rim and using a soft, quick swipe across the nail. If the problem persists, the polish may be expired – most gel polishes have a 12‑month shelf life after opening.
Issue: Sticky residue after wiping.
Solution: Use 99 % isopropyl alcohol instead of 70 %; the higher concentration evaporates faster, leaving a smoother finish.
For seasonal nail care, especially during harsh winters, read my winter nail care tips. Hydration is key, and a HEMA free gel polish won’t dry out your nails as quickly as traditional gels.
FAQ
Is HEMA free gel polish safe for pregnant women?
Yes. HEMA‑free formulas eliminate the most common sensitizer, making them a safer choice during pregnancy. However, always work in a well‑ventilated area and avoid prolonged skin contact.
Can I use regular LED lamps for HEMA free gel polish?
Absolutely. HEMA‑free gels cure at the same wavelengths as standard gels (365‑405 nm). Just follow the manufacturer’s recommended cure times.
How long does a HEMA free gel manicure typically last?
With proper prep and after‑care, expect 2‑3 weeks of chip‑free wear. Moisturizing cuticles daily can push the lifespan toward the upper end.
Do I need a special remover for HEMA free gel polish?
No special remover is required. A standard acetone soak (10‑15 minutes) works fine. For a gentler option, try a 20 % acetone + 80 % isopropyl blend.
Can I mix HEMA free gel polish with regular gel polish?
Mixing is not recommended because the different chemical bases can cause uneven curing and lift. Stick to one system per manicure.
By following this step‑by‑step routine, you’ll enjoy the vibrant, long‑lasting shine of gel nails without the irritation that HEMA can cause. Happy polishing!