
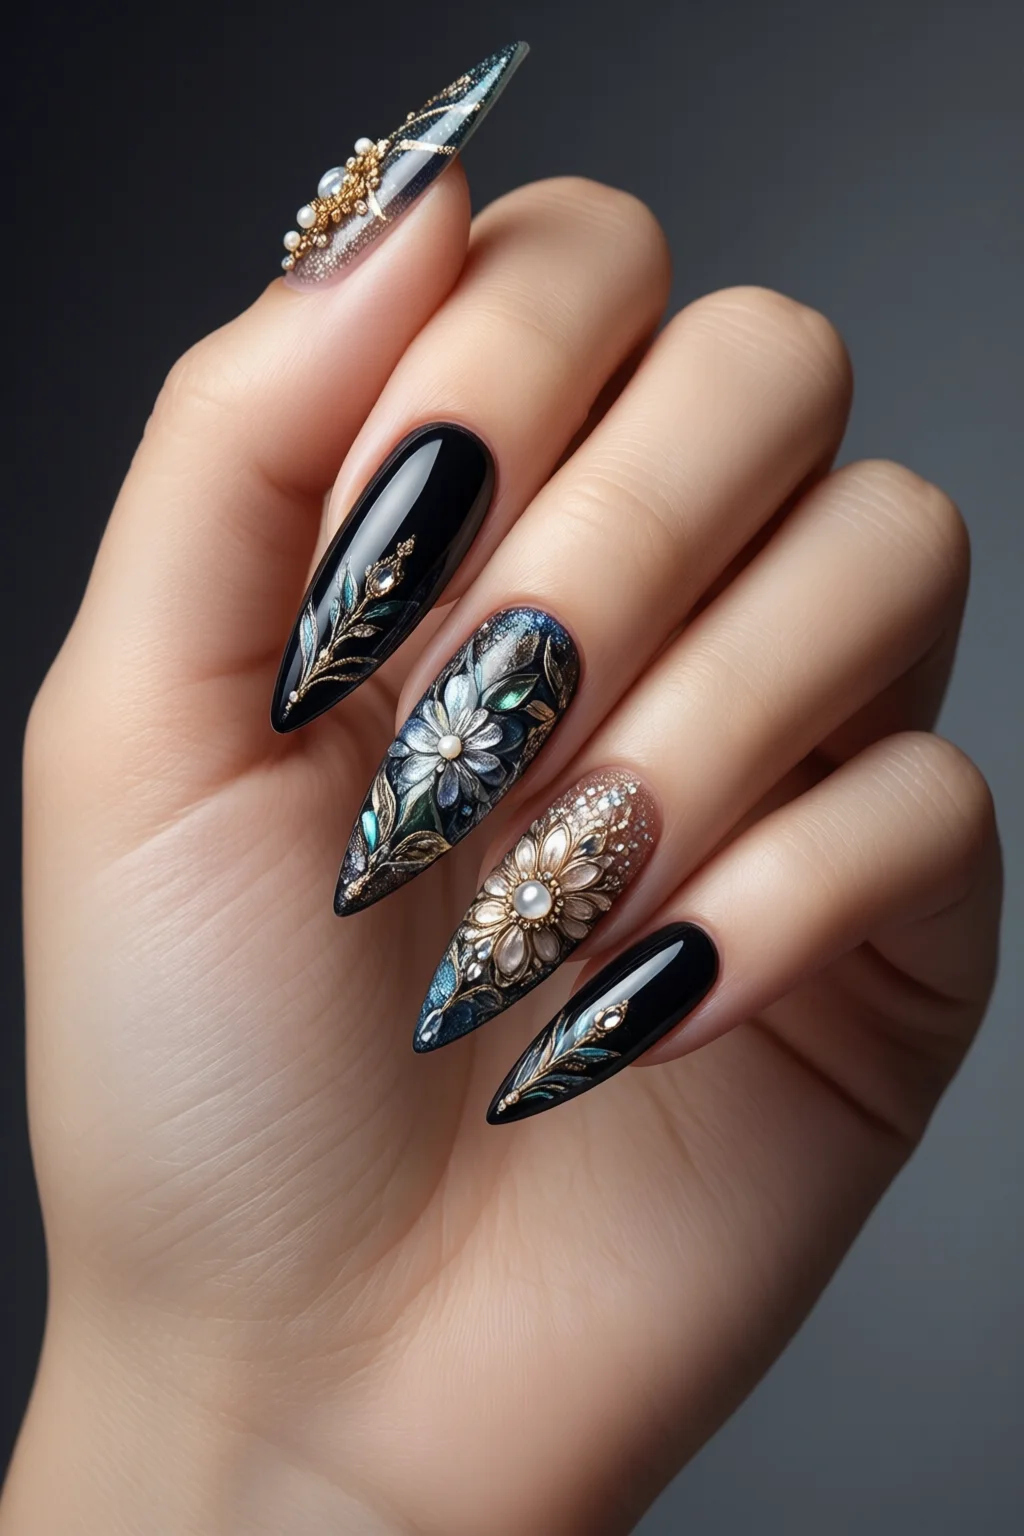
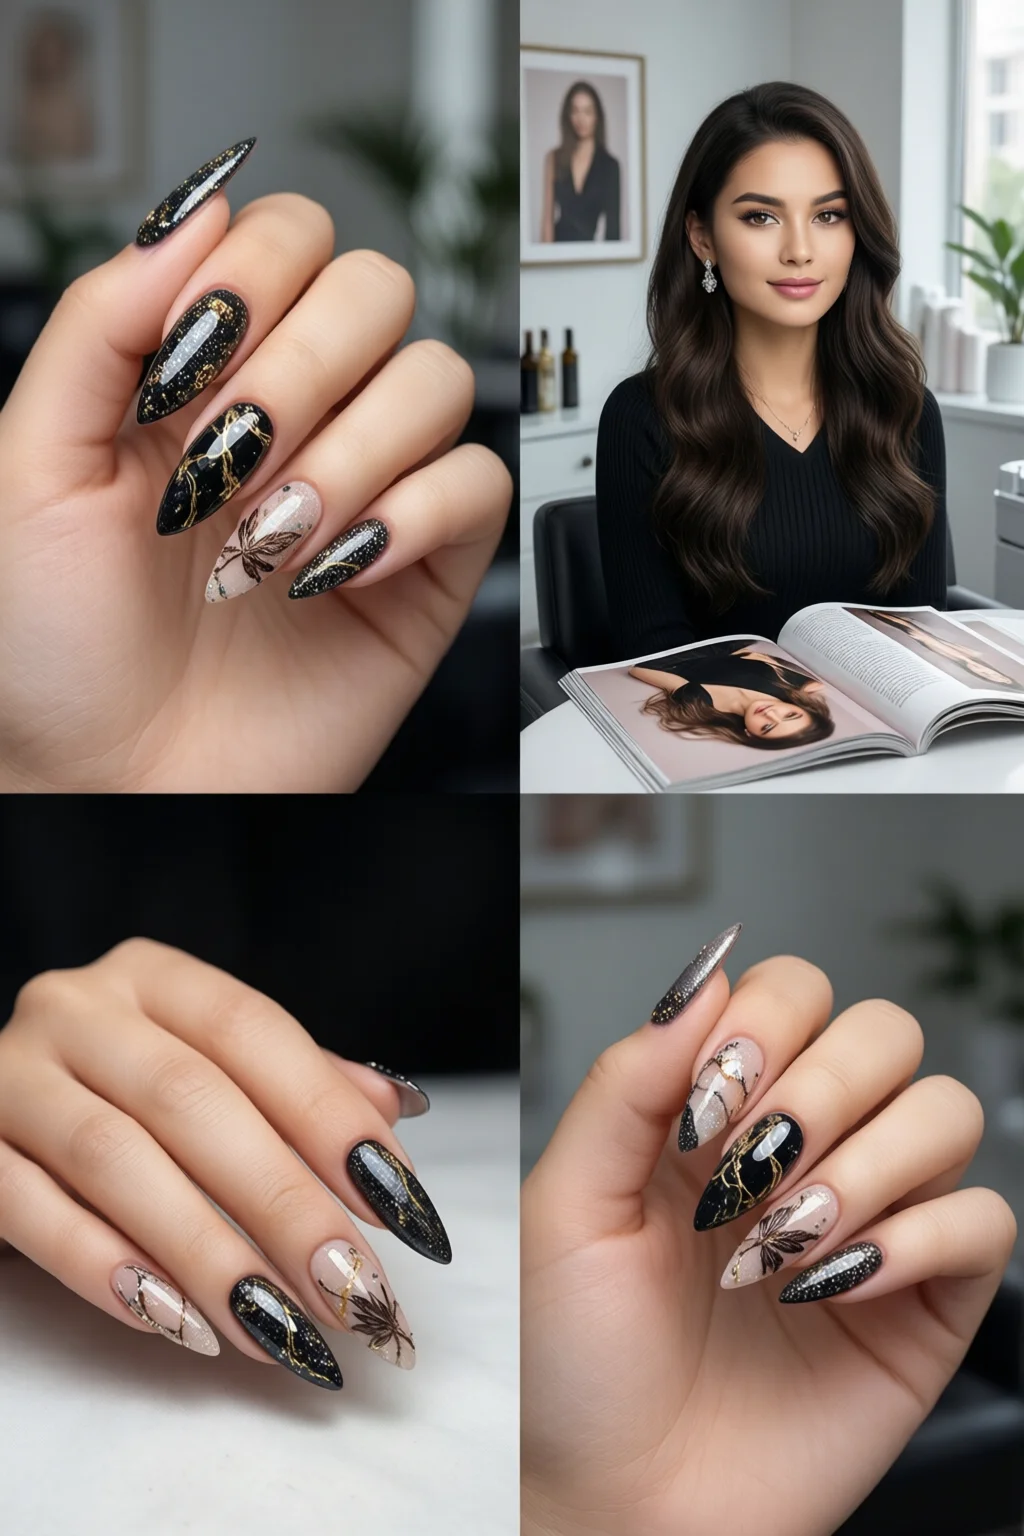
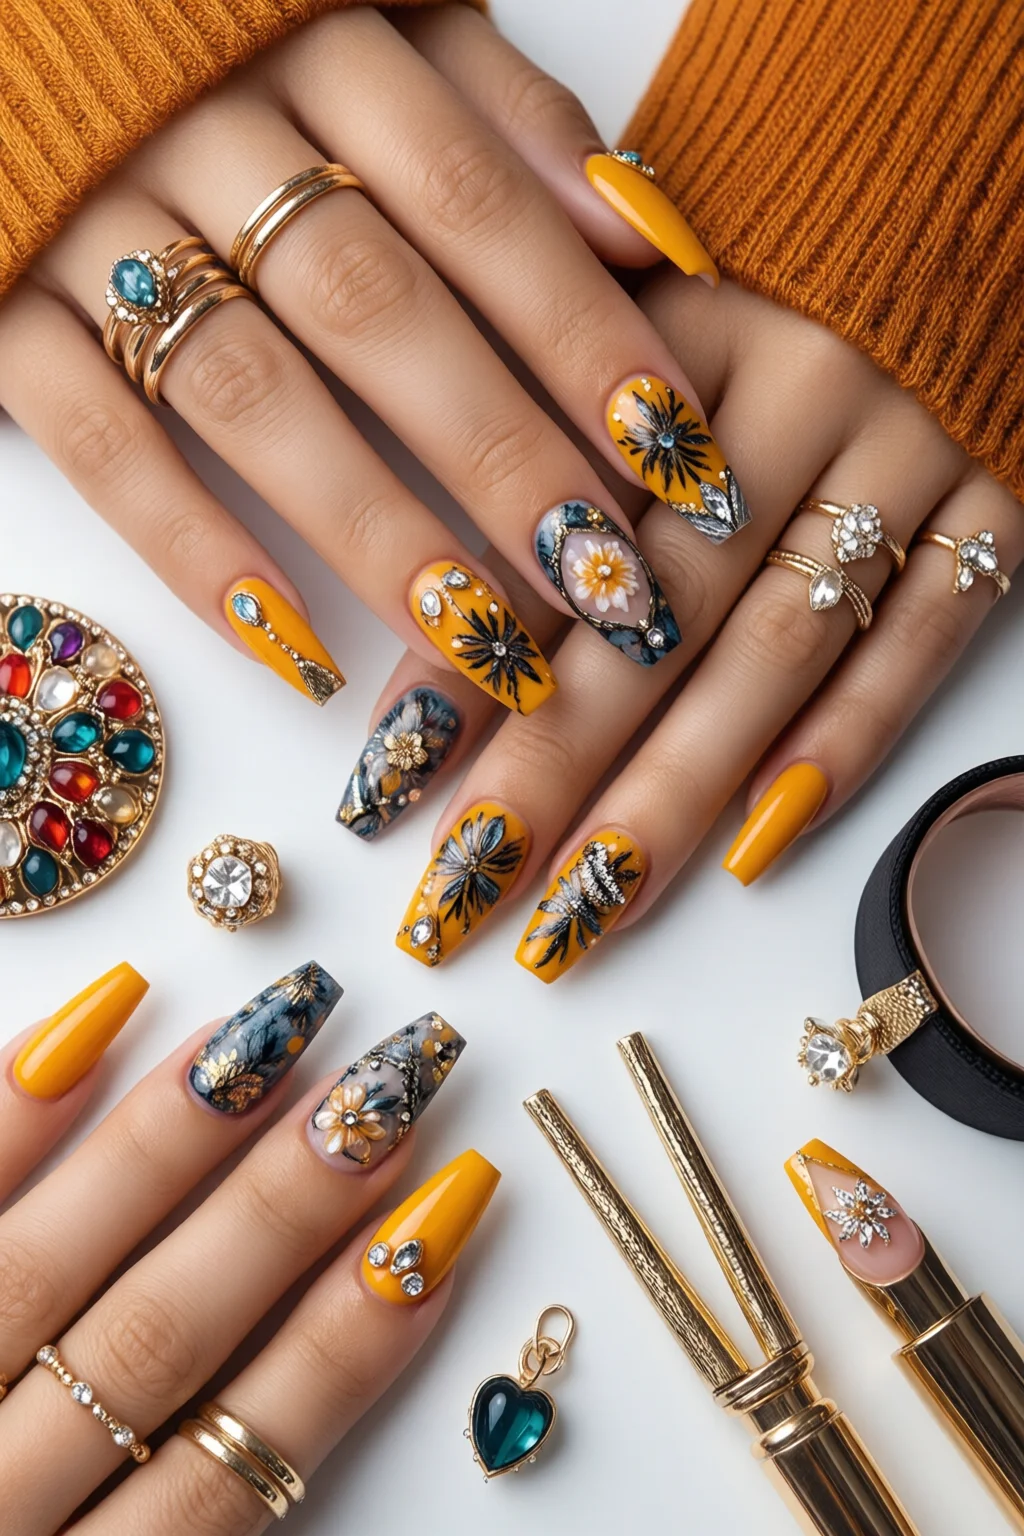
Last weekend I was at a rooftop gallery opening, and the room buzzed with neon lights, oversized canvases, and guests flaunting nails that looked like miniature art installations. One woman’s manicure caught every eye – it was a riot of clashing patterns, glittering gems, and bold color blocks that seemed to scream “more is more.” That, my friends, is the essence of maximalist nails: an unapologetically extravagant approach that turns your fingertips into a personal runway.
In This Article
If you’ve ever Googled “maximalist nails” you’re probably wondering how to achieve that high‑impact look without ending up with a sticky mess or a budget nightmare. Below is a curated list of the five essential strategies, each broken down with step‑by‑step instructions, product recommendations (including price points), pros and cons, and real‑world tips from a decade of nail‑art experience.
1. Choose a Dominant Color Palette and Stick to It
Maximalism isn’t chaos; it’s controlled extravagance. Start by selecting two to three base hues that complement each other. For example, a classic combo is royal purple (OPI “Purple Velvet” – $12.99, 15 ml), electric teal (Essence “Neon Ocean” – $9.50, 10 ml), and metallic gold foil (Sally Hansen “Gold Dust” – $8.99, 5 g). By limiting the palette, you give yourself room to layer patterns without overwhelming the eye.
How to Apply
- Prep nails with a 0.5 mm buffer file and a moisturizing cuticle oil (CND “Cuticle Oil” – $14 for 30 ml).
- Apply a thin base coat (OPI “ProBase” – $13.99, 15 ml) and cure under a 36 W UV lamp for 30 seconds.
- Paint each nail with the chosen base color; allow 2‑3 minutes to dry or cure for 60 seconds.
- Use a striping brush to add a second color in a geometric stripe (0.5 mm brush, ~$3 per set).
- Finish with a top coat (Essie “Gel Couture” – $11.99, 15 ml) and cure 45 seconds.
Pros: Cohesive look, easier to match accessories, cost‑effective (average $10‑$13 per bottle).
Cons: Requires precise timing to avoid smudging; limited to 2‑3 colors.
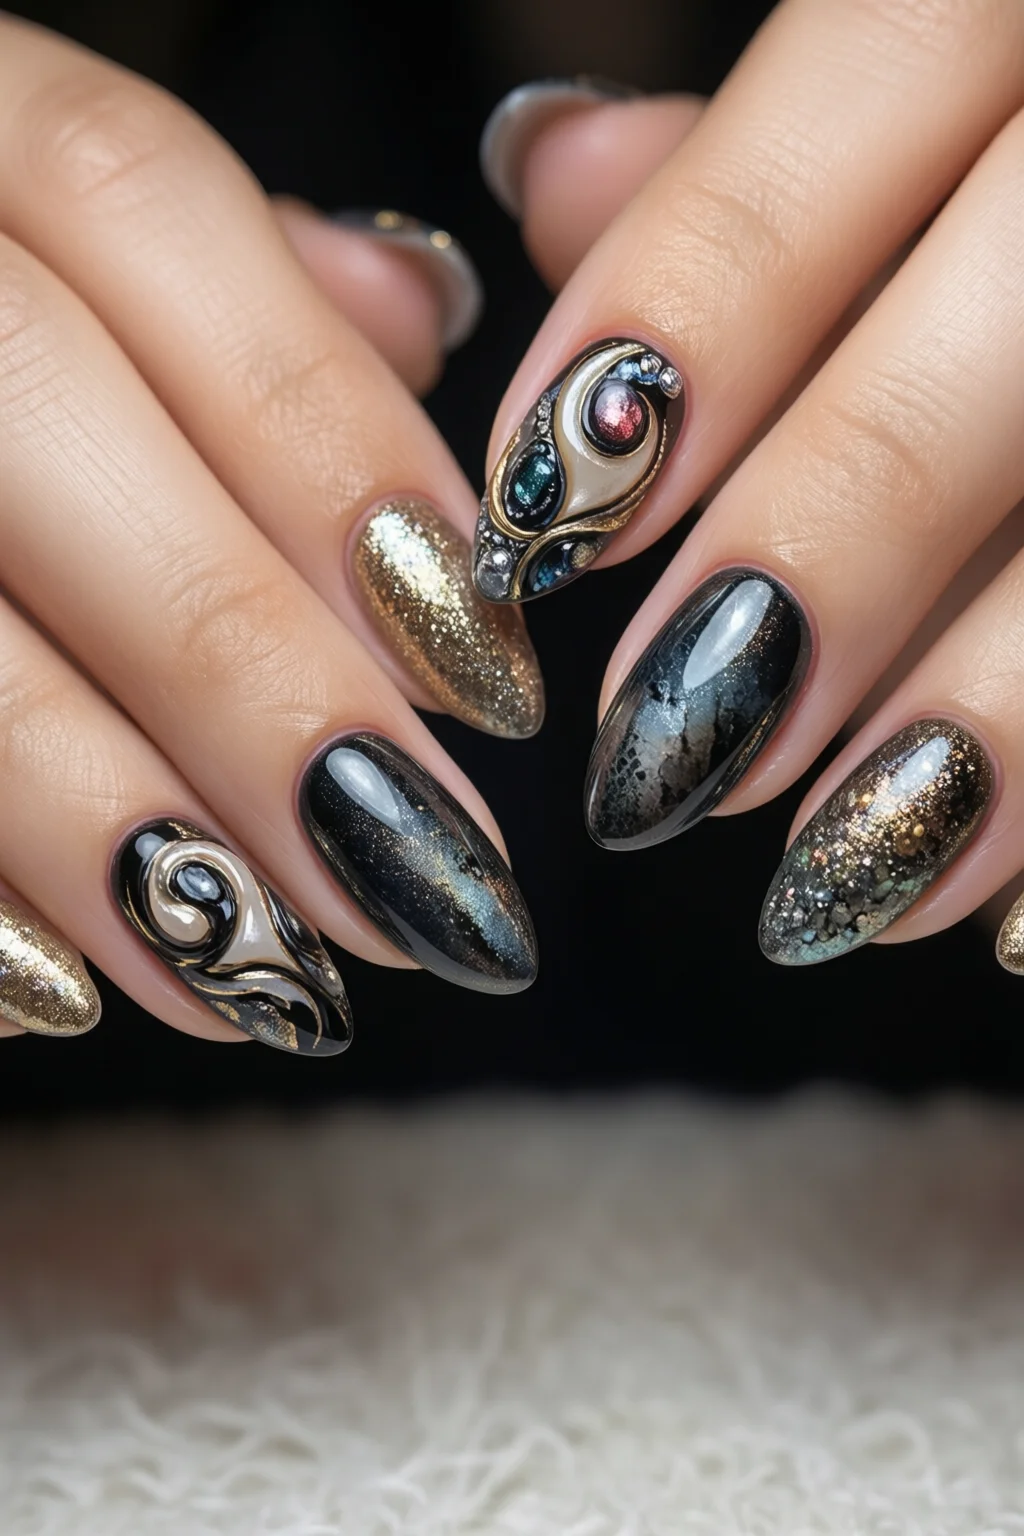
2. Layer Textures: Matte, Gloss, and Foil
Texture is the secret weapon of maximalist nails. Matte top coats (OPI “Matte Topcoat” – $11.99) create a velvety background for high‑shine accents like chrome foil (Mia Secret “Chrome Foil Pack” – $7.99 for 10 sheets). The contrast makes each design element pop.
Step‑by‑Step
- After your base color, apply a matte top coat and cure for 45 seconds.
- While the matte layer is still tacky (about 10 seconds), press a foil sheet onto the nail and smooth with a silicone spatula.
- Seal with a glossy top coat (Sally Hansen “Hard as Nails” – $9.99) and cure 60 seconds.
Pros: Adds depth without extra pigments; foil lasts up to 10 days.
Cons: Foil can lift if the matte layer isn’t fully cured; foil sheets are single‑use.
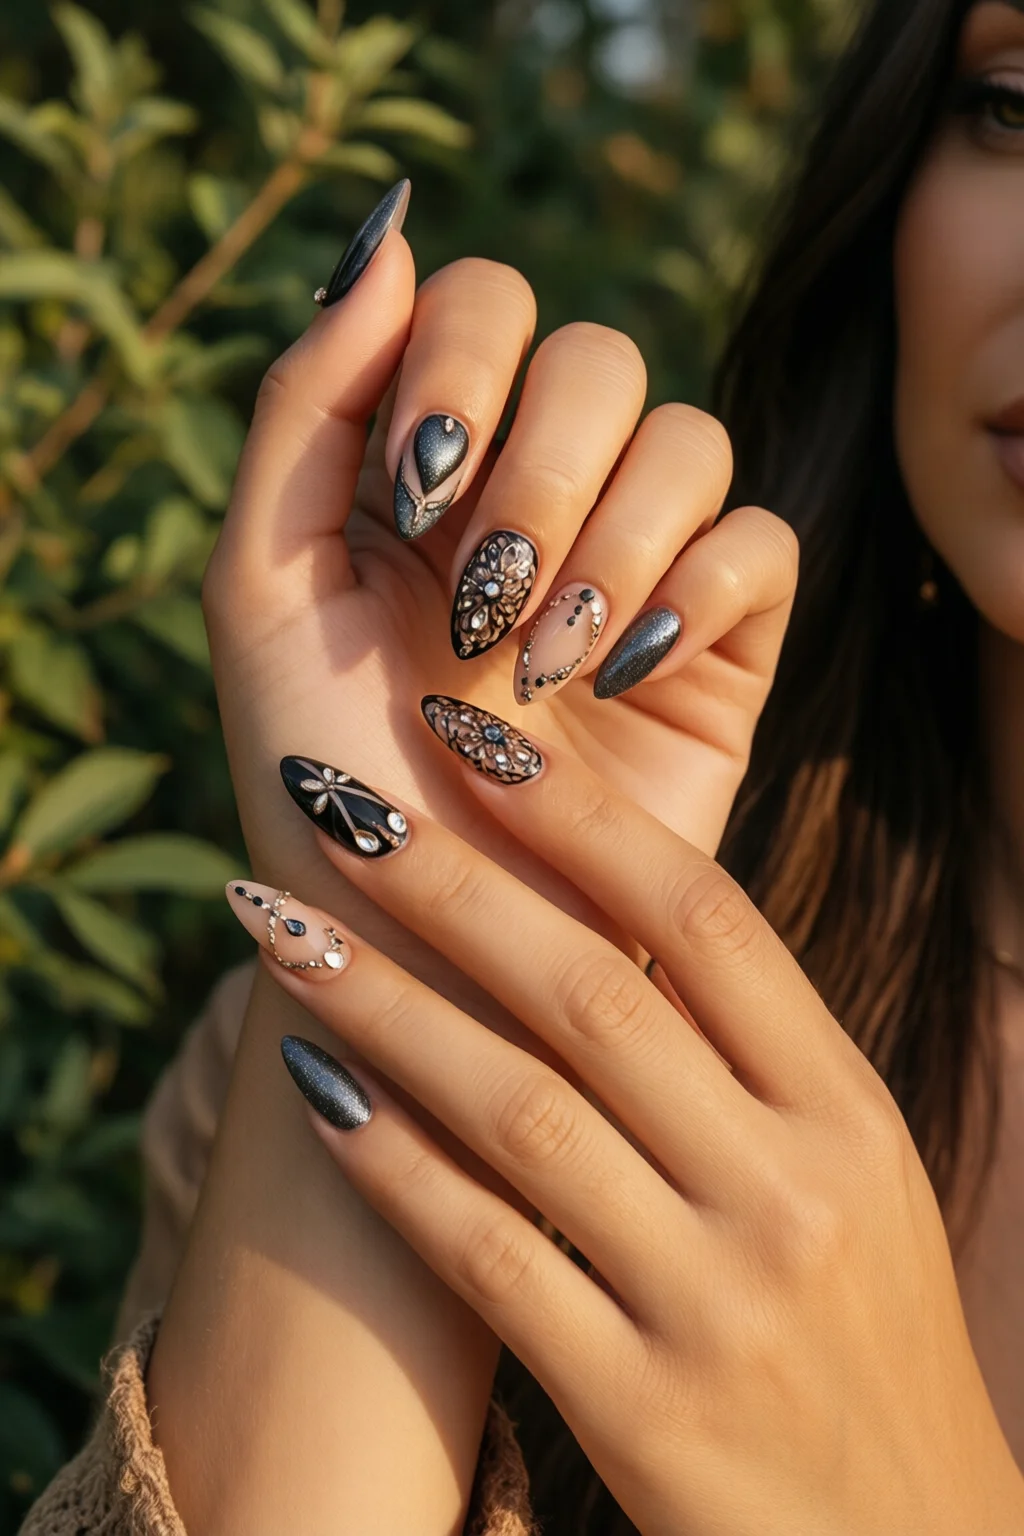
3. Incorporate 3‑D Embellishments
Think tiny charms, rhinestones, and sculpted acrylic accents. In my salon, a single 3‑mm crystal (KISSME “Crystal Pack” – $5 for 50 pieces) adds sparkle that catches light from every angle. For a dramatic effect, embed a 5‑mm gold leaf (Mica “Gold Leaf” – $12 per 25 g) into a raised acrylic dot.
Application Guide
- Apply a thin layer of gel builder (Gelish “Builder Gel” – $22 for 15 ml) and cure 60 seconds.
- While the gel is still soft, place the 3‑D element using tweezers.
- Seal with another thin layer of builder gel and cure again.
- Finish with a high‑shine top coat (OPI “Top Coat” – $12.99) and cure 45 seconds.
Pros: Long‑lasting (up to 3 weeks), customizable designs, Instagram‑ready.
Cons: Increases application time by 10‑15 minutes per hand; extra cost ($5‑$15 per set of embellishments).
4. Mix Techniques: Watercolor, Negative Space, and Magnetic Stripes
Maximalist nails thrive on technique mash‑ups. A watercolor gradient (use a sponge to dab on diluted Essie “Watercolor” inks – $9 per 10 ml) paired with negative space cutouts creates an airy yet bold look. Adding a magnetic stripe (Magi‑Co “Magnetic Gel” – $14.99, 15 ml) gives an industrial sheen that’s perfect for evening events.
Step‑by‑Step Fusion
- Apply a clear base coat and cure.
- Using a damp makeup sponge, dab three diluted shades onto the nail, creating a soft gradient.
- Leave a 2‑mm strip untouched (negative space) by covering it with tape before sponging.
- Remove tape, then apply a thin layer of magnetic gel; place a magnet beneath the nail for 5 seconds, then cure 60 seconds.
- Seal with a glossy top coat.
Pros: Visual depth, unique textures, each nail can be a different mini‑scene.
Cons: Requires practice for clean negative space; magnetic gels can be pricey ($15 per bottle).
5. Finish with a Statement Top Coat
The final coat is where maximalism truly shines. Options include glitter top coats (Sephora “Glitter Bomb” – $13 for 15 ml), holographic gels (MoYou “Holo Gel” – $20 for 15 ml), or a matte‑then‑gloss combo (apply matte, let dry, then layer gloss). A top coat with UV protection (OPI “UV Shield” – $12.99) also prevents color fading, keeping the extravagance fresh for up to 14 days.
Application Tips
- Choose a top coat that matches your desired finish (glitter, holographic, or matte).
- Apply two thin layers, curing each for 45 seconds to avoid bubbling.
- Cap each nail with a quick‑dry oil (e.g., L’Oréal “Vitae Nail & Cuticle Oil” – $8 for 15 ml) for extra shine.
Pros: Extends wear time by 30‑40 %; adds final visual punch.
Cons: Heavier top coats can cause lifting if base isn’t fully cured; price range $10‑$20 per bottle.
Comparison Table – Top Picks for Maximalist Nails
| Product | Type | Price (USD) | Key Feature | Rating (out of 5) |
|---|---|---|---|---|
| OPI Infinite Shine | Base/Top Coat | 12.99 | Long‑lasting shine, UV protection | 4.8 |
| Sally Hansen Hard as Nails | Gloss Top Coat | 9.99 | Durable, chip‑resistant | 4.5 |
| Mia Secret Chrome Foil Pack | Foil | 7.99 | Metallic finish, 10‑day wear | 4.6 |
| KISSME Crystal Pack | 3‑D Embellishment | 5.00 | High brilliance, easy application | 4.7 |
| MoYou Holo Gel | Statement Top Coat | 20.00 | Holographic effect, no clumping | 4.9 |
Final Verdict
Maximalist nails are less about random excess and more about curated boldness. By selecting a cohesive palette, layering textures, adding 3‑D accents, mixing techniques, and sealing with a statement top coat, you can create salon‑worthy designs that last up to three weeks without breaking the bank. Remember, the most striking looks often come from precise execution, not endless product use. Start with the basics outlined above, experiment with one new element per manicure, and watch your fingertips become the talk of every party.
How long do maximalist nail designs typically last?
With a proper base, high‑quality top coat, and careful sealing, most maximalist designs can last 10‑14 days without chipping. Adding 3‑D embellishments or foil can extend wear up to 21 days if cured correctly.
Do I need a professional UV lamp for these designs?
A 36‑40 W UV or LED lamp is recommended for gel and builder products. It ensures full cure in 45‑60 seconds, preventing lifting and preserving the intricate layers of maximalist art.
Can I achieve maximalist nails with regular polish?
Yes, but durability drops. Use a high‑shine top coat and avoid heavy 3‑D pieces. For true longevity and the ability to embed foils or magnetic gels, gel or dip powder bases are worth the extra investment.
What’s the best way to remove maximalist nail art without damaging my natural nails?
Soak a cotton ball in acetone, place it on the nail, and wrap with foil for 10‑12 minutes. Gently push off the softened gel or polish with a wooden stick. Finish with a nourishing cuticle oil to restore moisture.
Where can I find inspiration for maximalist nail patterns?
Check out japanese nail art for intricate motifs, waterdrop nails for shimmering effects, and follow Instagram hashtags like #maximalistNails and #BoldManicure.