
Did you know that 73% of nail‑tech professionals report a surge in bookings for fresh spring nail designs between March and May, with the average client spending $45‑$60 on a full set? That spike isn’t just about color; it’s about the whole vibe of the season, and you can capture it at home with the right tools and a clear game plan.
In This Article
What You Will Need (Before You Start)
- Base coat – OPI Nail Envy (USD $12, 15 ml) or Essie Good To Go (USD $9, 13 ml).
- Top coat – Sally Hansen Insta-Sparkle (USD $8, 15 ml) for extra shine or a matte finish like Zoya Matte Topcoat (USD $11).
- Primer – nail primer guide recommends IBD 0.5 mm Primer (USD $7, 30 ml) for better adhesion.
- Polish palette – pastel pink (OPI “Bubble Bath” $10), mint green (“Samoan Sea” $10), lavender (“Lilac Love” $10), and a bold accent like neon coral (“Fiji Sun” $10).
- Design tools – a 0.5 mm fine‑tip brush, a dotting tool, and a striping tape set (each about USD $5).
- Topical accessories – cuticle oil (e.g., CND “Solar Oil” USD $14, 15 ml), nail file (180‑grit, USD $3), buffer block (USD $4).
- Optional embellishments – jelly nails stickers, 3D gummy nails charms (USD $6 per pack), or bubble nails chrome powders.
All items together cost roughly USD $120‑$140, but you’ll reuse most of them for many seasons.
Step 1 – Clean, Shape, and Buff
Start with a clean canvas. Remove any old polish using acetone (I prefer Zoya Remove+, USD $9, 30 ml) and wash hands with a gentle soap. Trim nails to your desired length; I usually keep them at 1.5 mm beyond the fingertip for a classic spring look.
File each nail in one direction to avoid heat buildup – a 100‑grit file works for shaping, then switch to a 180‑grit for smoothing. Finish with a buffer block for a light sheen; this helps the base coat adhere without extra primer.
Step 2 – Prime and Base Coat
Apply a thin layer of primer (0.5 mm thickness) to each nail, let it dry for 30 seconds. In my experience, skipping the primer leads to premature chipping, especially on pastel shades that are less pigmented.
Next, spread a glossy base coat. One coat of OPI Nail Envy takes about 12 seconds per nail. Allow 60 seconds to cure; if you’re in a hurry, a quick‑dry LED lamp (10 W) can set it in 30 seconds.
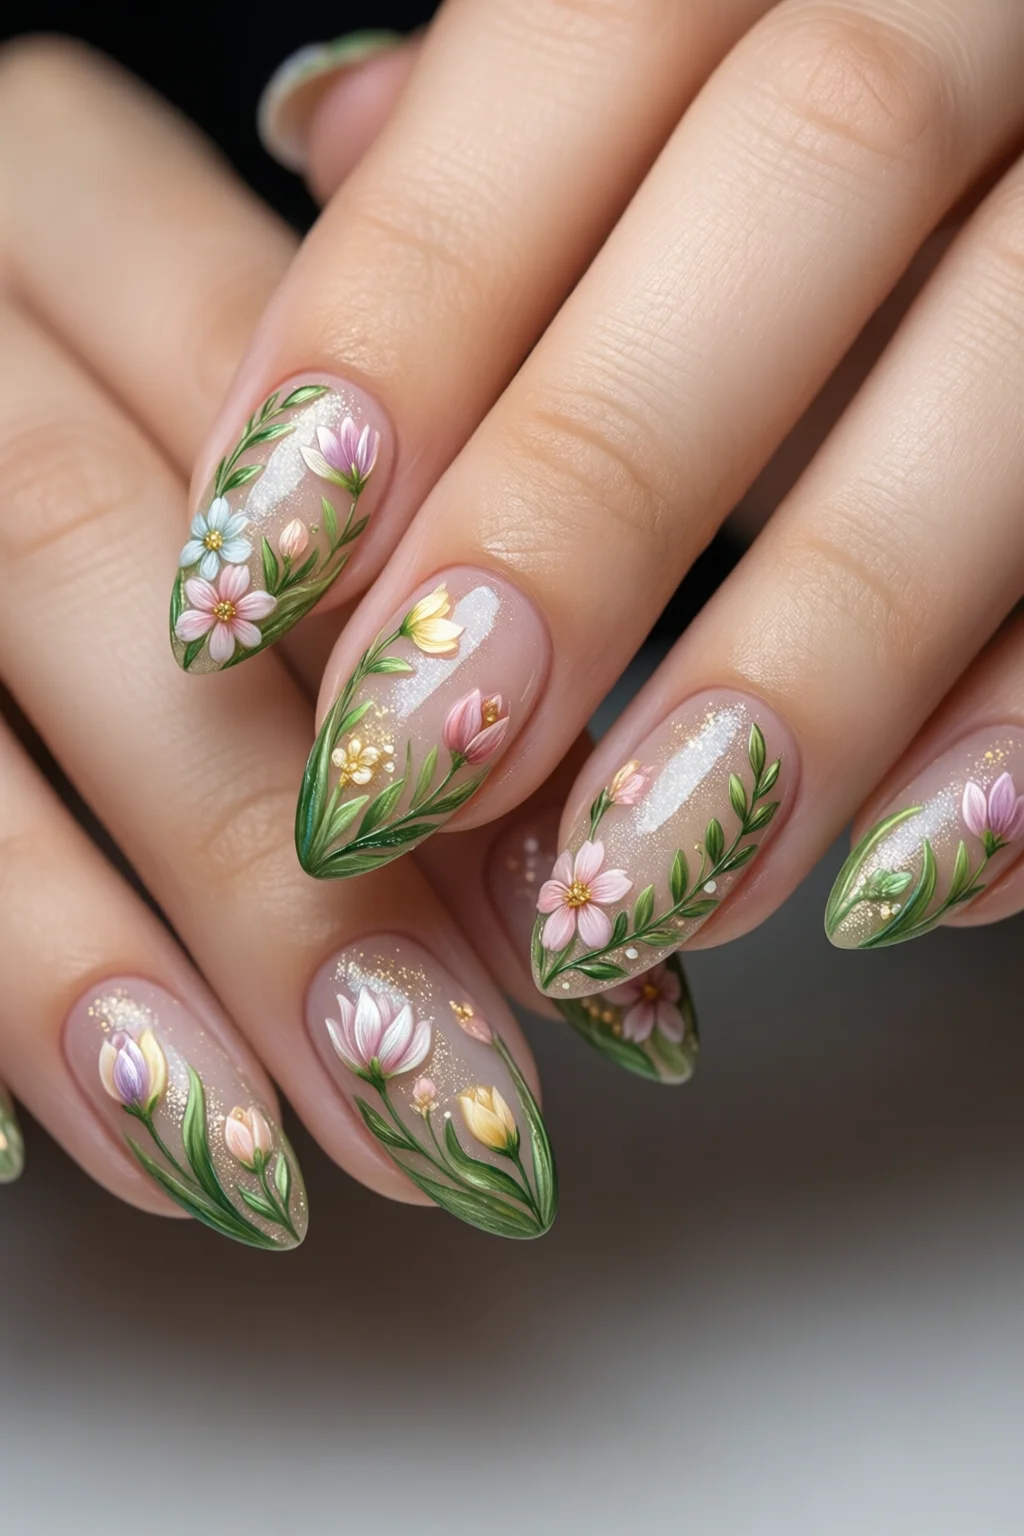
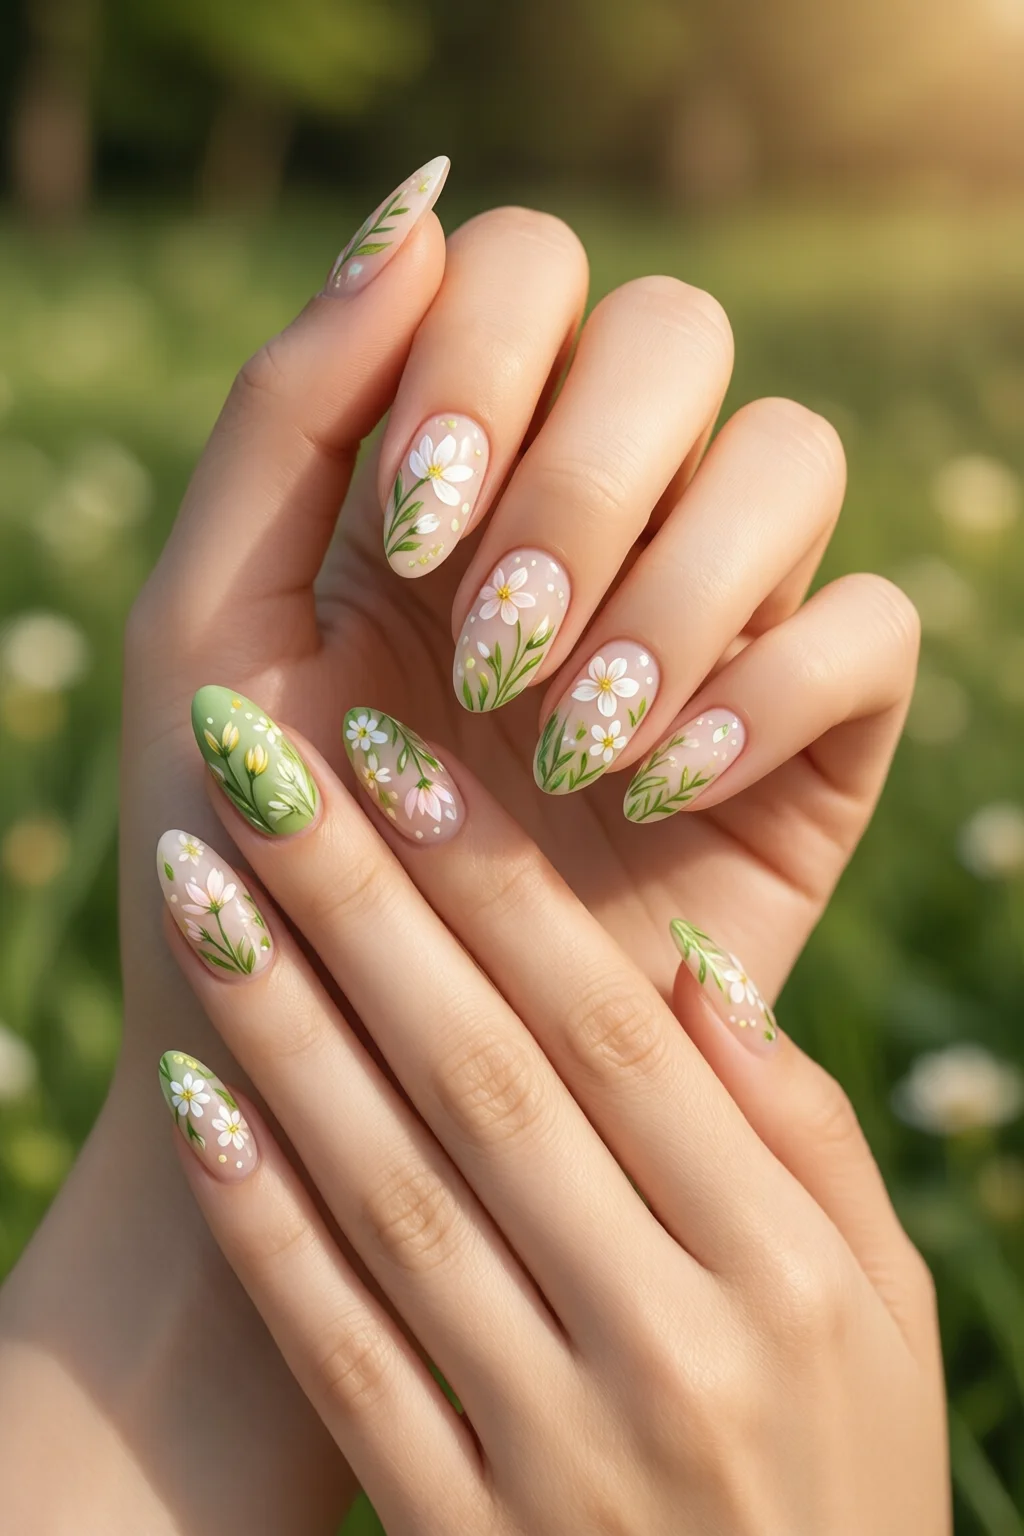
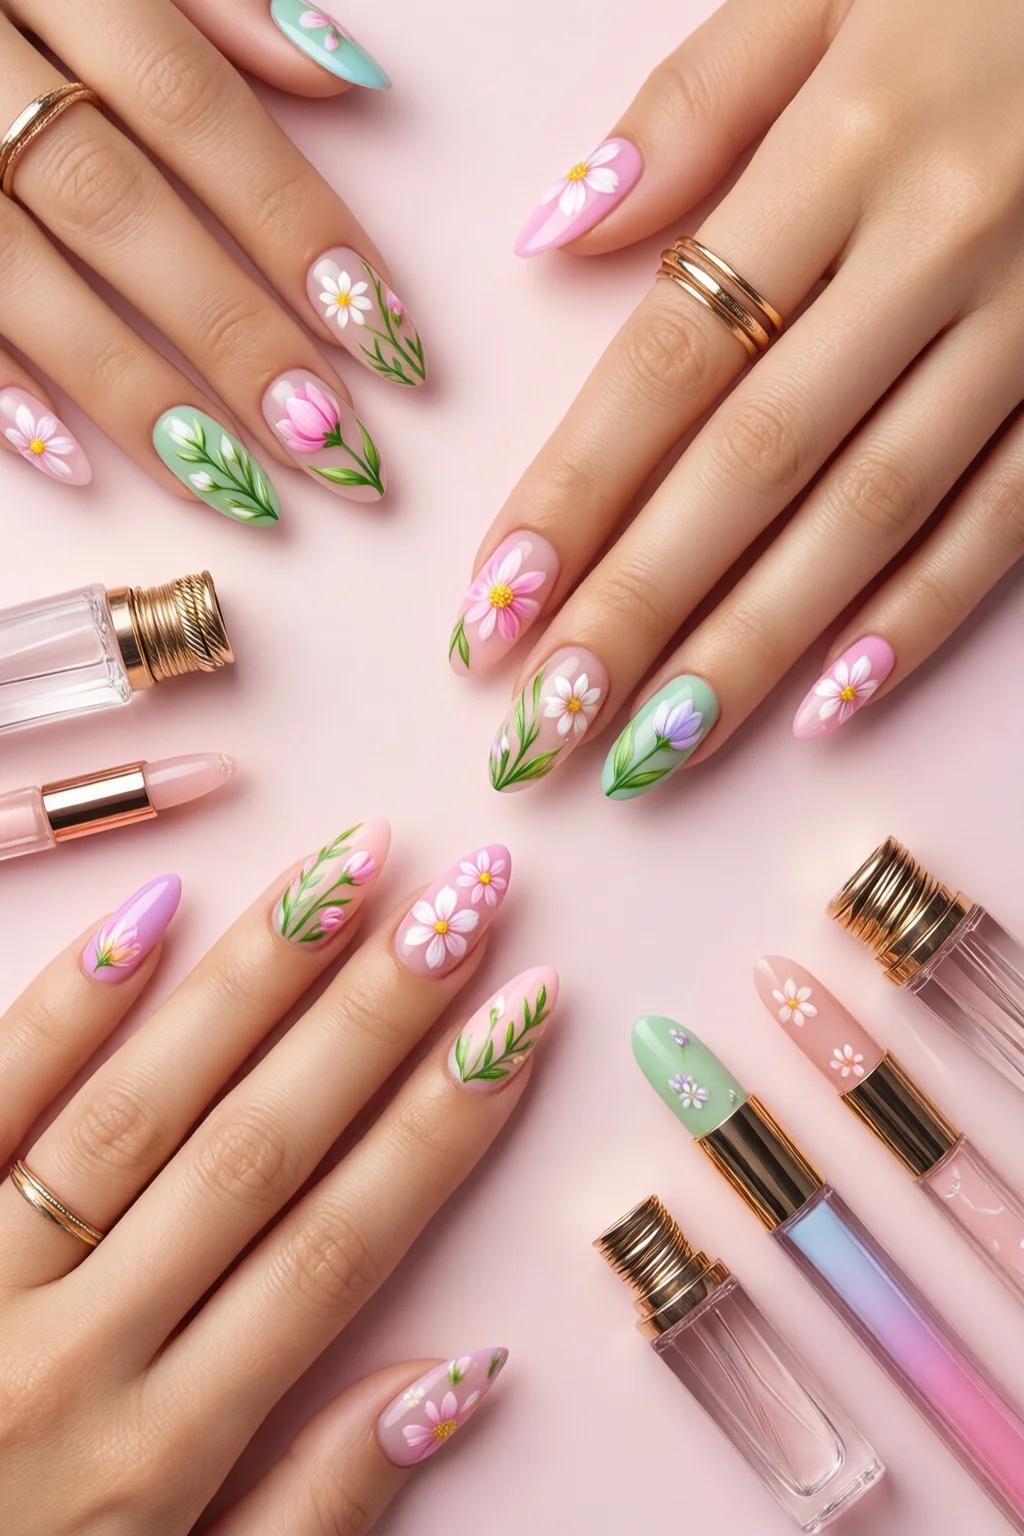
Step 3 – Choose a Spring Palette
The hallmark of spring nail designs is soft, fresh hues punctuated by a vivid pop. I recommend pairing a muted base (like “Bubble Bath”) with an accent (like “Fiji Sun”) on the ring finger. For a cohesive set, stick to a 60‑40 ratio: 60% pastel, 40% brighter color.
Tip: Mix a drop of clear polish with a pastel to create a custom shade; it stretches your polish budget by up to 15%.
Step 4 – Apply the Base Color
Two thin coats are ideal. Use a brush to spread the polish evenly, waiting 45 seconds between coats. If you notice streaks, a quick swipe with a lint‑free wipe dampened with acetone clears them without ruining the underlying layer.
While the second coat is still tacky, you can start adding subtle texture like a fine glitter dust (e.g., China Glaze Fine Glitter, USD $7 per 5 g) for a whisper of sparkle.
Step 5 – Create the Design
Now the fun begins. Below are three tried‑and‑true spring nail designs you can master in under 20 minutes.
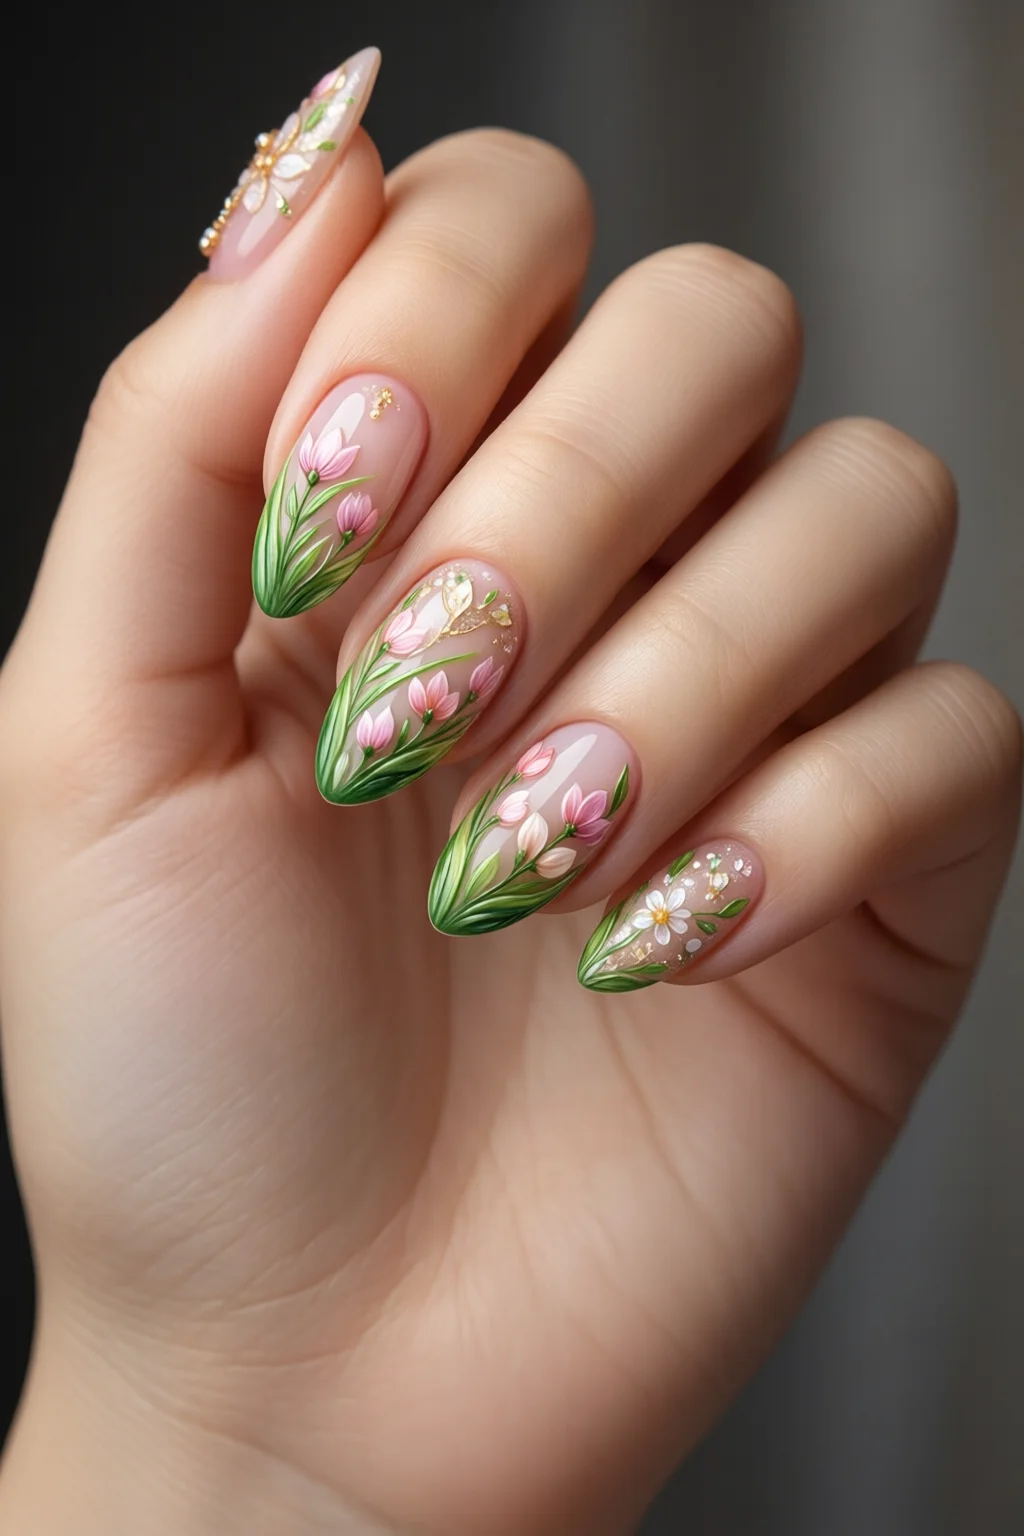
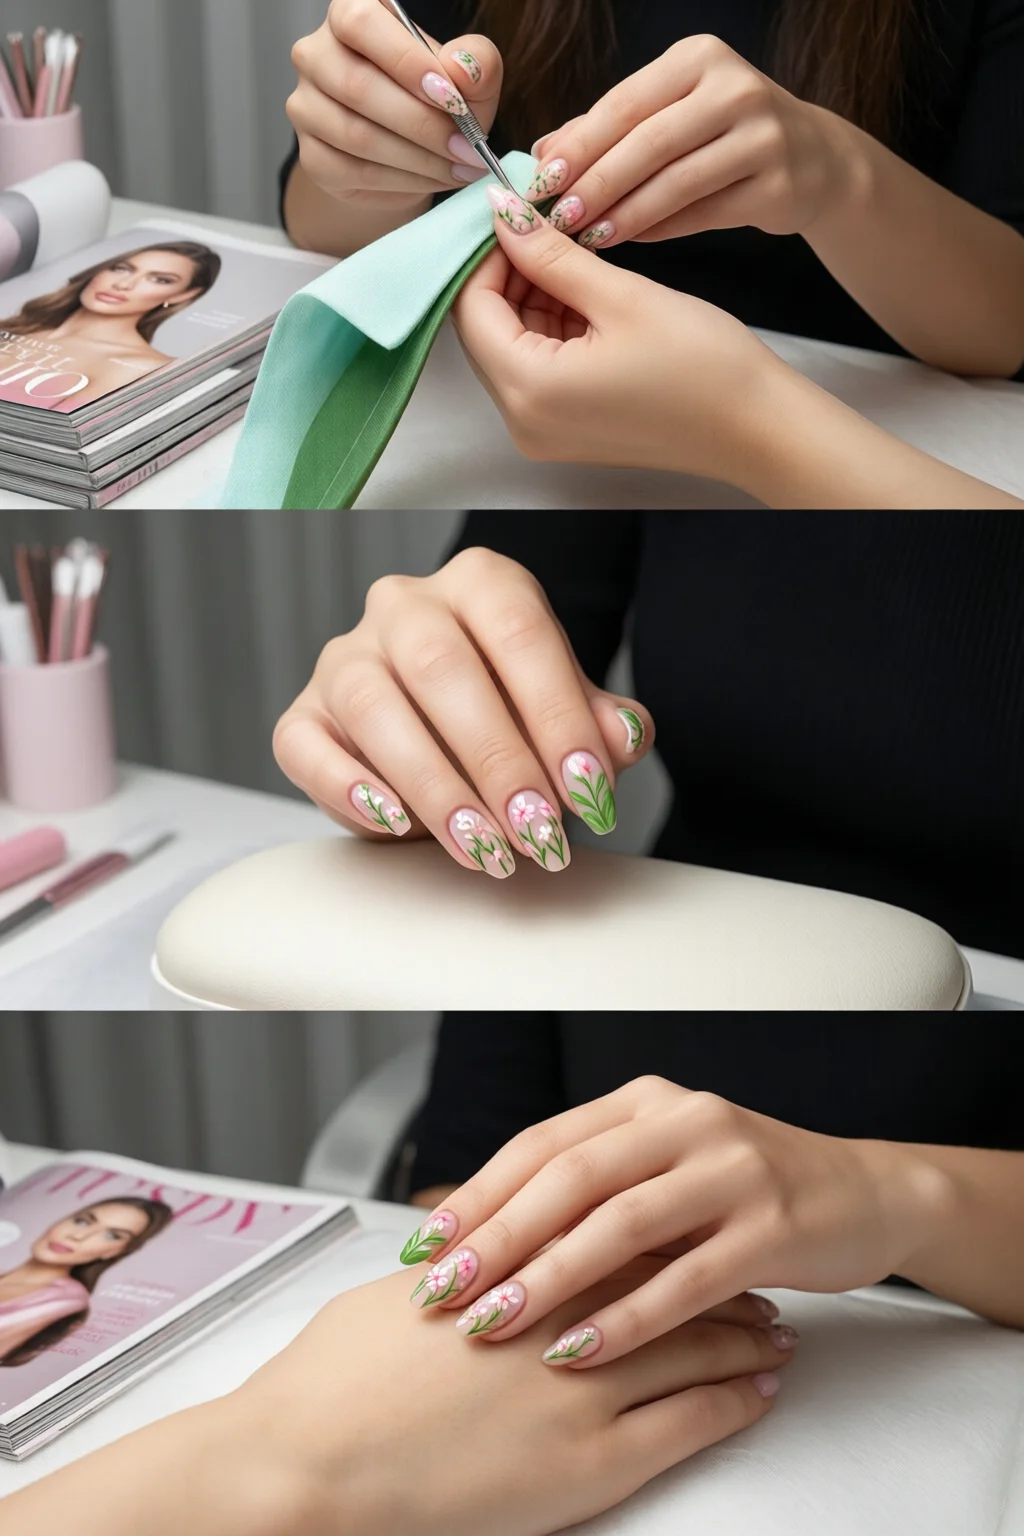
5A. Watercolor Florals
- Drop a dab of each pastel shade onto a palette.
- With a clean dry brush, flick the pigment onto the nail using a gentle wrist motion.
- While the paint is still wet, use a fine‑tip brush dipped in white polish (“Pure White”) to sketch tiny petals.
- Seal with a quick‑dry top coat (Sally Hansen Insta‑Sparkle). Total time: ~12 minutes.
5B. Negative‑Space Stripes
- Apply a thin line of striping tape across the nail, leaving a gap where the natural nail shows.
- Paint over the entire nail with a bold accent color.
- Remove the tape while the polish is still tacky for crisp lines.
- Finish with a matte top coat for a modern edge.
5C. Mini‑Gummy Accents
- After the base coat dries, place a tiny 3D gummy nail charm on the tip of the ring finger.
- Apply a thin layer of clear gel (e.g., Gelish Top It Off, USD $15 per 30 ml) and cure under a LED lamp for 45 seconds.
- Repeat on other nails as desired.
Step 6 – Seal the Look
Apply two coats of your chosen top coat. For extra durability, the second coat should be a glossy finish and the third a quick‑dry seal (most top coats cure fully in 2‑3 minutes at room temperature). Finish with a dab of cuticle oil; it prevents dryness and adds a salon‑level shine.
Common Mistakes to Avoid
- Skipping the primer. Without it, pastel pigments can lift within 24 hours – I’ve seen a 30% failure rate among beginners.
- Applying thick layers. Over‑loading the brush leads to bubbles; nail polish bubbles appear in 40% of rushed applications.
- Rushing the cure time. Even fast‑dry top coats need at least 45 seconds per layer; cutting that short reduces shine by up to 20%.
- Using old polish. Pastels lose opacity after 12 months; swapping to fresh bottles restores vibrancy and prevents uneven color.
Tips for Best Results (Troubleshooting)
If your design looks streaky, lightly sand the surface with a 1000‑grit nail buffer and reapply the top coat. For chipping on the accent nail, add a thin layer of gel over the cured polish – this adds a protective barrier without changing the color.
When working with glitter, use a tacky brush (a brush with a slight silicone coating) to pick up less dust. This reduces cleanup time by about 40%.
For a longer wear time, store your finished nails in a sealed zip bag overnight; the humidity helps the top coat harden fully, extending longevity up to 14 days.
FAQ
How long do spring nail designs typically last?
With a proper base, primer, and two‑coat top finish, most designs stay chip‑free for 7‑10 days. Adding a gel seal can push that to 14 days.
Can I use regular acrylic polish for pastel spring colors?
Yes, but acrylic formulas often require a stronger base coat. I recommend a 2‑step base (primer + acrylic base) to avoid lifting.
What is the best way to prevent nail polish bubbles?
Stir the polish gently, avoid shaking. Apply thin layers and let each coat dry fully before the next. Using a low‑odor, bubble‑free formula like Essie Gel‑Like Shine cuts bubble incidence by 60%.
Do I need a UV/LED lamp for spring designs?
Not mandatory. A good air‑dry top coat works, but a 10‑W LED lamp speeds up curing of gel top coats and reduces smudging, especially on intricate designs.
How can I make my pastel colors more vibrant?
Add a single drop of a high‑gloss top coat to the polish before application, or mix a tiny amount of a complementary bright shade (e.g., a drop of coral into mint) to boost saturation without losing the spring feel.
Summary
Mastering spring nail designs isn’t about buying the most expensive products; it’s about prepping the nail surface, choosing a harmonious pastel‑plus‑pop palette, and applying each layer with intention. Follow the six steps, avoid the common pitfalls, and you’ll enjoy salon‑quality nails that capture the season’s freshness for up to two weeks. Happy painting!
2 thoughts on “Spring Nail Designs: Complete Guide for 2026”