
Abstract nail art isn’t just a trend—it’s a canvas for your imagination, a splash of color that turns every hand into a masterpiece.
In This Article
- 1. Watercolor Brush Strokes – The Soft‑Edge Look
- 2. Geometric Tape & Stamping – Sharp Lines Without the Stress
- 3. Neon Splatter – Party‑Ready Chaos
- 4. Negative‑Space Minimalism – Less Is More
- 5. 3D Embellishment – Texture Meets Abstract
- Comparison Table: Top Tools for Abstract Nail Art
- Bonus Tips: Making Abstract Nail Art Last Longer
- Where to Find Inspiration
- Final Verdict
If you’ve ever scrolled past a feed of geometric swirls, watercolor splashes, and asymmetrical lines and thought, “I want to try that,” you’re in the right place. Abstract nail art lets you break free from the rulebook of traditional polish, letting pigment, texture, and negative space do the talking. In this guide I’ll walk you through the exact tools, techniques, and step‑by‑step processes I use in my studio, so you can recreate runway‑worthy designs at home without spending a fortune.
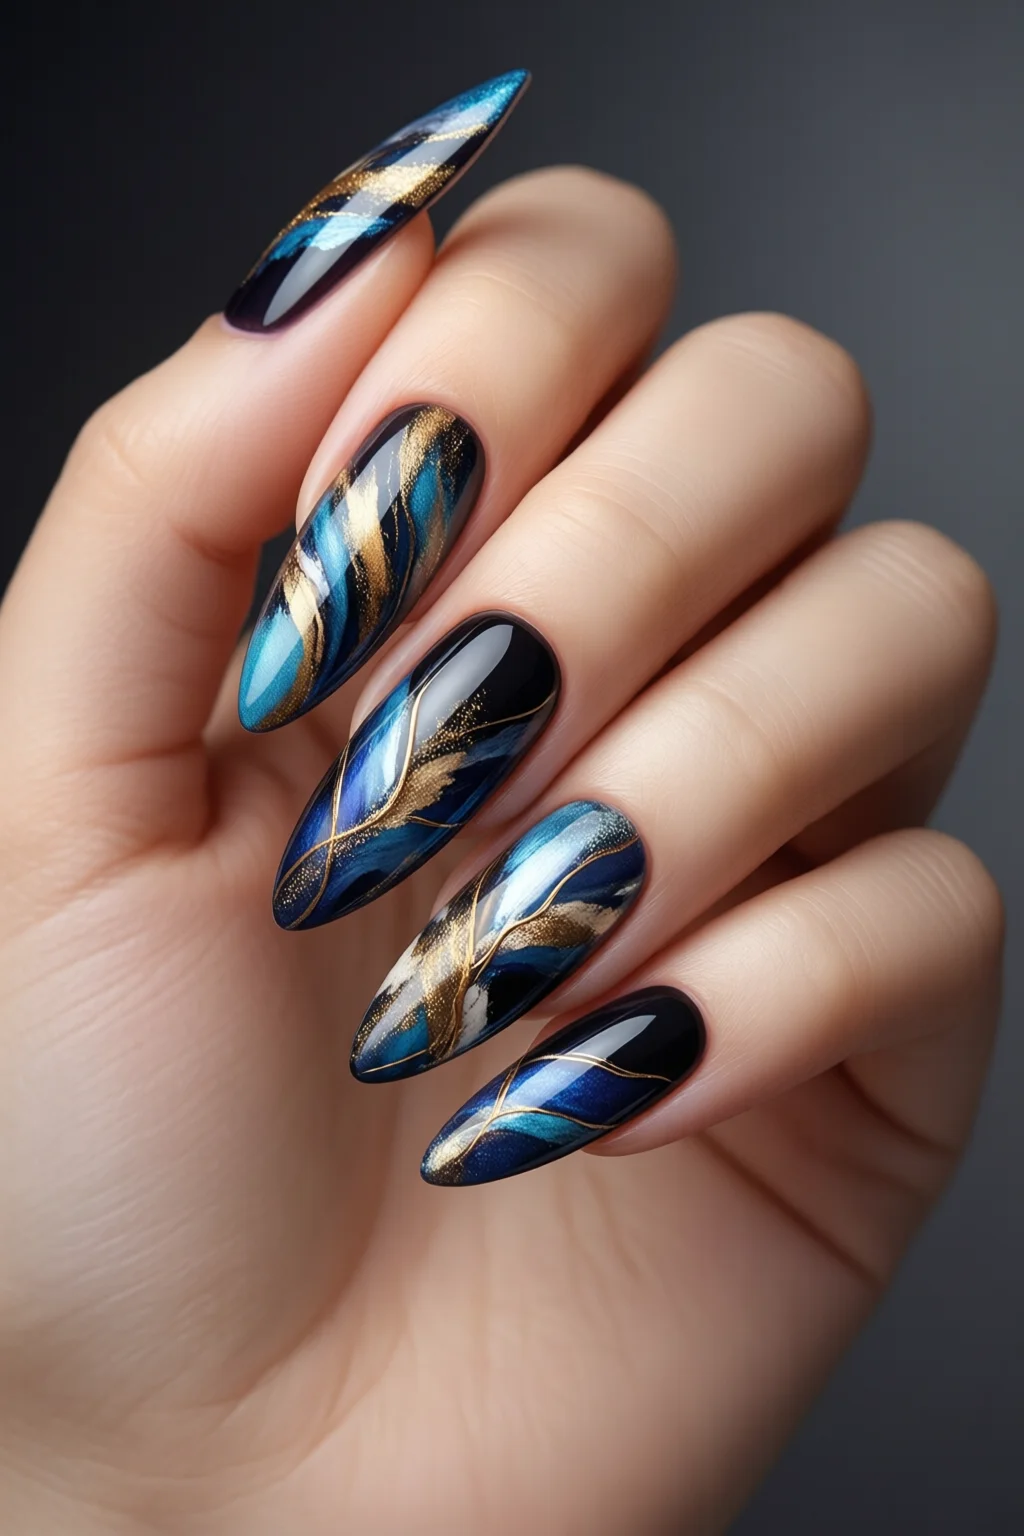
1. Watercolor Brush Strokes – The Soft‑Edge Look
My go‑to for a dreamy, painterly effect is a fine‑tipped brush paired with translucent gels. I start with a neutral base—usually Essie “Ballet Slippers” ($9.99, 15 ml)—then dab a few drops of Liquitex acrylic paint (sold in 15 ml tubes for $7 each) onto a small synthetic brush (Miriam Art Brush, $3.50). The key is to keep the brush moist; too dry and the pigment will crack.
Step‑by‑step:
- Apply two thin layers of the base polish, let each cure 2 minutes under a LED lamp (30 seconds per layer).
- Load the brush with a single drop of paint, then gently swipe across the nail at a 45° angle, releasing pressure as you reach the tip.
- While the paint is still tacky, use a clean nail‑file edge to feather the edges for a seamless blend.
- Seal with a top coat like OPI “Top Coat” ($12.99, 15 ml) and cure for 60 seconds.
Pros: Soft transition, minimal tools, adaptable to any color palette.
Cons: Requires quick work before the paint dries; not ideal for thick‑gel bases.
2. Geometric Tape & Stamping – Sharp Lines Without the Stress
When I need crisp angles, I reach for the Kiss Pro Lite nail stamping kit ($19.99, includes 12 plates). Combine it with a thin strip of 3 M double‑sided tape (1 ft roll, $4.99) to mask off areas you want to keep clear.
Process:
- Paint the base with Zoya “Pure” in a matte finish ($13.95, 15 ml). Allow 3 minutes to dry.
- Cut a 2‑mm strip of tape and place it diagonally on the nail to create a negative space triangle.
- Press the stamping plate onto the nail, roll the scraper, and lift. The plate’s raised geometry will transfer the color only where the tape isn’t covering.
- Remove the tape while the polish is still wet to avoid lifting the design.
- Finish with a high‑gloss top coat; the contrast between matte and glossy adds depth.
Pros: Ultra‑clean lines, repeatable patterns, works on both natural and acrylic nails.
Cons: Requires steady hands for tape placement; stamping plates can wear after 30‑40 uses.
3. Neon Splatter – Party‑Ready Chaos
If you love the energy of a night out, the neon splatter technique is my favorite. I use the Sally Hansen “Hard as Nails” gel in neon shades—Electric Pink ($11.99, 5 ml) and Lime Burst ($11.99). To create the splatter, I fill a small squeeze bottle (12 ml, $2.79) with the gel and tap it over the nail from a distance of 12 inches.
How to nail it:
- Apply a clear base gel (Gelish “Clear Base”, $15.99, 15 ml) and cure for 30 seconds.
- Load the squeeze bottle with one neon color, flick the bottle to release tiny droplets onto the nail. Rotate the hand 90° and repeat with the second neon shade.
- After the splatter dries (about 1 minute), seal with a thick top coat like Gelish “Top It Off” ($16.99).
Pros: Vibrant, instant impact, customizable with any neon palette.
Cons: Messy; best done with a disposable mat. Requires gel lamp (LED, 36 W).
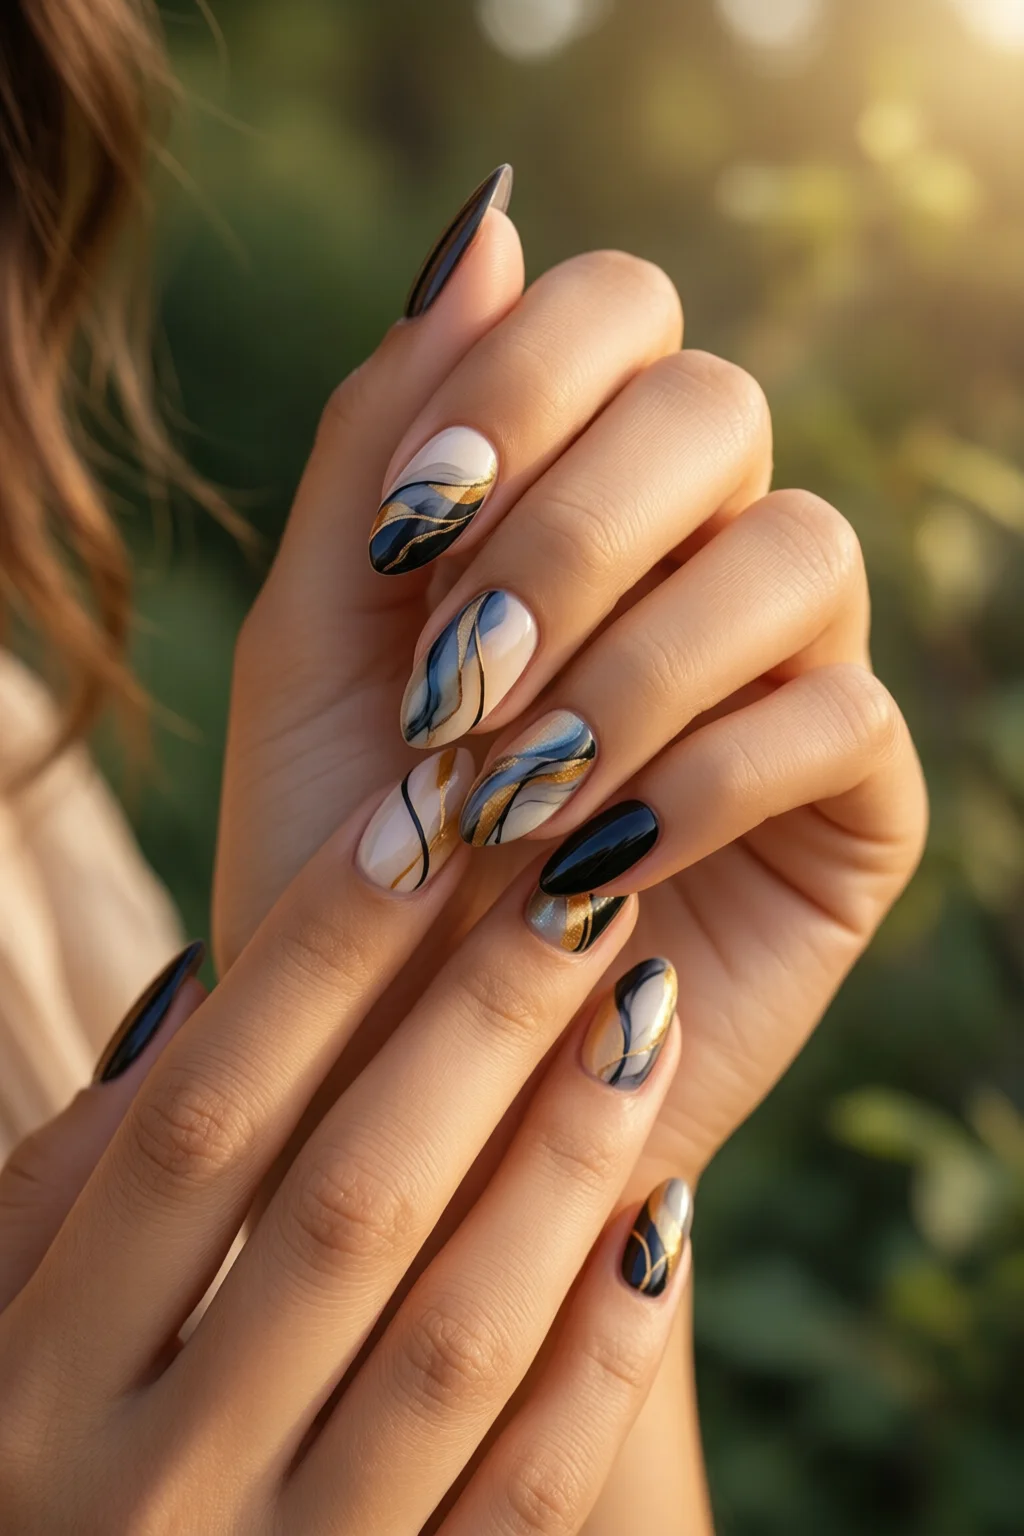
4. Negative‑Space Minimalism – Less Is More
Minimalist abstract nails rely on strategic gaps. I pair the iconic OPI “Pure St. Patrick’s Day” ($11.99) with a fine‑line nail art pen from the best nail art pens list—Sally Hansen “Precision Pen” ($5.49, 0.5 ml). The pen’s 0.3 mm tip lets you draw thin arcs that act as visual anchors.
Execution:
- Apply a sheer base (Essie “Sheer Bliss”, $9.99) and cure for 2 minutes.
- Using the pen, draw a single abstract curve that starts at the cuticle and ends near the tip, leaving the rest of the nail untouched.
- Layer a translucent top coat (OPI “Top Coat”) to protect the line and add a subtle sheen.
Pros: Quick, elegant, perfect for office nails.
Cons: Demands steady hand; any wobble is noticeable.
5. 3D Embellishment – Texture Meets Abstract
For a tactile twist, I embed tiny crystals into a clear gel. I use the Kiss “Crystal Accent” set (includes 0.5 g of clear gel, $7.99) and Swarovski crystal beads (10 g pack, $12.95). The result is a raised, abstract constellation that catches light from every angle.
Steps:
- Apply a thin clear base gel and cure for 30 seconds.
- Drop a few beads onto the nail, then use a dotting tool to spread them into an irregular pattern.
- Cover with another layer of clear gel and cure for 60 seconds.
- Finish with a high‑gloss top coat to lock in the sparkle.
Pros: Adds dimension, eye‑catching, works on short nails.
Cons: Slightly heavier; not ideal for long‑term wear on natural nails.
Comparison Table: Top Tools for Abstract Nail Art
| Tool/Set | Key Features | Price (USD) | Pros | Cons | Rating |
|---|---|---|---|---|---|
| Kiss Pro Lite Stamping Kit | 12 interchangeable plates, scraper, polishing pad | $19.99 | Sharp geometric designs, reusable plates | Plates wear after 30‑40 uses | 4.6/5 |
| Sally Hansen Precision Pen | 0.3 mm tip, dual‑ended (fine/medium) | $5.49 | Perfect for negative‑space lines, affordable | Ink can dry quickly if not capped | 4.3/5 |
| Liquitex Acrylic Paint (15 ml) | Water‑based, high pigment, quick‑dry | $7.00 | Vibrant watercolor effect, mixable | Requires brush maintenance | 4.5/5 |
| Kiss Crystal Accent Gel Set | Clear gel, crystal beads, applicator | $7.99 | 3D texture, easy embedment | Adds slight weight to nails | 4.4/5 |
Bonus Tips: Making Abstract Nail Art Last Longer
In my experience, the longevity of abstract designs hinges on three factors: base preparation, sealing, and after‑care.
- Prep the nail surface: Lightly buff the natural nail to remove shine; this creates a “tooth” for polish adhesion. A 180‑grit buffer works best.
- Use a dual‑cure top coat: Products like Seche Vita “UV Top Coat” ($13.95) cure under both LED and UV, ensuring the design doesn’t lift after a week.
- Apply cuticle oil daily: A few drops of Bioderma “Nail & Cuticle Oil” ($9.99) prevent dehydration, which is the main cause of chipping.
Where to Find Inspiration
Abstract nail art thrives on experimentation. Follow Instagram accounts like @abstractnailqueen for daily palettes, and browse Pinterest boards titled “Abstract Nail Art 2026”. I often start a design by selecting two complementary colors from the Pantone 2026 forecast—Viva Magenta (Pantone 18‑1758) and Digital Blue (Pantone 19‑4052)—and then let my brush decide the final path.
Final Verdict
Abstract nail art is a playground for creativity, and with the right tools—whether it’s a fine‑line pen, a stamping kit, or a splash of neon gel—you can achieve runway‑level looks without stepping into a salon. The techniques above cover everything from soft watercolor strokes to bold 3D embellishments, giving you a versatile toolkit that works for everyday office nails, special occasions, or just a splash of personal expression. Dive in, experiment, and remember: the best abstract design is the one that reflects your mood in the moment.
Do I need a UV/LED lamp for abstract nail art?
A lamp is essential for gel‑based techniques like neon splatter or 3D embellishments, but many watercolor and tape designs work perfectly with traditional polish that air‑dries.
How can I prevent my abstract designs from chipping too soon?
Start with a clean, buffed nail, use a high‑quality base coat, seal with a dual‑cure top coat, and keep cuticles moisturized. Avoid exposing fresh nails to harsh chemicals for the first 24 hours.
Can I create abstract nail art on acrylic extensions?
Absolutely. Acrylics provide a smooth surface that holds paint and gel longer. Just ensure the extension is fully cured and sanded lightly before applying any base.
What are the best colors for a spring abstract look?
Pastel hues like Lilac (OPI “Lilac Lace”), Mint (Essie “Mint Condition”), and soft coral (Sally Hansen “Coral Crush”) blend beautifully when layered with watercolor brush strokes.
2 thoughts on “Abstract Nail Art – Everything You Need to Know”