
Ever wondered why some nail looks like a molten mirror while others just shimmer?
In This Article
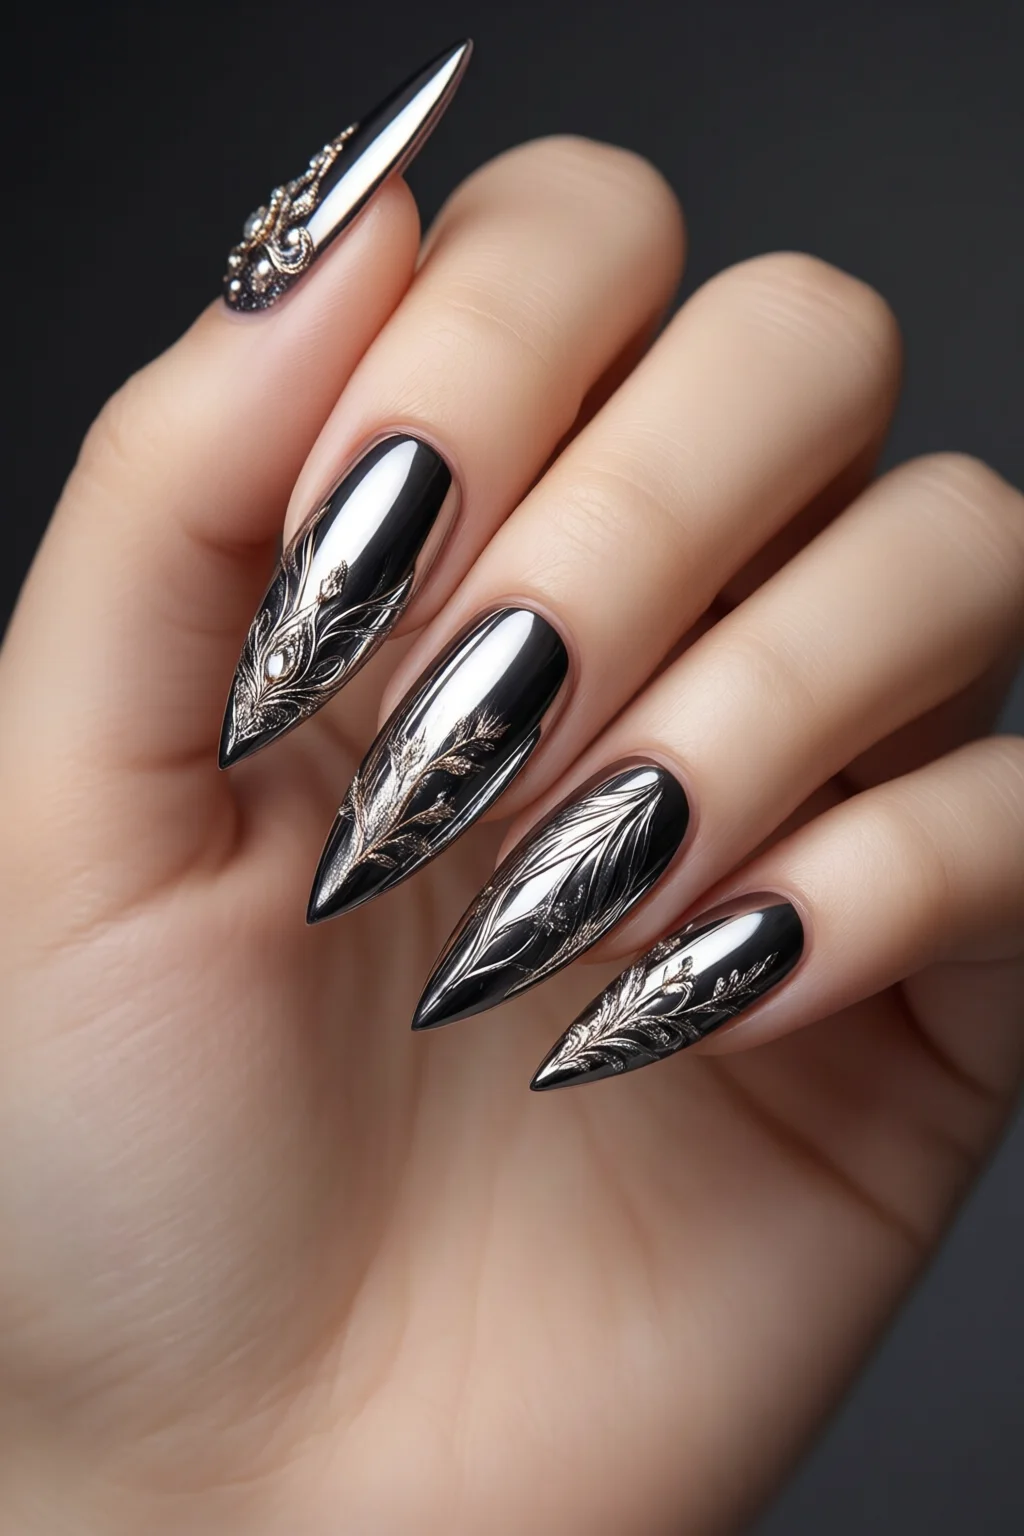
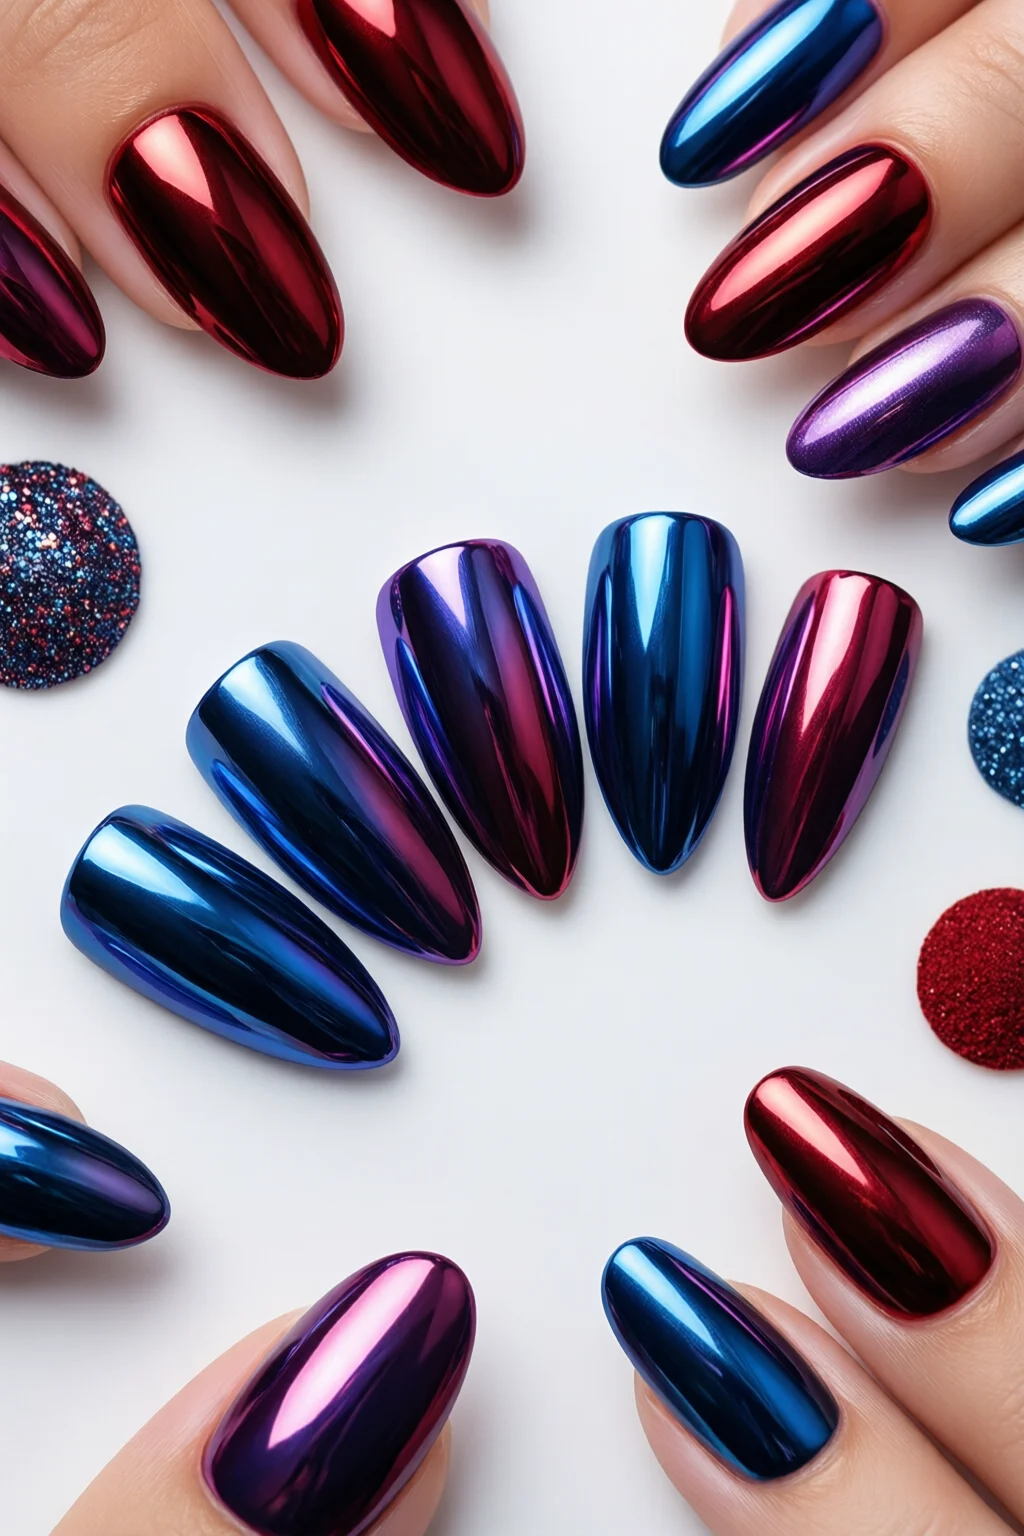
That hypnotic, reflective sheen is the promise of liquid metal nails—a trend that turns every fingertip into a miniature piece of futuristic art. In my ten‑year career, I’ve watched this style evolve from a niche chrome powder experiment to a full‑blown, salon‑ready finish that can survive a night out, a workout, and a coffee spill.
Whether you’re a DIY enthusiast itching to try the effect at home, a nail tech seeking a reliable product line, or simply curious about the science behind the shine, this guide will walk you through everything you need to know: the chemistry, the tools, step‑by‑step application, maintenance, and even budgeting tips.
Understanding the Liquid Metal Nail Effect
What Makes a Nail Look Like Liquid Metal?
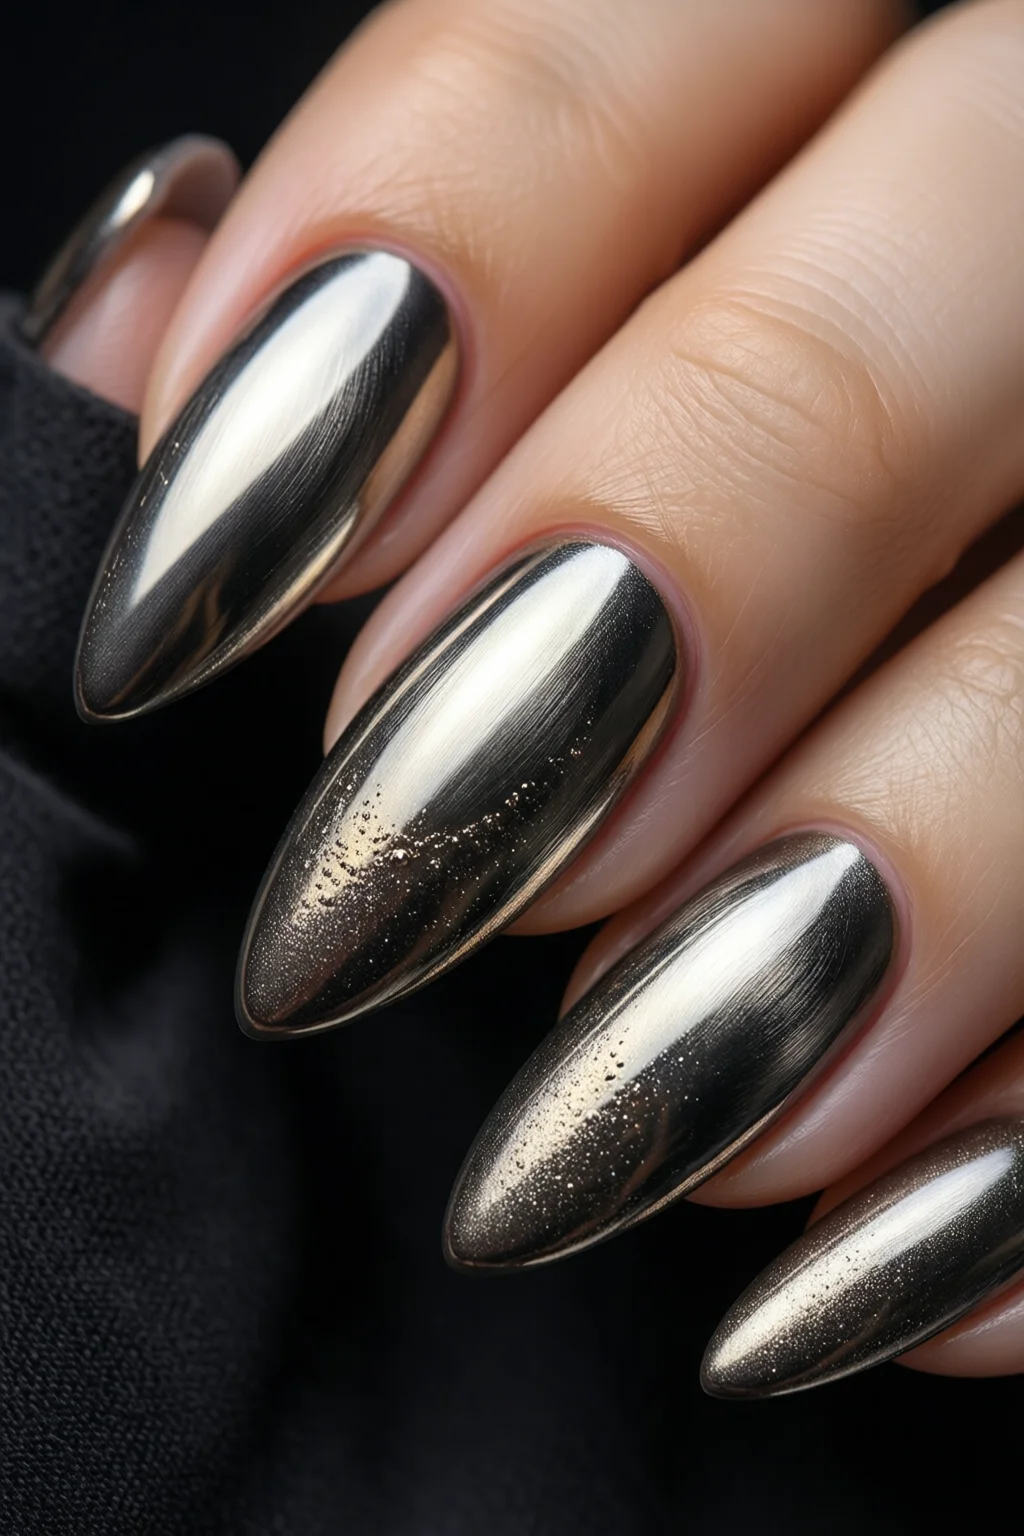
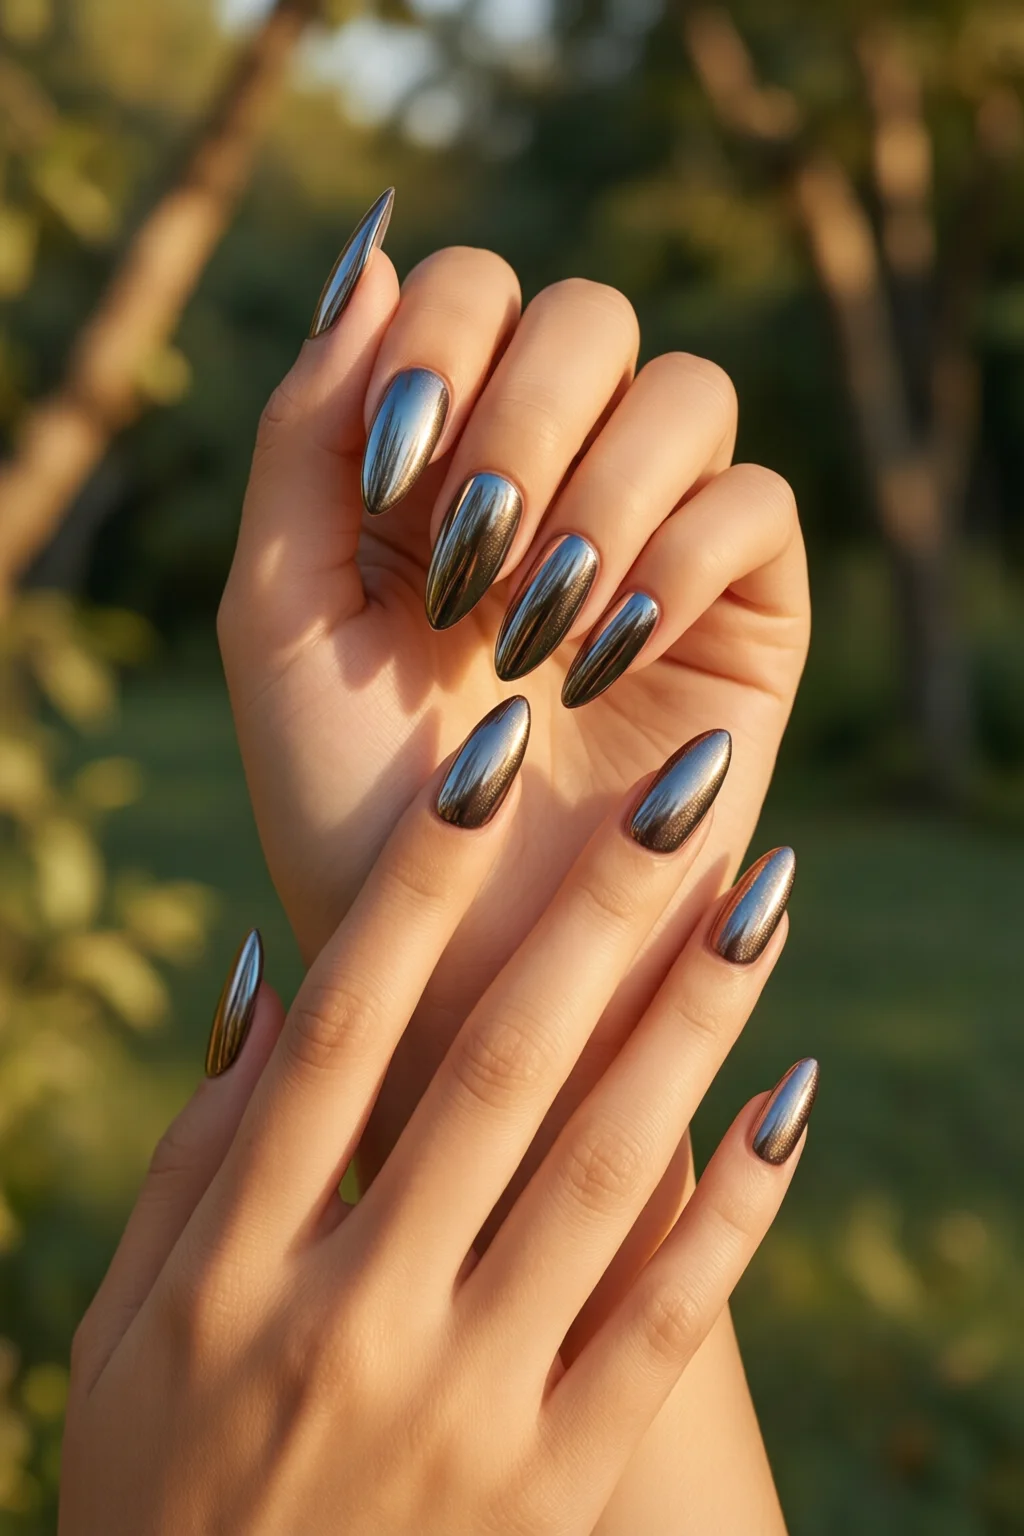
The magic lies in ultra‑fine metallic particles suspended in a clear polymer base. When light hits the surface, the particles reflect it at multiple angles, creating a mirror‑like finish that shifts with movement. Unlike traditional chrome powder, which requires a sticky base coat, liquid metal formulas are pre‑mixed, meaning you can apply them directly over a regular polish or gel.
Key Ingredients and How They Work
- Aluminum or titanium nano‑flakes – 0.5‑2 µm in size, these provide the bright, reflective quality.
- UV‑curable resin – common in gel systems; it hardens under a 365 nm lamp, locking the metal particles in place.
- Silicone‑based solvent – keeps the mixture fluid for easy brush‑on application.
- Additives (e.g., silicone oil, dimethicone) – improve slip‑resistance and prevent chipping.
Why “Liquid Metal” Beats Traditional Chrome Powder
Traditional chrome powder needs a tacky base, a dusting brush, and a sealing top coat—three steps that can introduce unevenness. Liquid metal nails compress those steps into two: color + metallic top. The result is a smoother surface, less dust inhalation, and a finish that lasts 7‑10 days on gel, compared to 3‑5 days with powder.
Essential Tools and Products for Liquid Metal Nails
Top Recommended Liquid Metal Products (2024)
| Product | Type | Price (USD) | Finish Rating* | Durability (days) |
|---|---|---|---|---|
| Mihama “Liquid Metal Polish” | Regular polish | $12.99 (15 ml) | 9.5/10 | 5‑6 (top coat) |
| TruCoat “Liquid Metal Top Coat” | Gel top coat | $24.95 (30 ml) | 9/10 | 8‑10 (UV/LED) |
| Sally Hansen “Miracle Chrome Gel” | Gel polish | $19.99 (10 ml) | 8.5/10 | 6‑7 (LED) |
| LeChat “Liquid Metal Gel” | Gel polish | $22.50 (12 ml) | 9/10 | 7‑9 (UV) |
| OPI “Metallic Finish” | Regular polish | $10.99 (15 ml) | 8/10 | 4‑5 (top coat) |
*Finish rating based on expert panel reviews for reflectivity, smoothness, and ease of application.
Supporting Supplies You’ll Need
- Base coat – any clear gel or traditional base; for best adhesion, choose a low‑viscosity gel like Gelish “Prep & Prime” ($15.99, 15 ml).
- UV/LED lamp – 48 W LED lamp (e.g., SUNUV 48W, $39.99) cures most gel top coats in 30‑45 seconds.
- Nail file & buffer – 180‑grit file for shaping, 240‑grit buffer for a smooth surface.
- Cuticle oil – helps maintain nail health; I recommend CND “Solar Oil” ($13.50, 10 ml).
- Lint‑free wipes & alcohol – for removing tacky residue after curing.
Budgeting: How Much Does a Full Set Cost?
A professional salon set using TruCoat Liquid Metal Top Coat averages $85‑$110, including base, top, lamp rental, and aftercare. At home, the same look can be achieved for $45‑$60 if you already own a lamp. Investing in a reusable lamp pays off after roughly three DIY sets.
Step‑by‑Step Application Guide
Preparation: The Foundation of Longevity
- Remove old polish with acetone‑free remover to avoid drying the nail plate.
- Shape nails with a 180‑grit file; file in one direction to prevent splitting.
- Buff the surface lightly (240‑grit) to eliminate ridges—this ensures the liquid metal spreads evenly.
- Push back cuticles and apply a thin layer of cuticle oil; let absorb for 2 minutes.
- Wipe the nail with an alcohol‑soaked lint‑free pad to eliminate oils.
Applying the Liquid Metal Polish
- Apply a thin base coat (gel or regular) and cure for 30 seconds under LED.
- If using a regular polish (e.g., Mihama), apply two coats of your desired color, curing each for 10 seconds.
- Shake the liquid metal product for 10 seconds — the particles settle quickly.
- Using a flat brush, sweep a thin, even layer across the nail. Aim for a “wet” look; too thick will cause clumping.
- Cure under LED for 45 seconds (gel) or let air‑dry for 5‑7 minutes (regular).
- Seal with a high‑gloss top coat (e.g., TruCoat Liquid Metal Top Coat) and cure again.
Finishing Touches and Aftercare
- Wipe the cured surface with a lint‑free pad soaked in isopropyl alcohol to remove any tacky film.
- Massage cuticle oil into the nail beds nightly to prevent brittleness.
- Avoid prolonged exposure to chlorine or harsh detergents; a quick glove for dishwashing extends wear by up to 30%.

Common Mistakes and How to Fix Them
Clumping or Streaky Finish
One mistake I see often is shaking the bottle too vigorously, causing the nano‑flakes to aggregate. The fix? Gently roll the bottle between your palms for 5 seconds instead of shaking.
Poor Adhesion and Early Chipping
If the base coat isn’t fully cured or the nail isn’t clean, the metallic layer will lift. Use a UV lamp that delivers at least 30 mW/cm²; older lamps can leave a sticky surface.
Uneven Reflectivity
Uneven pressure while brushing leads to “banding.” Apply the liquid metal with a flat, wide brush, using light, consistent strokes from cuticle to tip.
Bubble Formation
Bubbles usually appear when the product is applied too thickly. Thin it out with a 10‑second dip in a small dish of isopropyl alcohol before brushing; the alcohol reduces surface tension.
Pro Tips from Our Experience
Mixing Gel and Regular Polishes for Custom Shades
For a personalized hue, layer a sheer gel base (e.g., Gelish “Sheer Pink”) under a liquid metal top. The gel adds depth while the metal provides the mirror effect. I’ve seen clients achieve a “rose‑gold” look that lasts 9‑10 days.
Using a “Cold‑Cure” Technique for Extra Shine
After the final cure, place the nails under a cool, dry fan for 30 seconds. The rapid temperature drop contracts the polymer matrix, tightening the metallic particles for a sharper reflection.
Combining Liquid Metal with chrome powder nails for 3‑D Texture
Apply a thin layer of liquid metal, cure, then dust a fine chrome powder over the still‑tacky surface. Seal with a gel top coat. The result is a tactile, multi‑dimensional mirror that catches light from every angle.
Seasonal Adjustments
In humid summer months, add a few drops of silicone oil to the liquid metal bottle; this reduces tackiness and prevents premature lifting. In winter, a quick wipe with a warm cloth helps the product flow more smoothly.
Client Consultation Checklist
- Ask about nail health (any recent fungal issues?).
- Determine desired durability (short‑term event vs. long‑term wear).
- Select appropriate base (gel for durability, regular for quick removal).
- Discuss aftercare—cuticle oil, gloves, and avoidance of harsh chemicals.
Liquid Metal Nails vs. Related Trends
Chrome Powder Nails
Both aim for a reflective surface, but chrome powder requires a sticky base and more steps. Liquid metal offers a smoother finish with fewer products.
Mirror Finish Gel
Mirror gels are thicker and can crack under stress. Liquid metal stays flexible, making it ideal for active clients.
Metallic French Tips
For those who love a classic French but crave shine, you can replace the white tip with a thin strip of liquid metal. It’s a subtle twist that works well with japanese nail art or korean nail art.
Dark Academia Nails
A matte matte base topped with a thin liquid metal accent line adds a modern edge to the moody palette of dark academia nails.
Conclusion: Your Next Liquid Metal Masterpiece
Liquid metal nails are more than a fleeting fad; they’re a versatile, high‑impact technique that blends science with art. By choosing the right product, preparing your nails meticulously, and following the application steps above, you can create a mirror‑like finish that lasts up to ten days and turns every handshake into a spotlight moment.
Take the plunge, experiment with color combos, and remember: a little preparation and the right tools make all the difference. Your fingertips are about to become the most reflective part of your look—literally.
How long do liquid metal nails typically last?
When applied over a cured gel base and sealed with a gel top coat, liquid metal nails can last 7‑10 days without chipping. Over regular polish, expect 4‑6 days before the metallic layer begins to lift.
Can I use liquid metal polish on acrylic nails?
Yes. Acrylics should be filed smooth and primed with a gel base coat. After curing, apply the liquid metal polish and seal with a gel top coat for best durability.
Is liquid metal safe for sensitive skin?
The nano‑metal particles are encapsulated in a polymer matrix and are considered non‑irritating. However, always perform a patch test on a single nail and avoid direct inhalation of any dust during application.
Do I need a UV lamp for all liquid metal products?
Only gel‑based liquid metal formulas require UV/LED curing. Regular liquid metal polish cures by air drying; a top coat can be sealed with a quick‑dry regular top coat.
How can I remove liquid metal nails without damaging my natural nails?
Soak a cotton ball in acetone, place it on the nail, and wrap with foil for 8‑10 minutes. Gently push off the softened polish with a wooden stick. Follow with a nourishing cuticle oil.
2 thoughts on “Liquid Metal Nails: Complete Guide for 2026”