
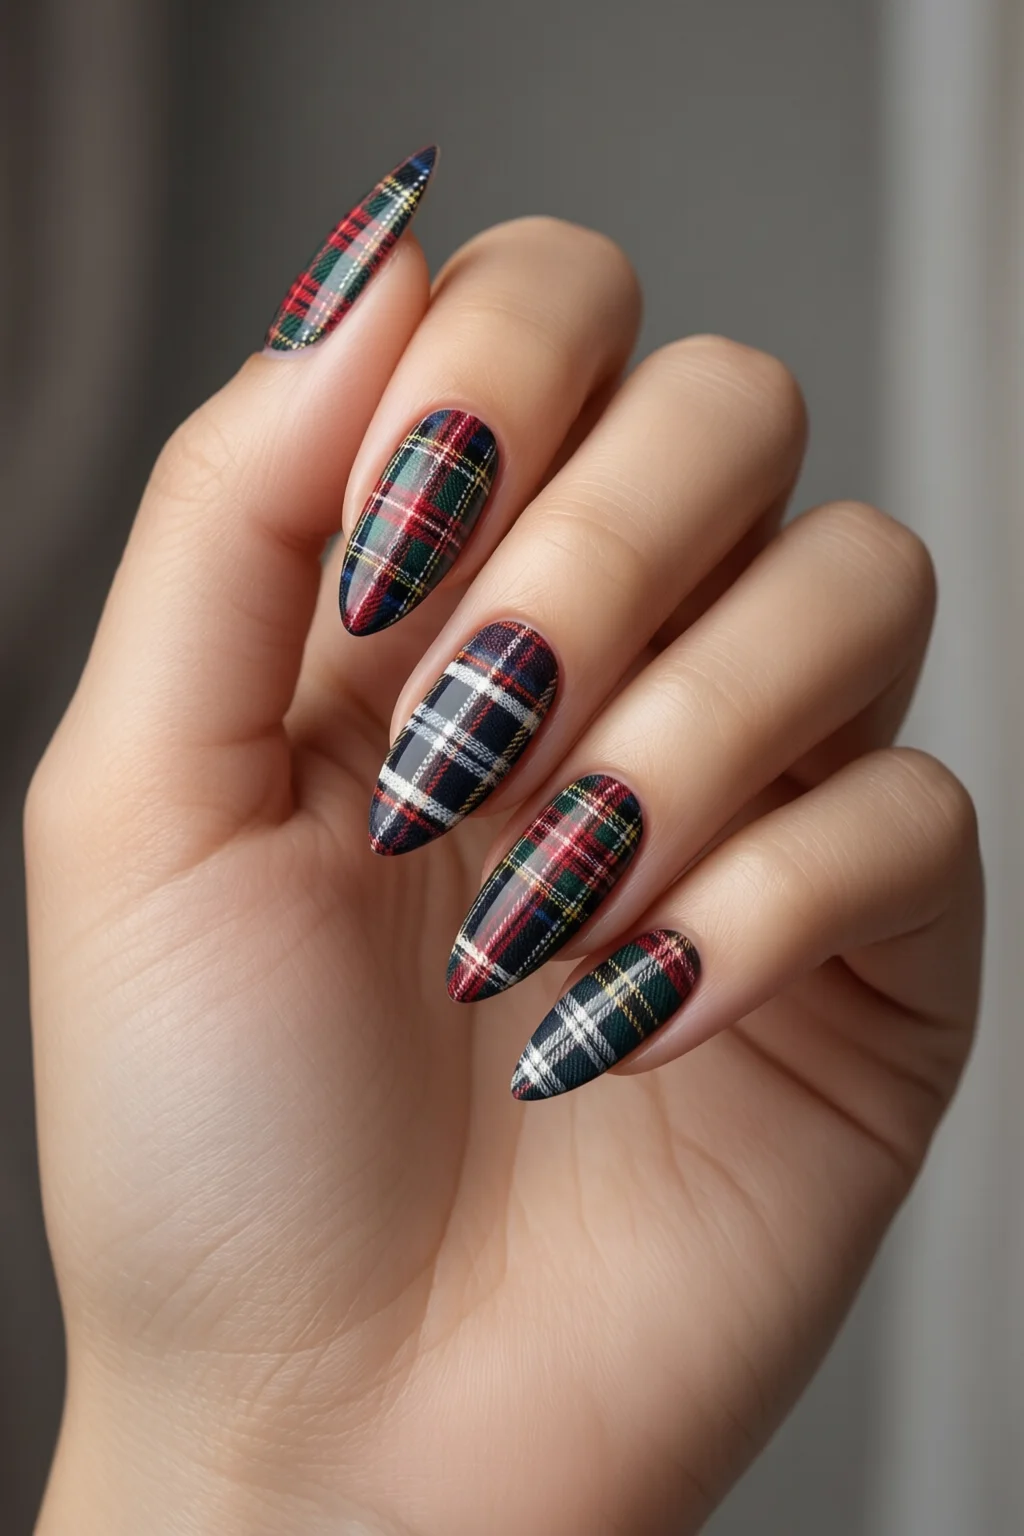
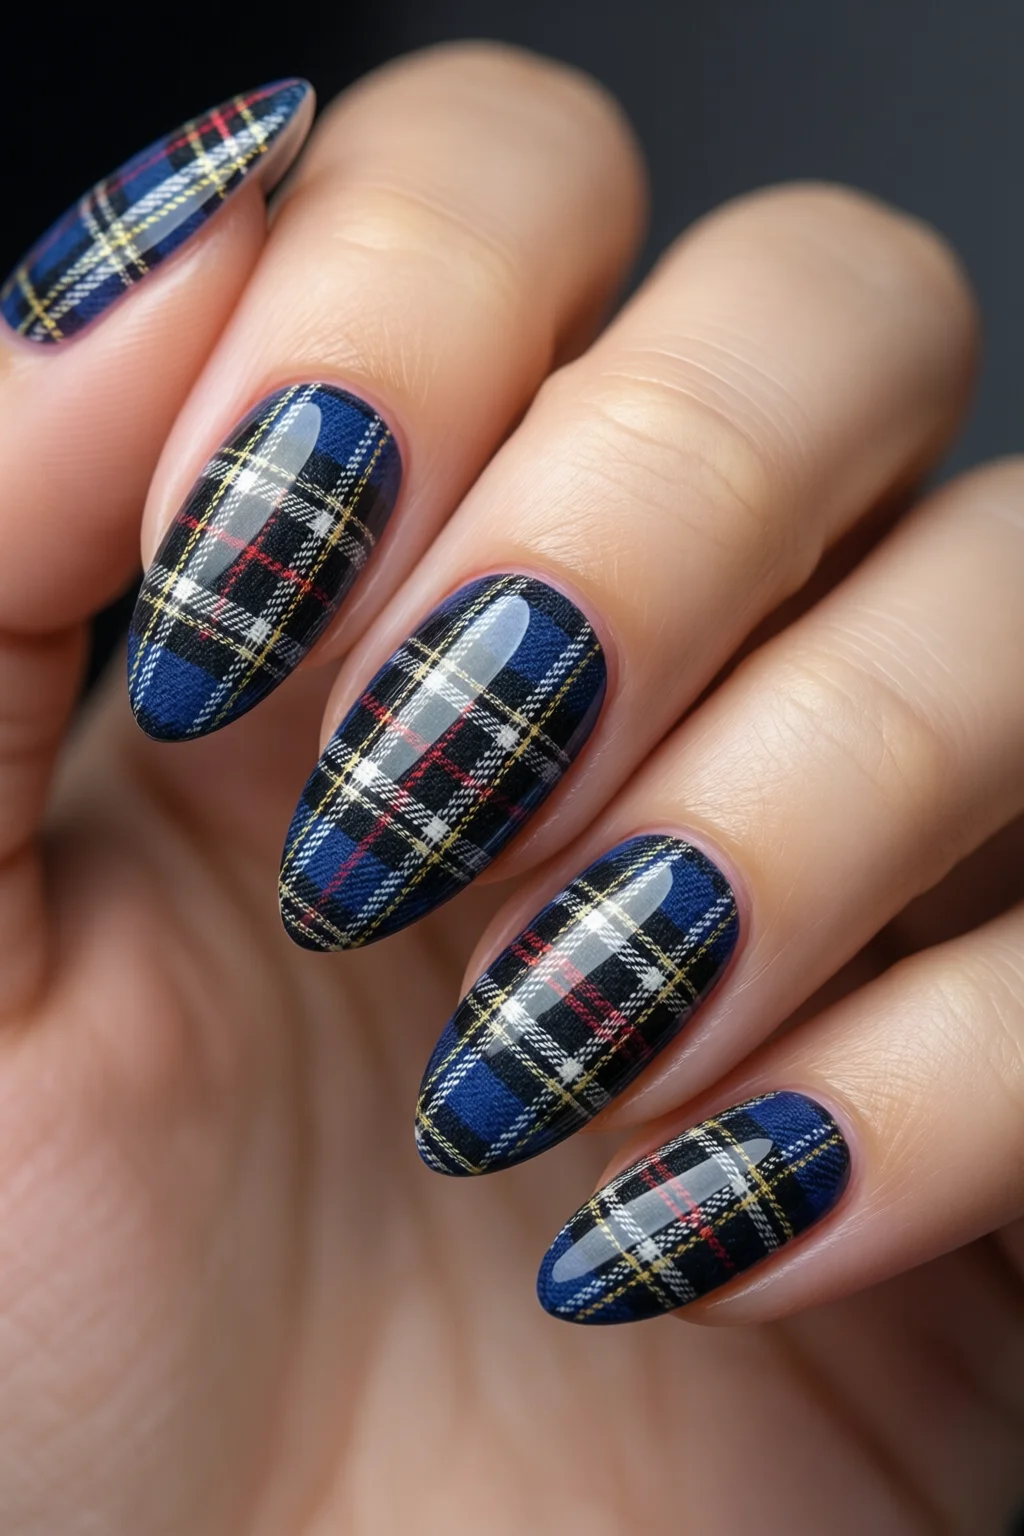
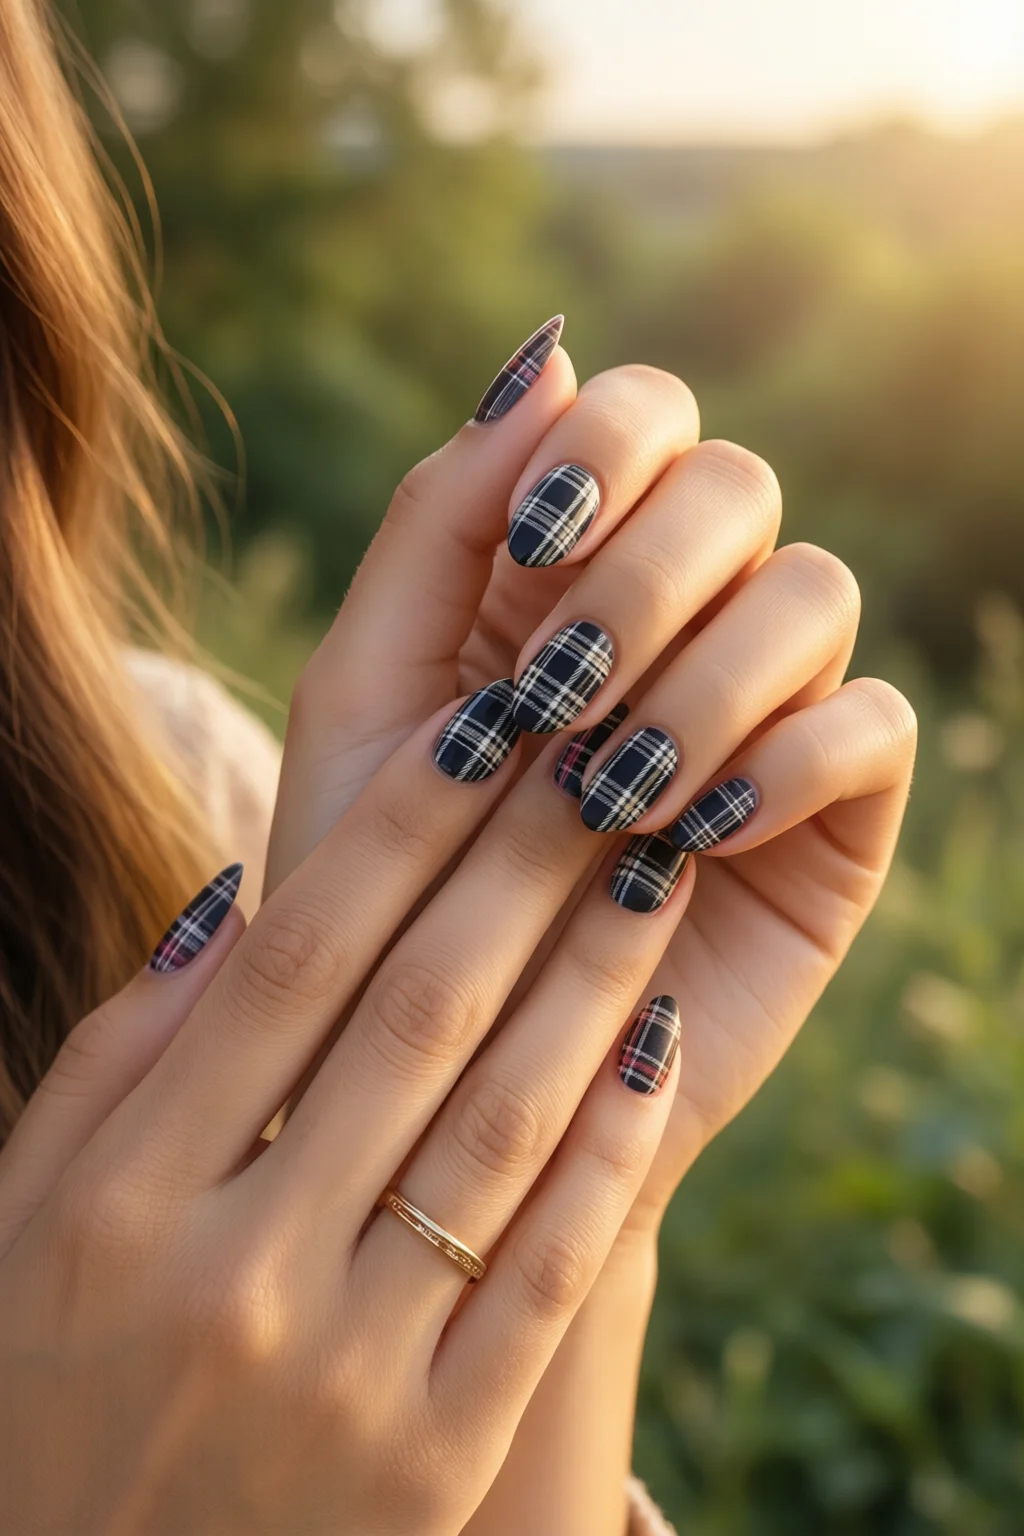
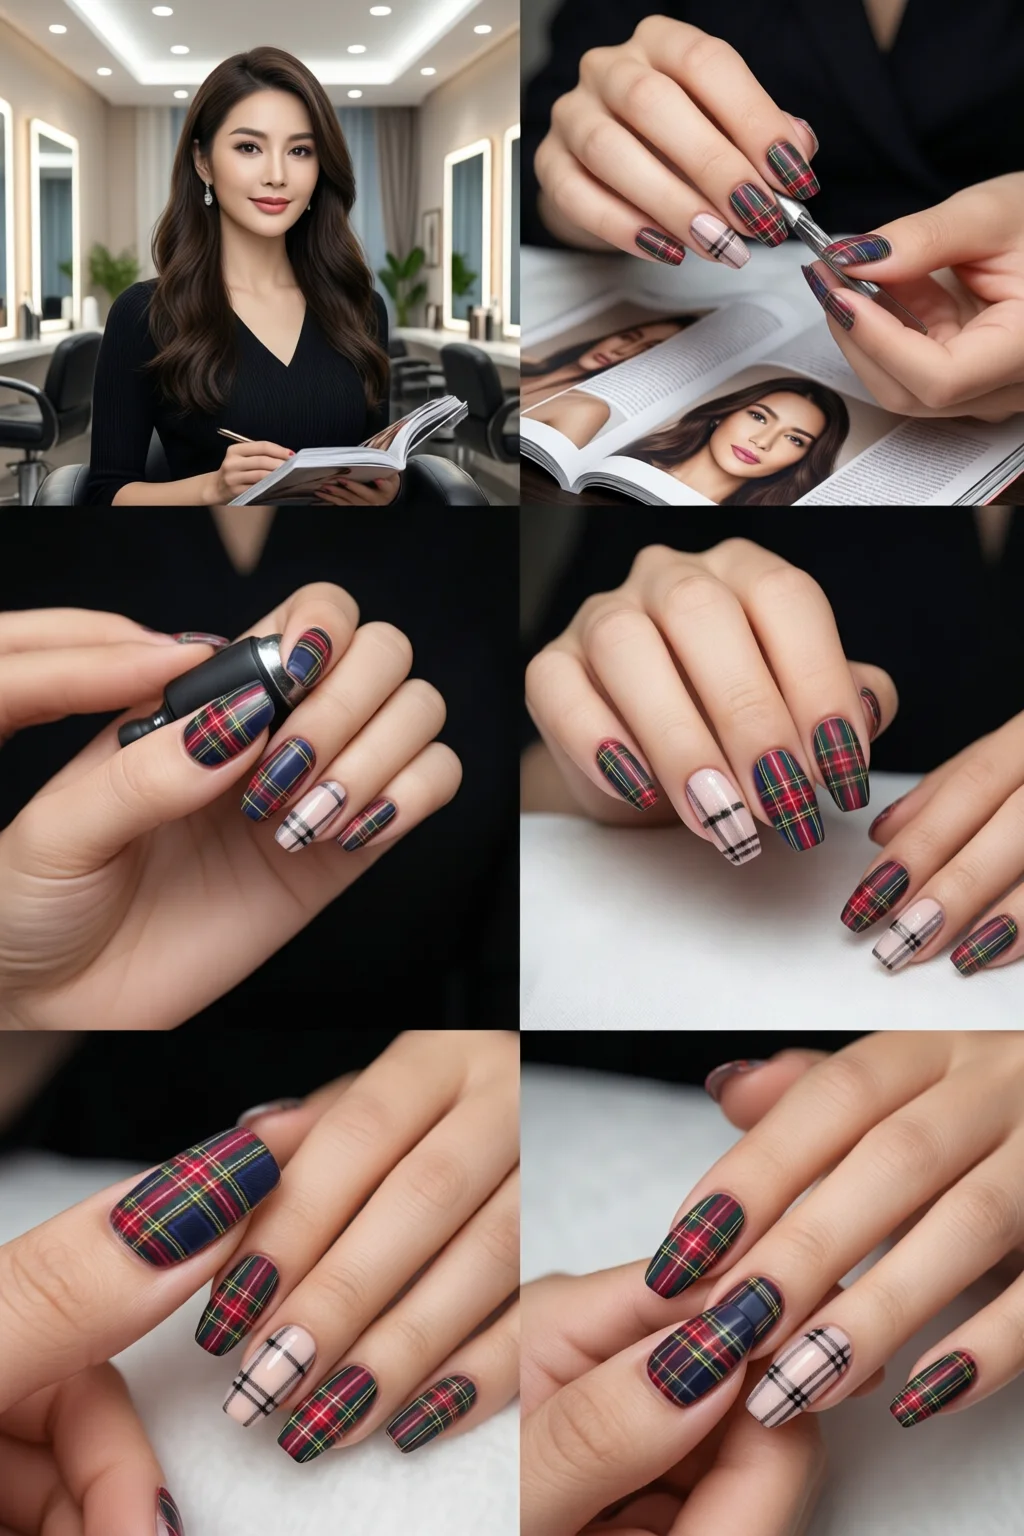
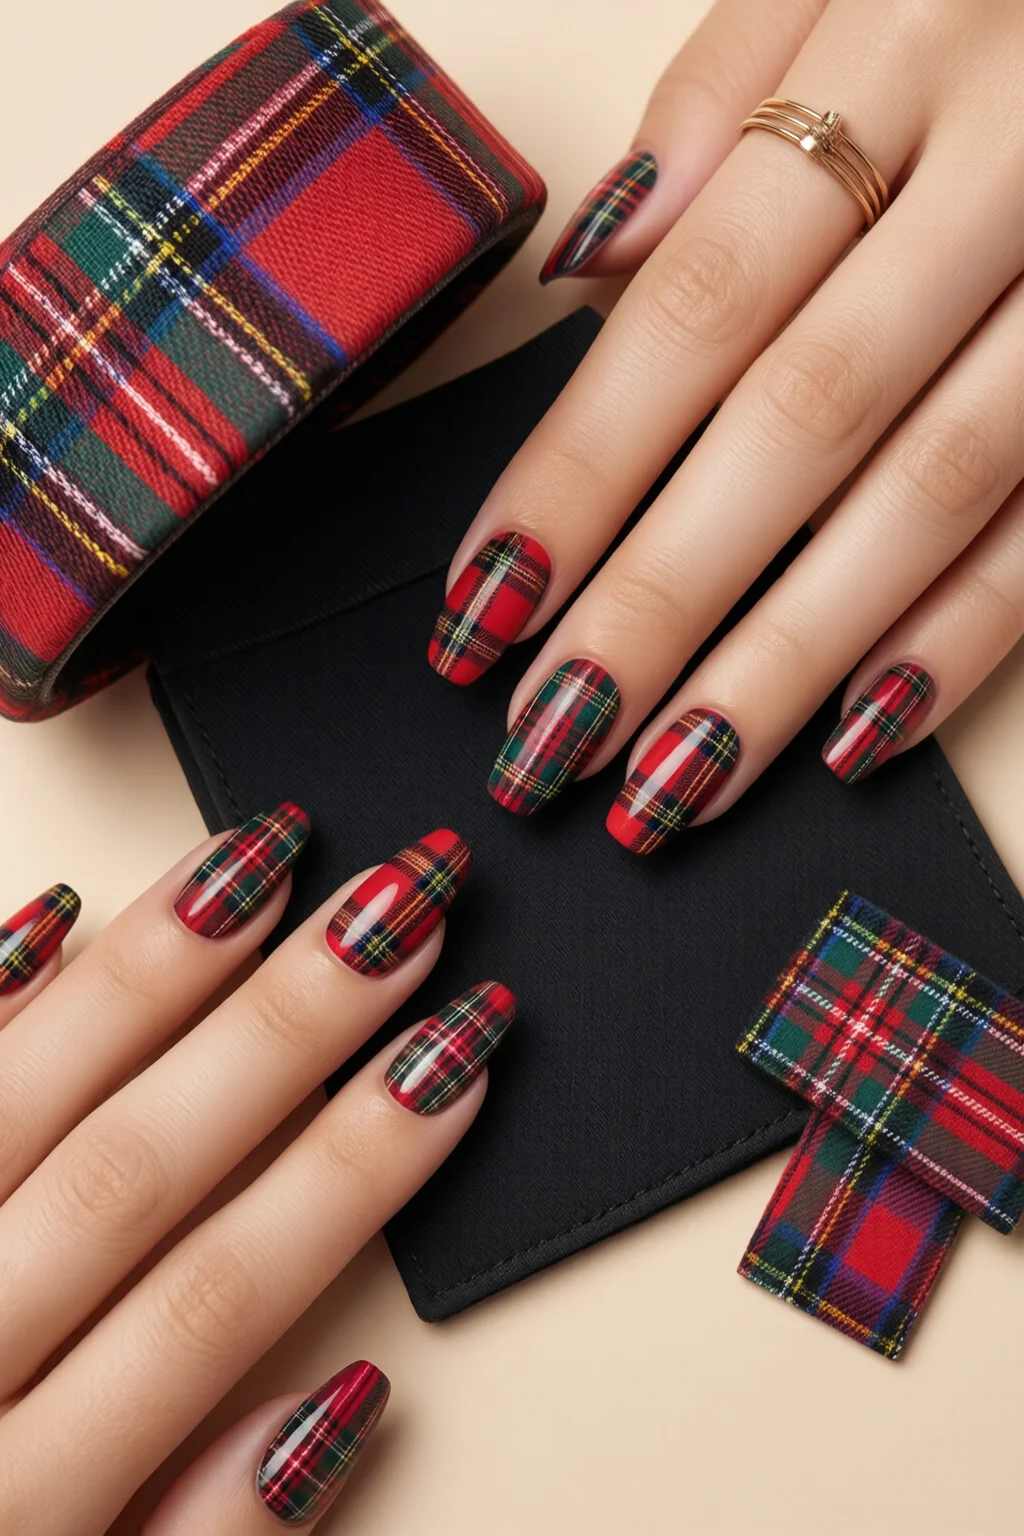
Last autumn I was invited to a rooftop mixer where everyone was sporting the season’s hottest patterns. I decided on plaid nails because the crisp, intersecting lines instantly scream fall chic, and the look works for everything from a casual coffee run to a cocktail party. In this guide you’ll learn exactly how to create sharp, runway‑ready plaid nails at home, what supplies you’ll need, and how to troubleshoot common hiccups so your manicure stays flawless for at least 5‑7 days.
In This Article
What You Will Need
- Base coat – OPI Nail Lacquer Base Coat ($9.99, 15 ml). Provides adhesion and prevents staining.
- Top coat – Sally Hansen Insta-Color Top Coat ($5.99, 10 ml). Gives a glossy finish and up to 7‑day chip resistance.
- Three nail polish colors for the classic plaid palette:
- Red – OPI “Big Apple Red” ($9.99, 10 ml)
- Black – Essie “Fiji” ($8.95, 10 ml)
- White – KISS “White Out” ($6.49, 7 ml)
- Fine‑tip striping tape – KISS 0.5 mm striping tape ($6.99, 12 ft roll). Allows crisp, straight lines.
- Thin nail art brush – Seiden 1/8‑inch brush ($12.99, pack of 2). Perfect for free‑hand stripes if you skip tape.
- Dotting tool – Beetles Dotting Tool ($4.99, set of 5). Handy for tiny accent dots.
- Cuticle oil – Olive & Cocoa Cuticle Oil ($7.50, 15 ml). Keeps nails hydrated during the process.
- Optional glitter or matte top coat for a twist – China Glaze “Matte Top Coat” ($8.95, 10 ml).
Step 1: Prep Your Nails
Start with clean, filed nails. I recommend a shape that shows off the pattern – a soft square or almond works best because the straight edges give the stripes a natural frame. Push back cuticles, then wash hands with a gentle soap to remove oils. Apply a thin layer of base coat and let it cure for 60 seconds under a LED lamp (if you have one) or air‑dry for 2 minutes. This step is non‑negotiable; skipping it can cause the plaid lines to bleed into the nail bed.
Step 2: Lay Down the Base Color
Choose a neutral base that will let the plaid stand out. I prefer a sheer “nude” like lavender nails for a subtle contrast, but a classic white works too. Paint two coats, allowing 90 seconds between coats. Once the base is tacky, lightly dust a thin layer of cuticle oil to keep the nail surface supple.
Step 3: Create the Plaid Pattern
There are two reliable methods: tape‑guided or free‑hand. I’ll detail both so you can pick your comfort zone.
Method A – Striping Tape
- Cut three 1‑inch strips of black tape and three 1‑inch strips of red tape.
- Place the black strips vertically, spacing them 3 mm apart, starting at the nail tip and extending to the cuticle. Press gently to avoid lifting.
- Apply a thin layer of white polish over the entire nail, covering the tape. Let it dry for 2 minutes (LED lamp: 30 seconds).
- Remove the tape while the white polish is still slightly tacky; this prevents the edges from lifting.
- Repeat the process with horizontal red strips, crossing the existing white lines. The intersection of black and red creates the classic plaid “X”.
Method B – Free‑Hand Brush
- Dip the 1/8‑inch brush into black polish, wipe excess on a tissue.
- Starting at the nail tip, draw three parallel vertical lines, keeping them 3 mm apart. Use a ruler if you’re unsure.
- Allow the black lines to dry (about 2 minutes).
- Switch to red polish and repeat the vertical strokes, offsetting them by 1.5 mm for a staggered look.
- Paint a thin white stripe over the entire nail to unify the pattern. The white acts as a “negative space” that emphasizes the intersecting lines.
Both methods yield a crisp plaid design; tape guarantees perfect straightness, while brush work adds a hand‑crafted vibe.
Step 4: Add Details and Seal
If you want extra depth, dab a tiny dot of black polish at each intersection using the dotting tool – this mimics the tiny stitches you see on real tartan fabric. For a modern twist, lightly sweep a glitter top coat over the white areas only; the contrast between matte and sparkle is striking. Finally, apply a generous layer of top coat. Cure under a LED lamp for 45 seconds or air‑dry for 3 minutes. The top coat locks in the pattern and adds a high‑shine finish that resists everyday wear.
Step 5: Finishing Touches
Once the top coat is fully set, massage cuticle oil into the skin around each nail. This prevents the edges from chipping and adds a professional salon feel. Clean any stray polish with a cotton swab dipped in nail polish remover. Your plaid nails are now ready for the runway, the office, or that Instagram story.
Common Mistakes to Avoid
- Skipping the base coat. Without it, pigments seep into the natural nail, causing discoloration that takes weeks to fade.
- Applying tape on wet polish. The tape lifts and creates jagged edges. Ensure the base or previous layer is tacky but not fully dried.
- Using too much polish on the brush. Overloading the brush creates blobs that ruin the clean lines.
- Rushing the drying time. Even a 15‑second shortcut can cause smudging, especially on the intersecting lines.
- Neglecting cuticle care. Dry cuticles pull at the polish, leading to premature chipping.
Troubleshooting or Tips for Best Results
- Line consistency: Measure spacing with a fine‑point ruler; 3 mm is a sweet spot for most nail widths.
- Color balance: If the red appears too bold, dilute it with a clear base (1 part clear to 4 parts red) to achieve a softer hue.
- Longevity hack: Apply a second thin top coat after 24 hours; this extends wear by up to 30 %.
- Alternative patterns: Swap black for navy or gold for a luxe version, or incorporate ombre nails as a background before adding plaid stripes.
- Seasonal twist: Pair plaid nails with pearlescent nails on the thumb for a subtle accent.
- Quick fix for smudges: Lightly dab the area with a brush dipped in acetone, then re‑apply a thin clear coat.
Summary
Creating plaid nails at home is a blend of precision and creativity. With the right tools—high‑quality base and top coats, reliable striping tape, and a steady hand—you can achieve a salon‑grade tartan look in under an hour and keep it looking fresh for a full week. Remember to prep properly, respect drying times, and finish with cuticle oil for durability. Whether you stick to classic red‑black‑white or experiment with metallics, plaid nails will always add a touch of timeless pattern to your style.
How long do plaid nails typically last?
With a proper base coat, two layers of top coat, and cuticle oil maintenance, plaid nails can stay chip‑free for 5–7 days. Adding a second top coat after 24 hours can extend wear by up to 30 %.
Can I use gel polish for plaid designs?
Yes. Apply a gel base, cure each color layer, and use gel‑compatible striping tape. Finish with a gel top coat for up to two weeks of wear.
Is it necessary to have a LED lamp?
A lamp speeds up curing and reduces smudging, but high‑quality air‑dry times (2–3 minutes per layer) work fine for beginners.
What other nail trends pair well with plaid nails?
Try pairing plaid nails with 3D gummy nails on the ring finger, or a subtle French manicure at home on the other hand for contrast.